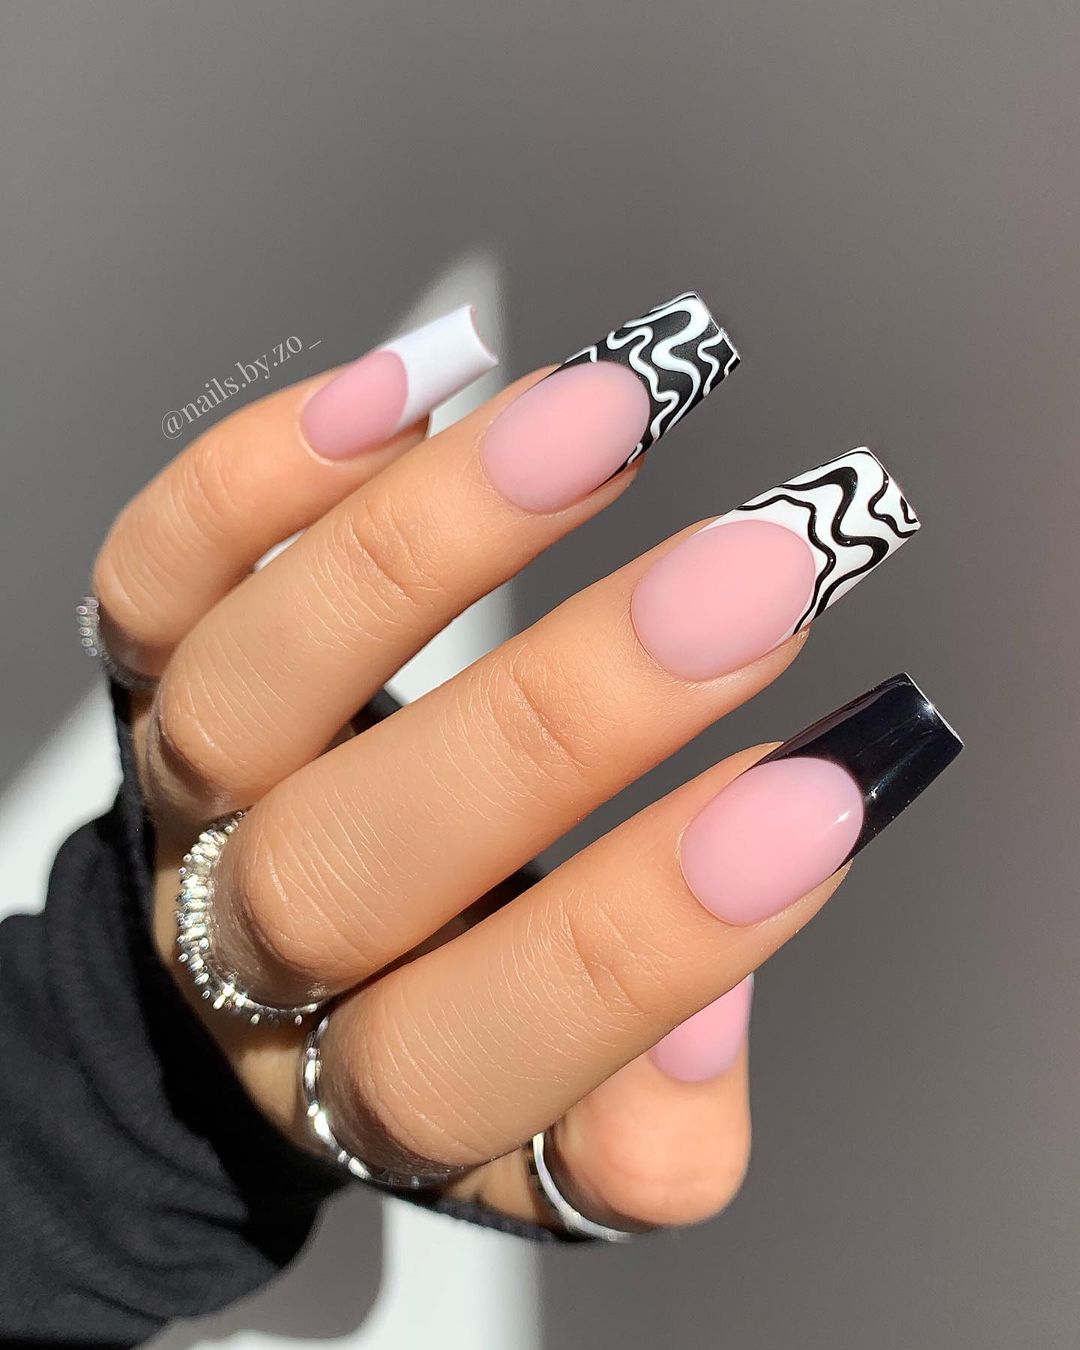
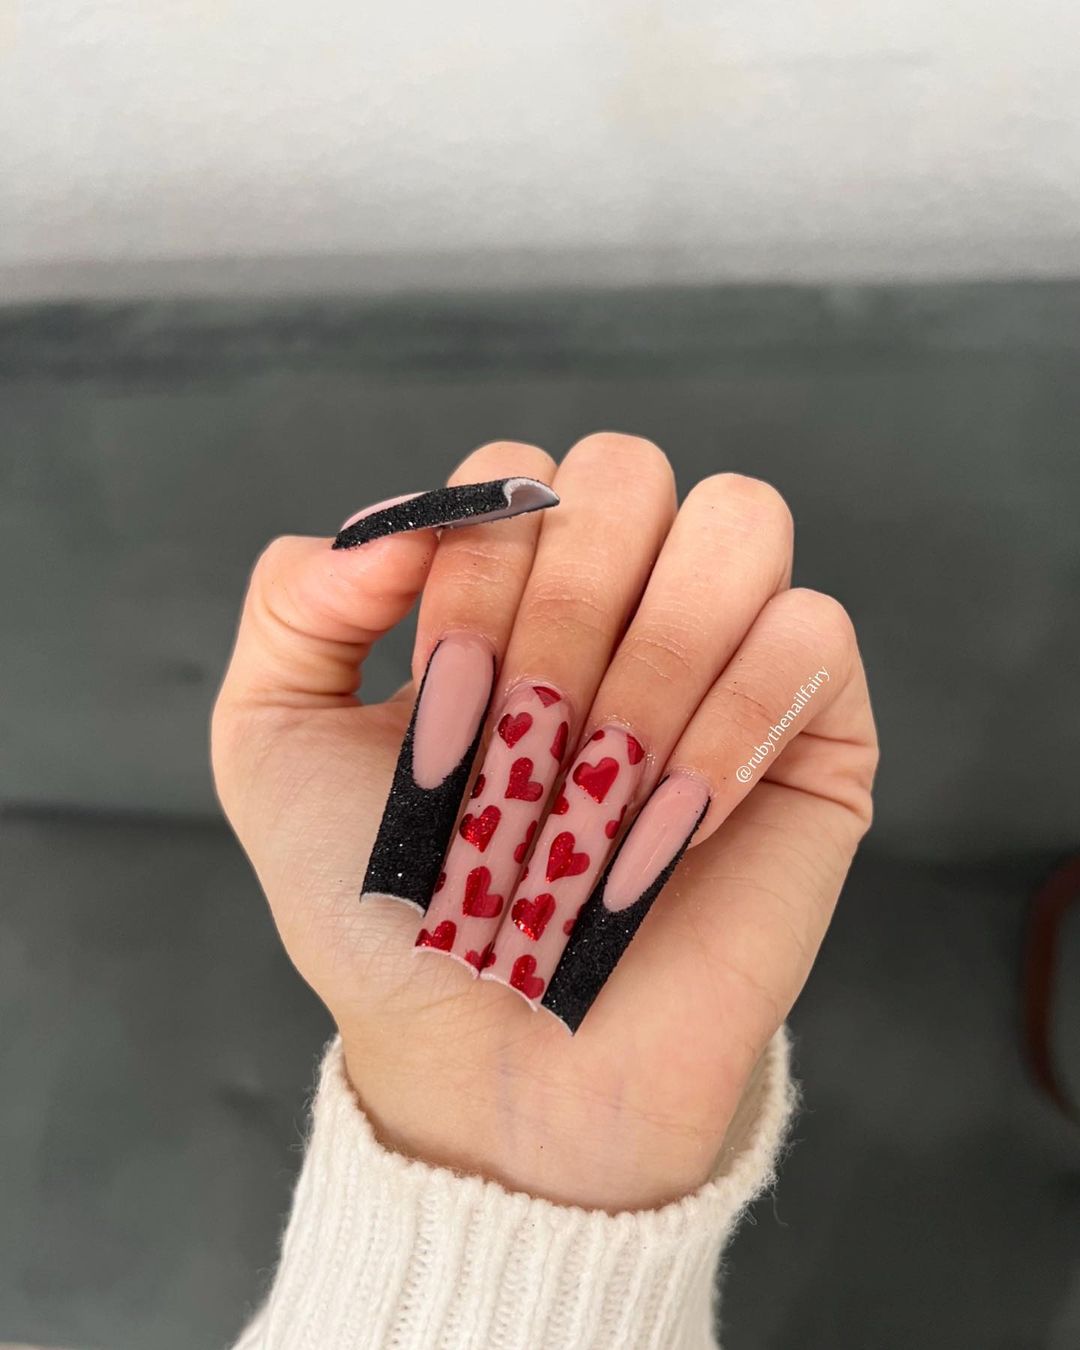
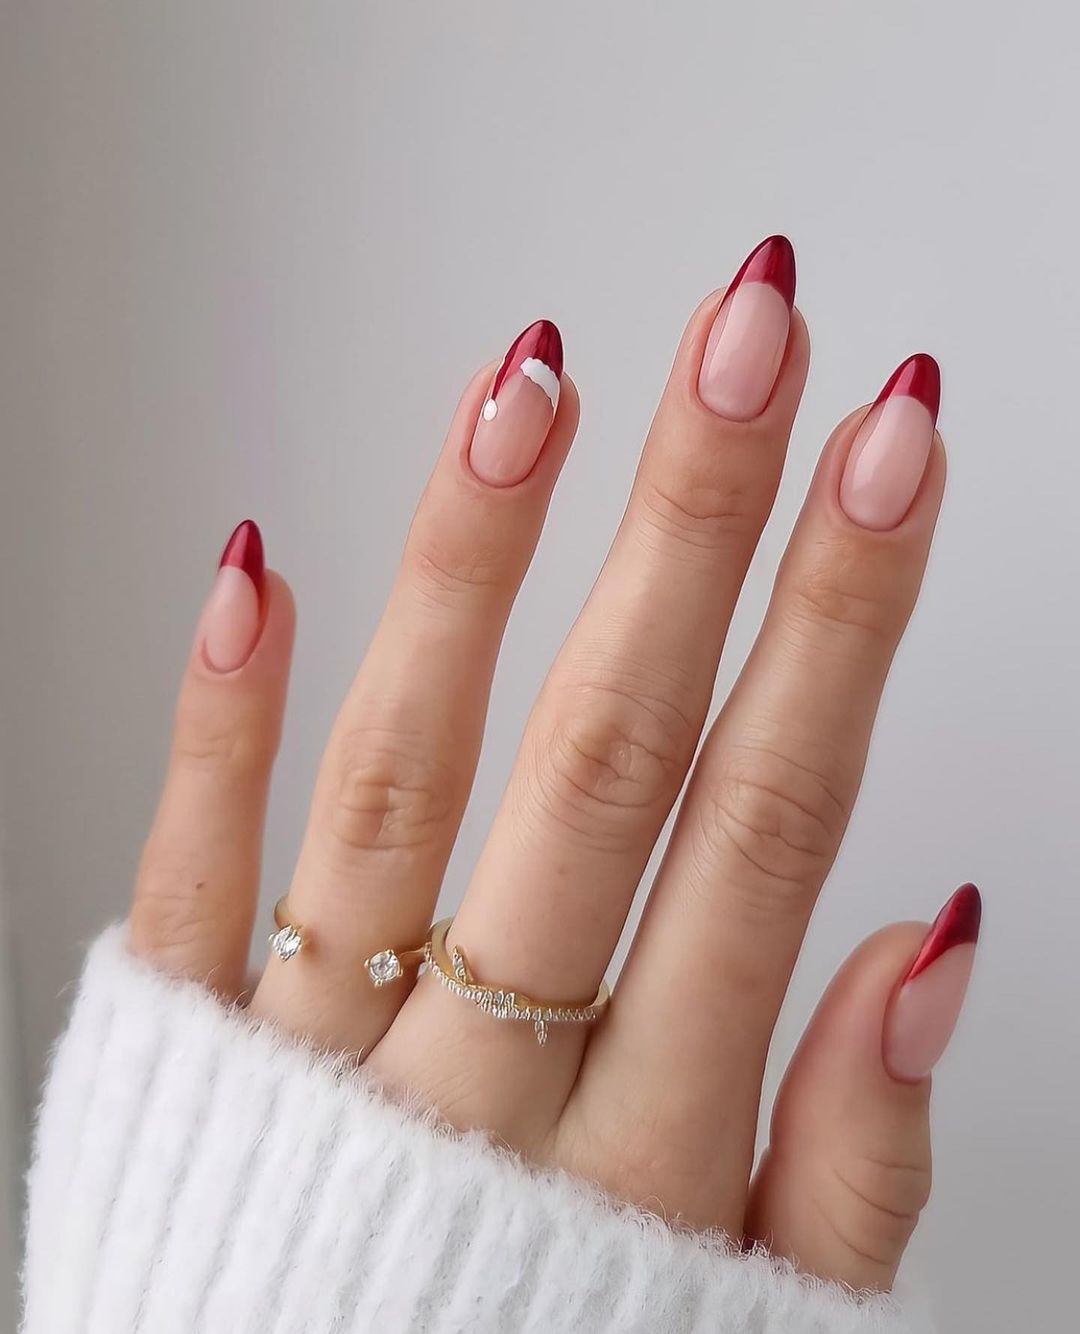
The ombre manicure enjoys dizzying popularity in the beauty industry.
Two gorgeous colors come together to create a stunning gradient that makes a striking statement! It is adaptable at its core, performing well no matter what color combos you throw at it.
But if you’re looking for a highly trendy style, you won’t go wrong with the classic and bold pairing of red and black.
Symbolic of love, power, elegance, mystery, passion, and confidence, red and black ombre nails will gain appreciation wherever you go.
It is a color combination that speaks volumes about your personality, and we’ll give you the rundown on how to use it to add some oomph to an otherwise boring outfit.
The Art of Red and Black Ombre Nails
Ombre is the art of blending two different but complementary colors to create a gradient. The hues marry together so seamlessly, you can’t even tell where one color ends and another begins! No wonder it’s so popular in the nail industry.
While this effect comes out beautifully with almost every color combination, we can’t deny the fierceness of the red-and-black combination. This dramatic, eye-catching pair makes a statement, attracting gazes wherever you go.
Red and black nails with ombre effects are the picture of versatility. Endless variations in design and adornments, endless spin-offs from nail experts for different occasions!
Going to a party? Dress your claws with a black and red radiant from the tip down, and bring it together with a shiny top coat. Headed to a formal event? Skip the glossy top coat to keep things matte. Want all eyes on you? Mix-and-match red and black ombre with rhinestones or sparkles on the accent nail!
30+ Ideas for Red and Black Ombre Nails
Want to recreate this two-toned look to add dimension to your outfit? Here are 30+ ways to pump up the wow factor and achieve the gradient of your dreams.
1. Red and Black Almond Ombre Nails
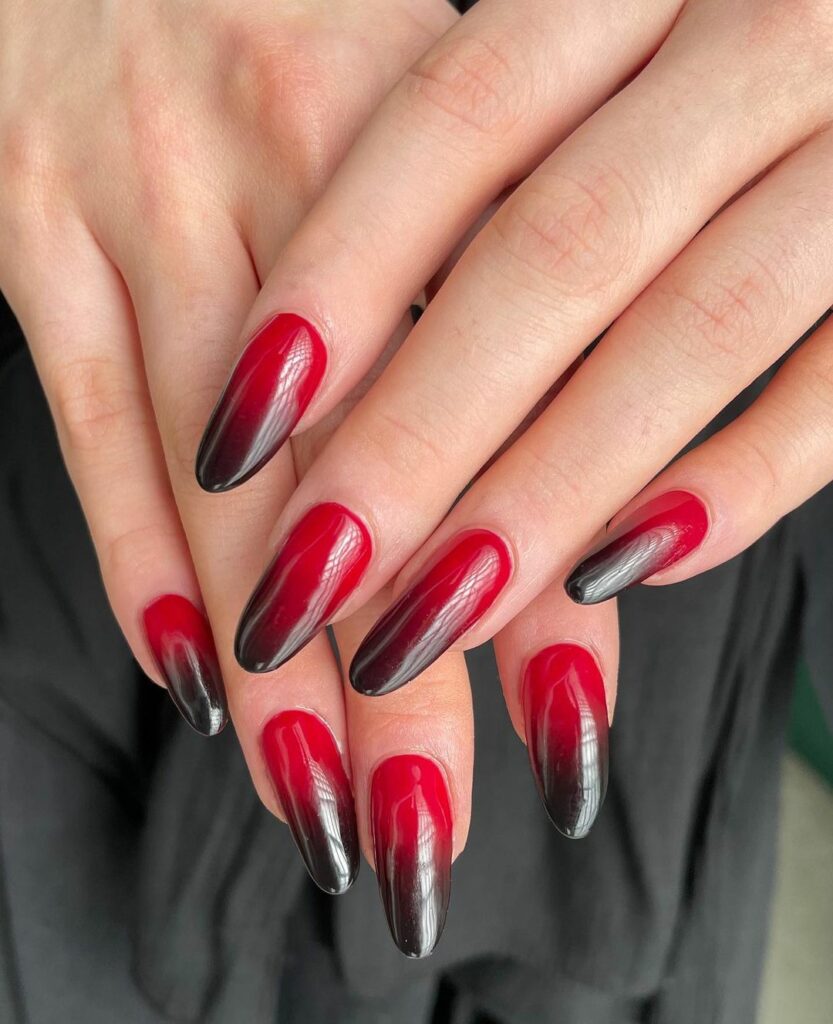
2. Matter Red and Black Ombre Nails
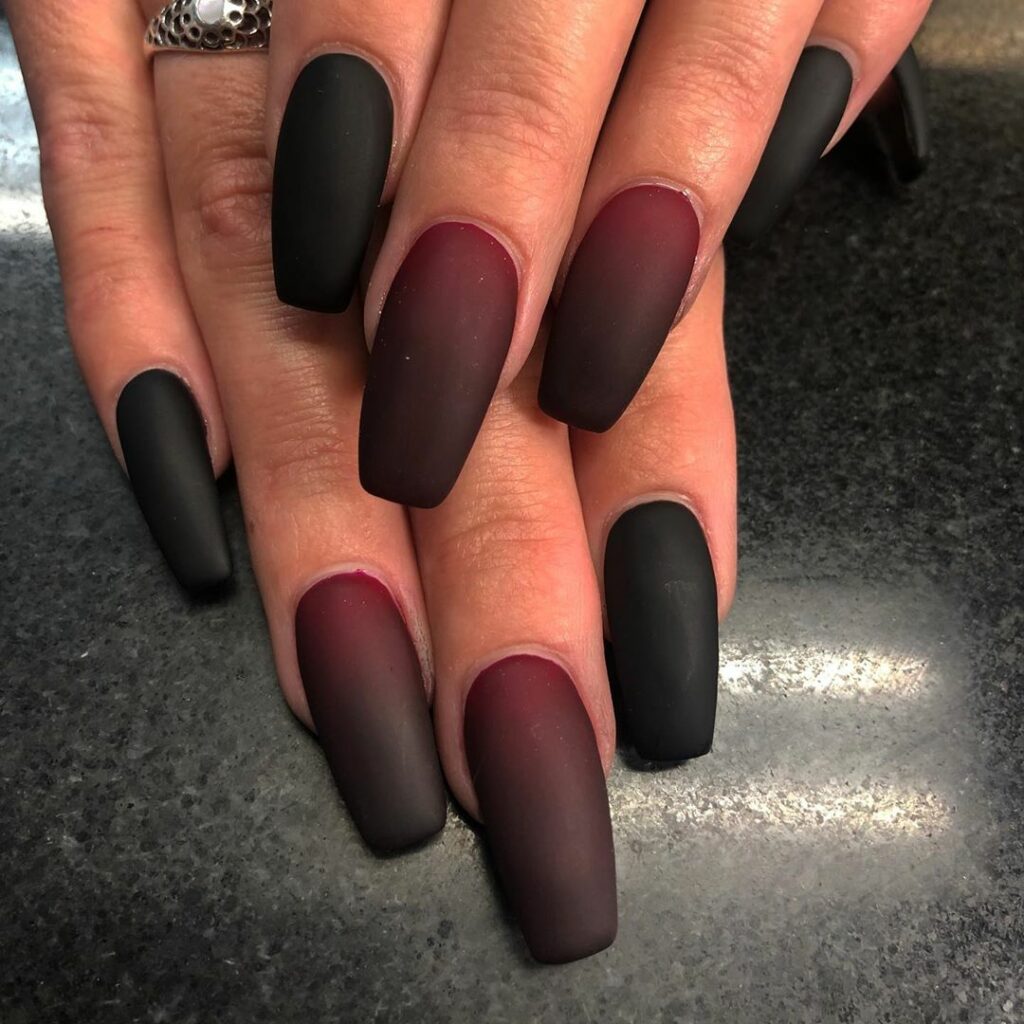
3. Black and Red Glitter Ombre Nails
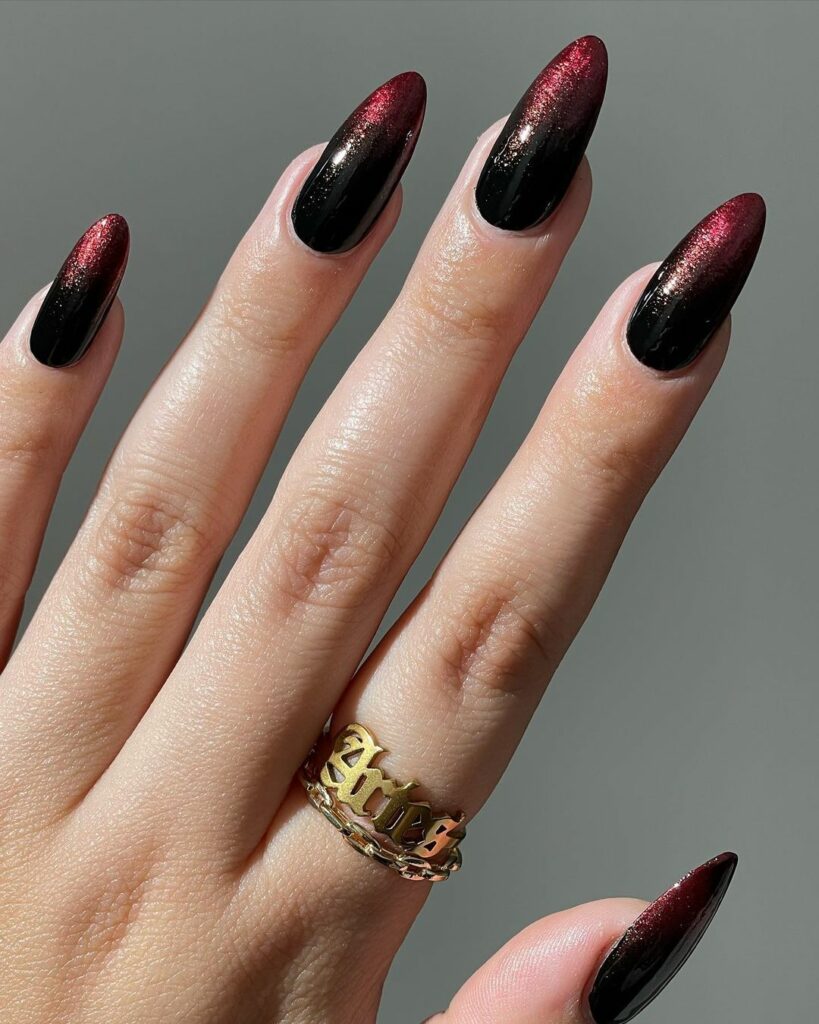
4. Black and Red Vertical Ombre Nails
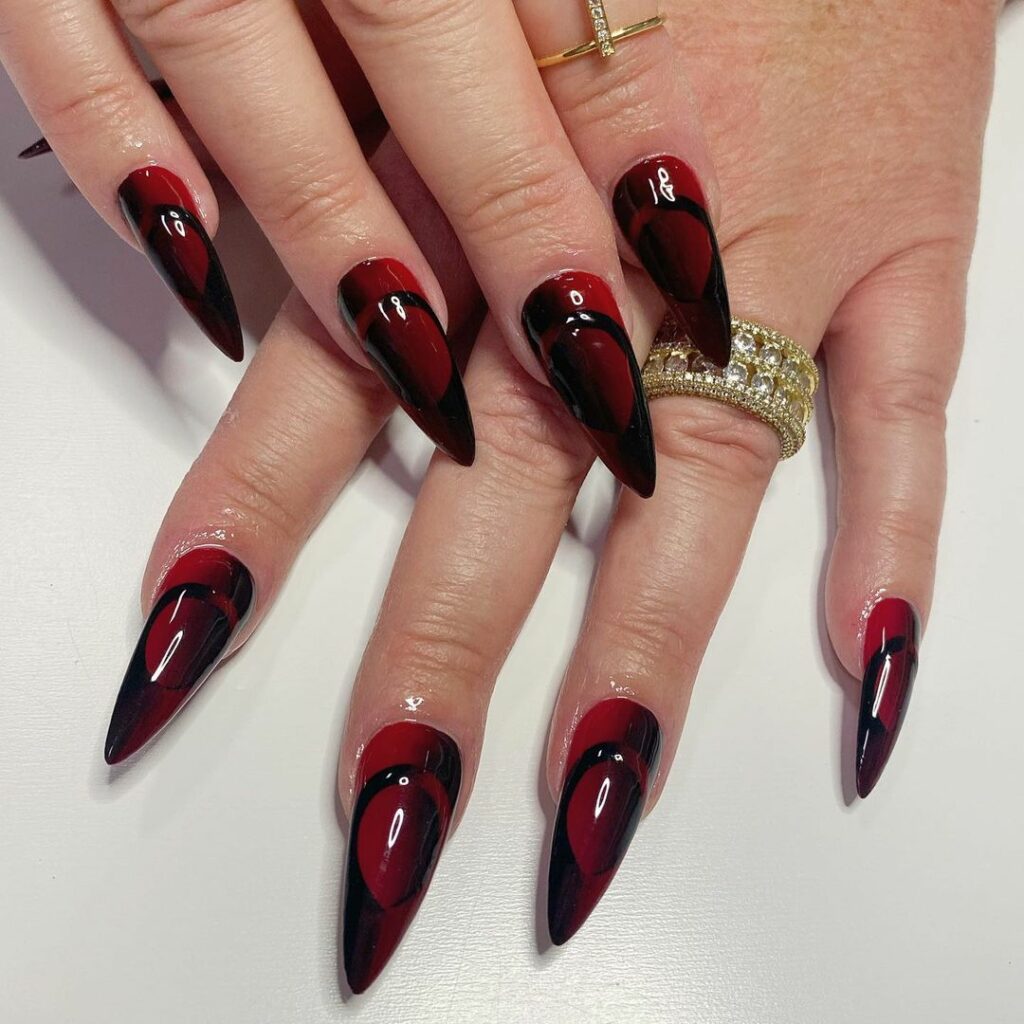
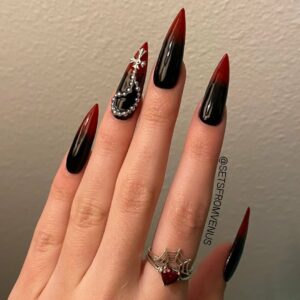
5. Gothic Black and Red Ombre Nails
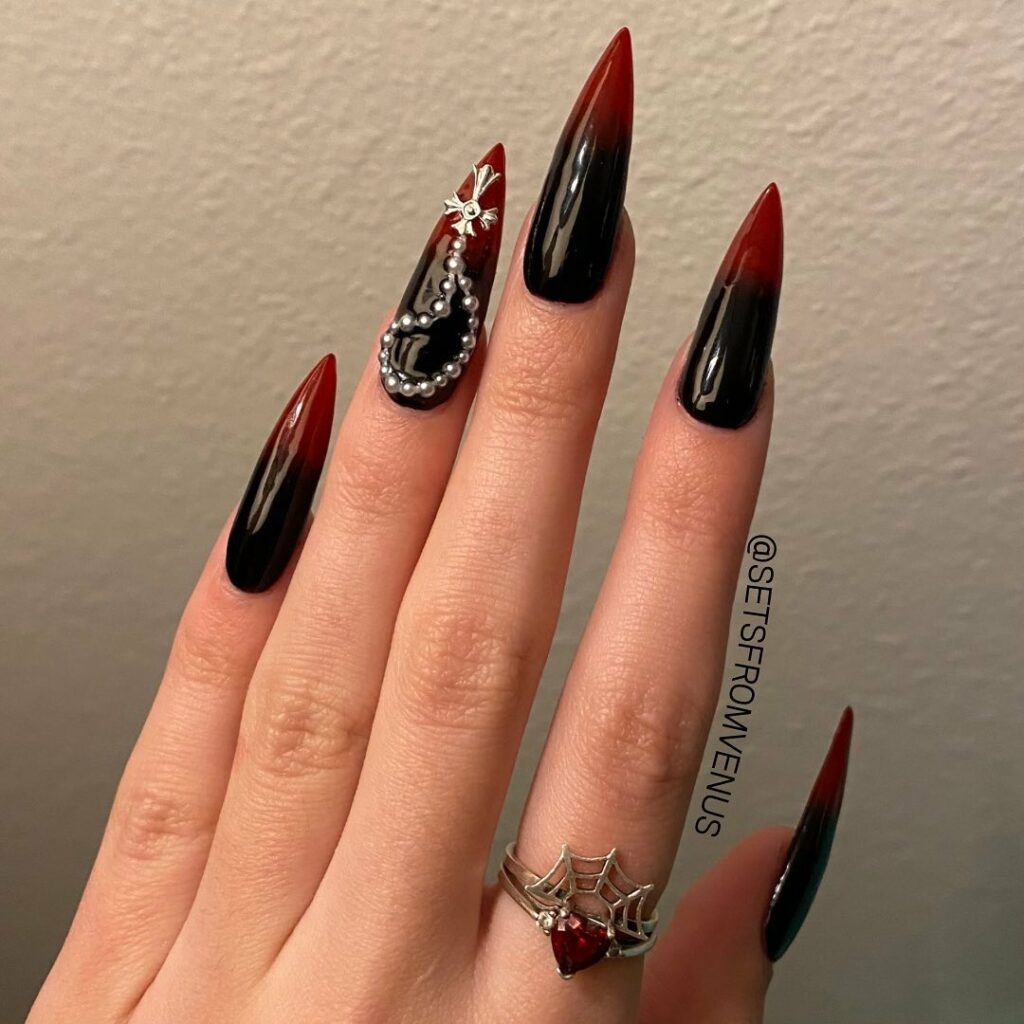
6. Long Acrylic Black and Red Marble Ombre Nails
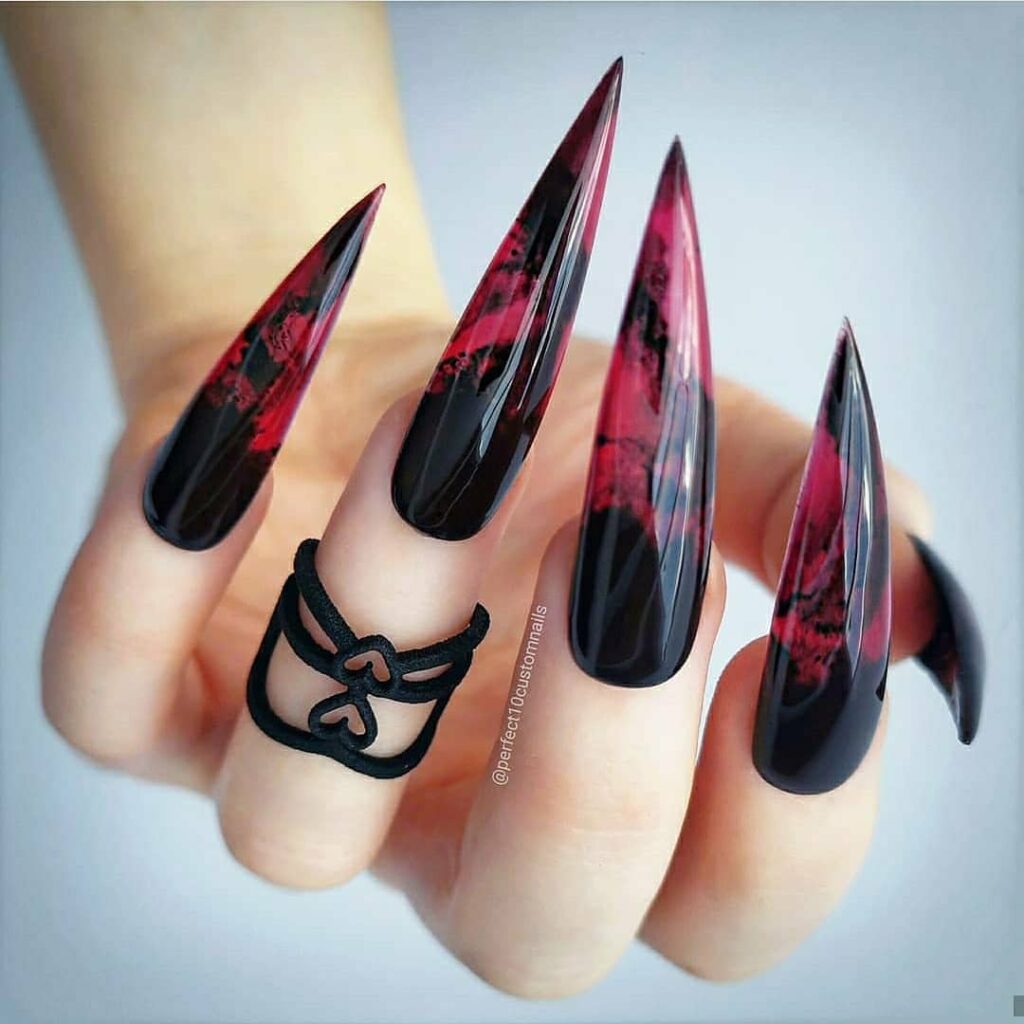
7. Black and Red Ombre Nails with Gold
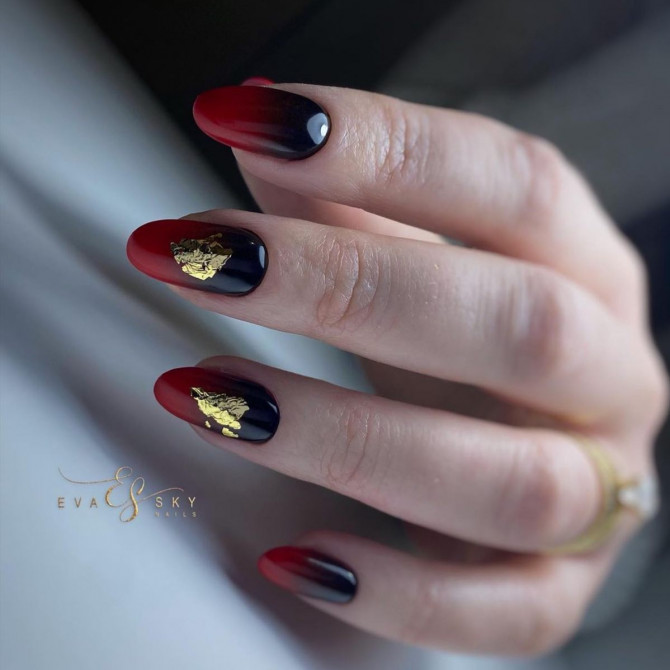
8. Stiletto Shaped Black and Red Ombre Nails
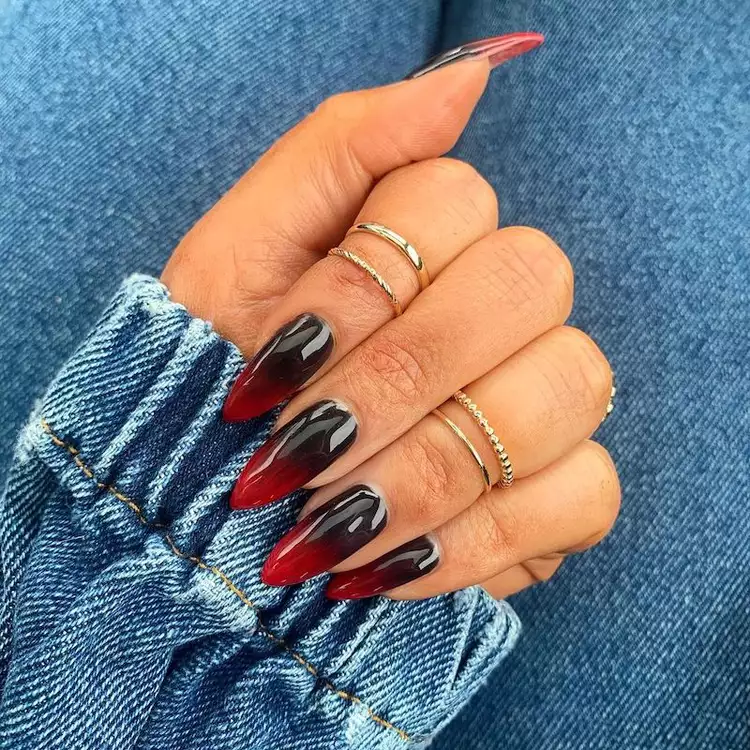
9. Vampire Inspired Black and Red Ombre Nails
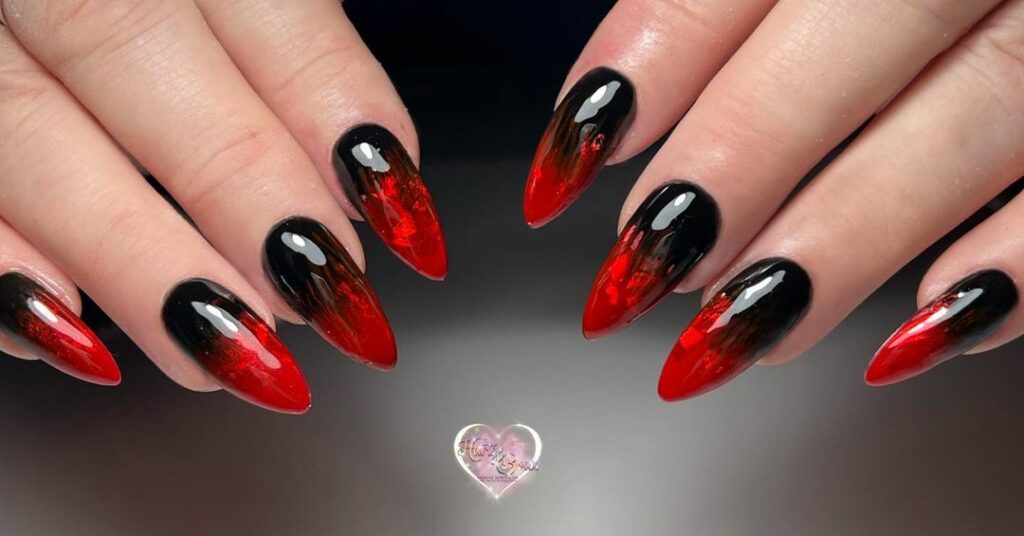
10. Long Coffin Black and Red Ombre Nails
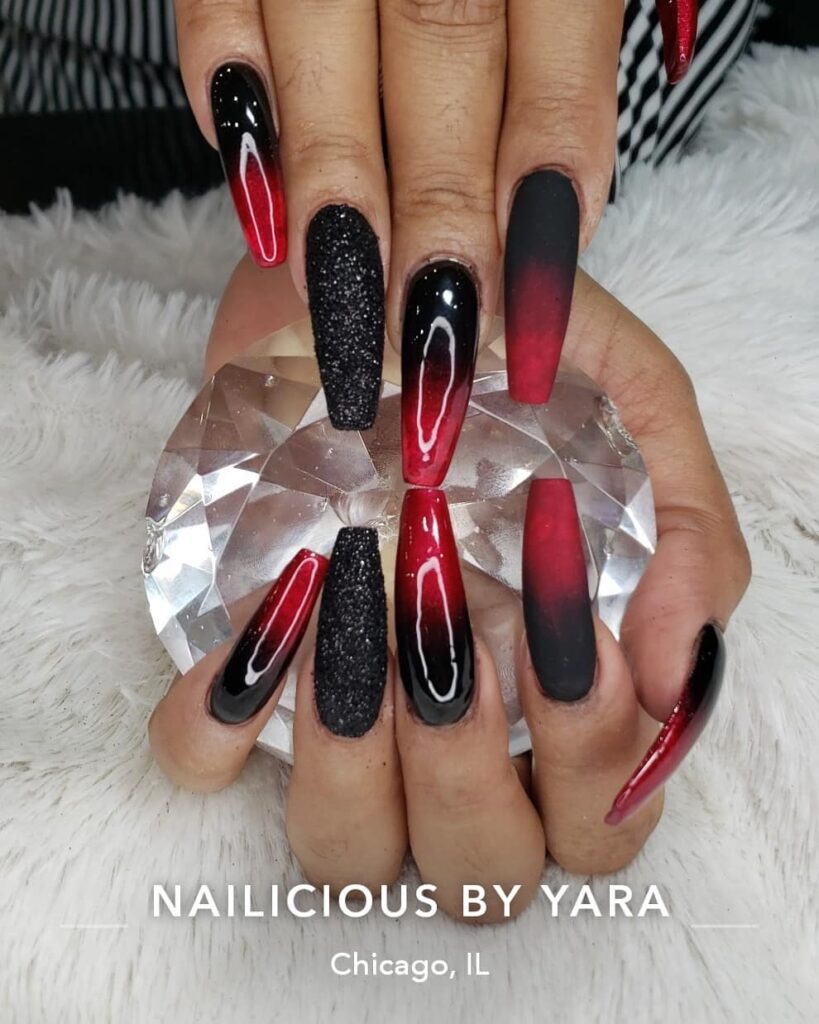
11. Black Ombre Nails with Red Glitter Tips
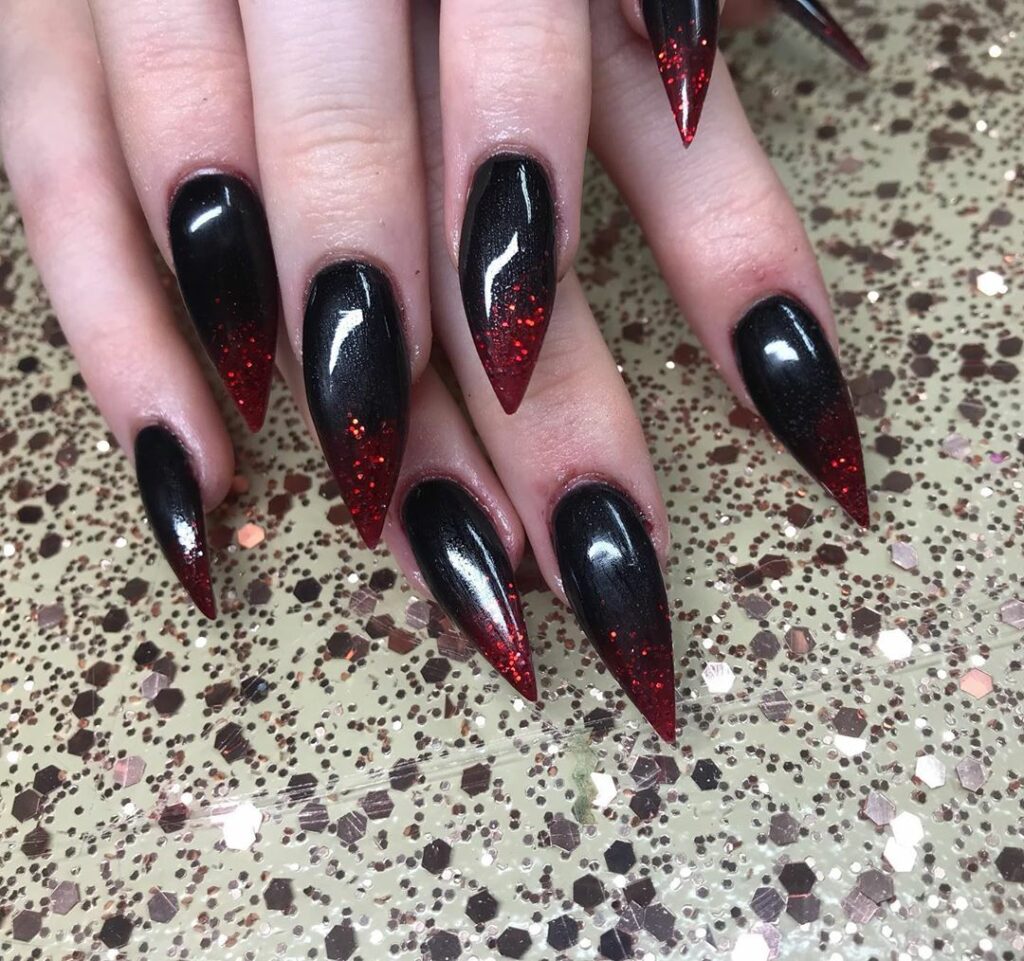
12. Red and Black Ombre Nails with Crystals
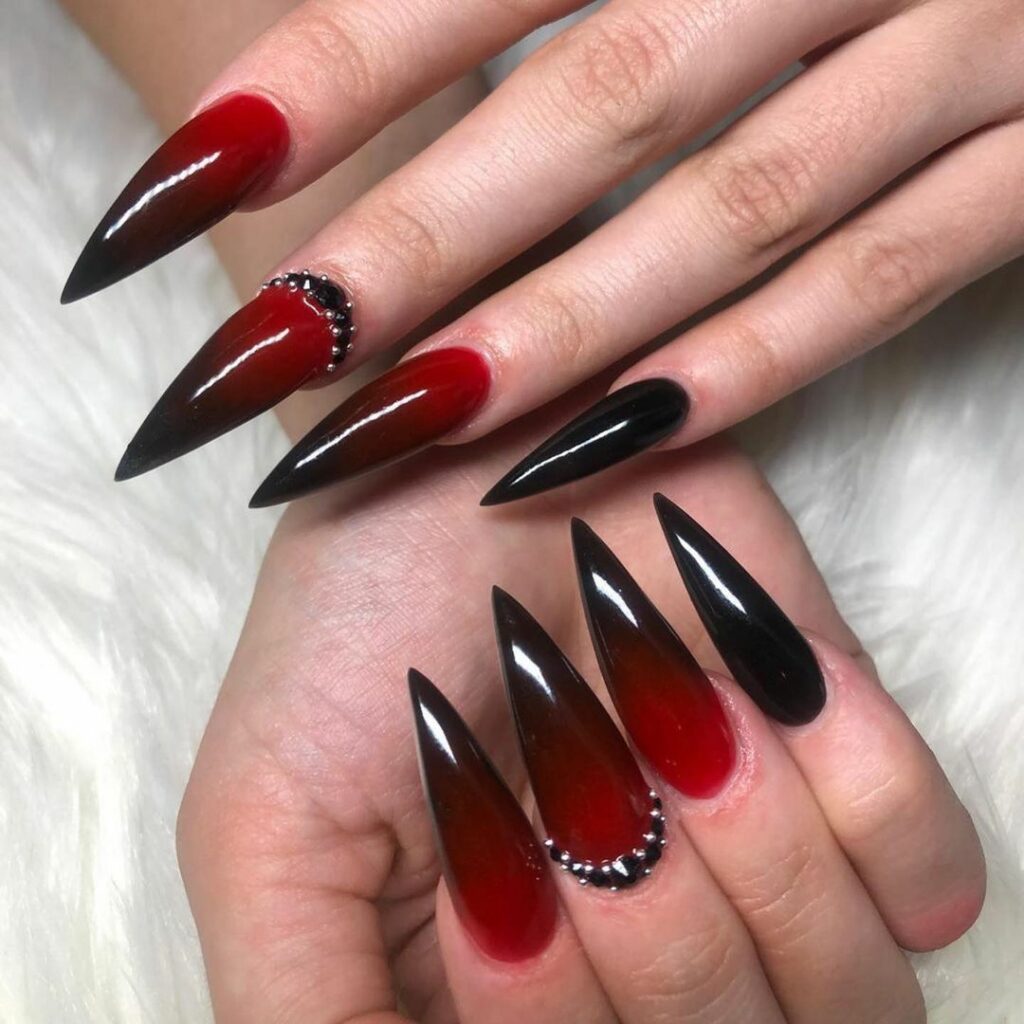
13. Halloween Design Red and Black Ombre Nails
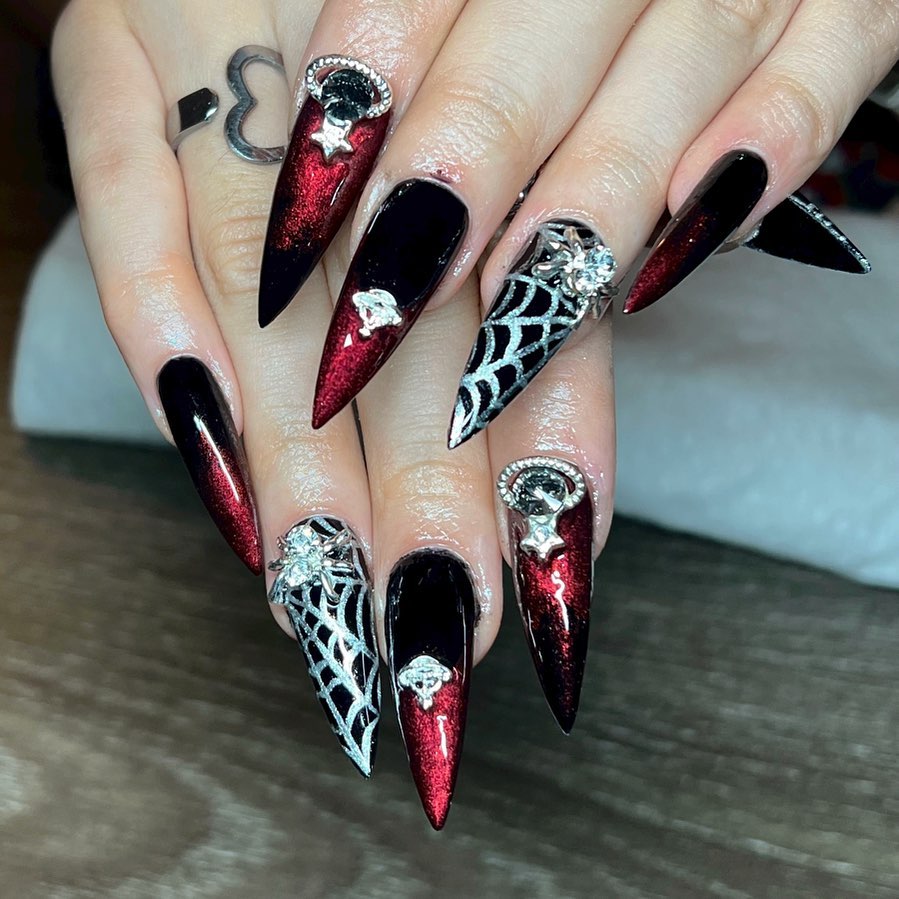
14. Short Red and Black Matte Ombre Nails
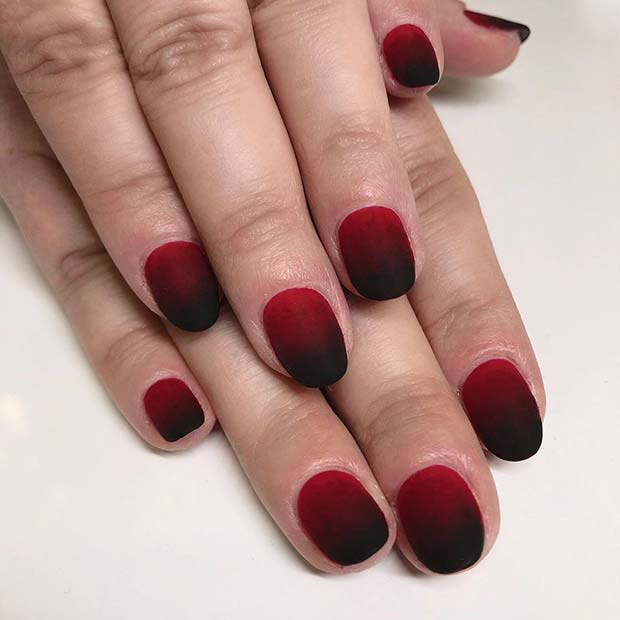
15. Black and Red Ombre Nails with Glitter Dips
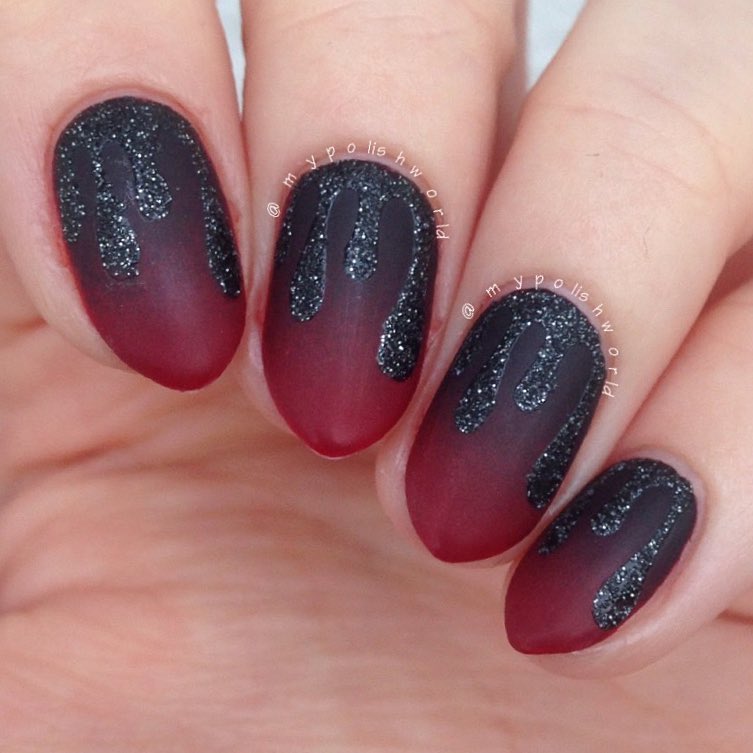
16. Textured Black and Red Ombre Nails with French Tip
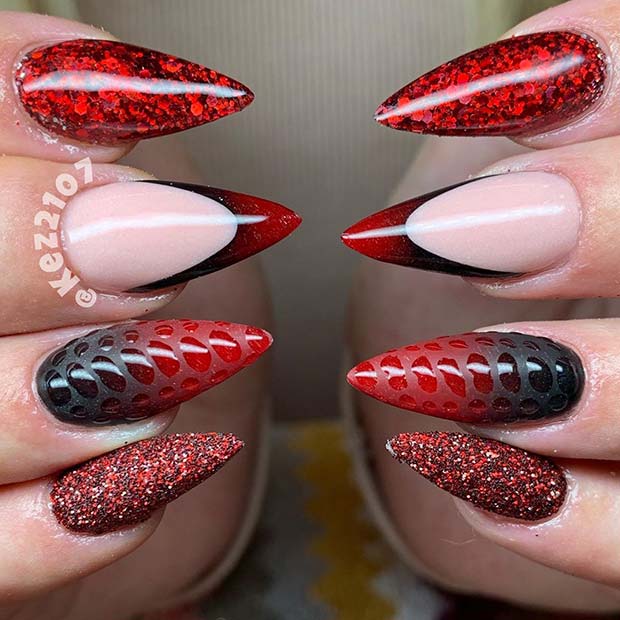
17. Black and Red Ombre and Silver Nails
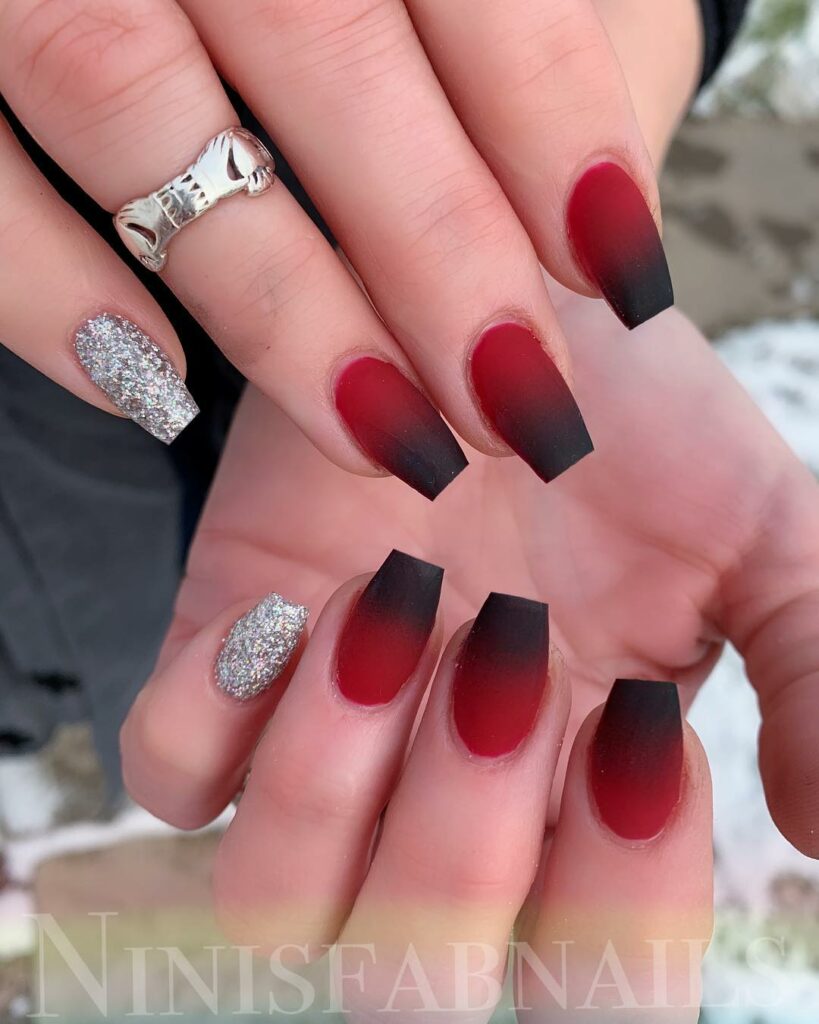
18. Ombré Brushstrokes Nails in Red and Black
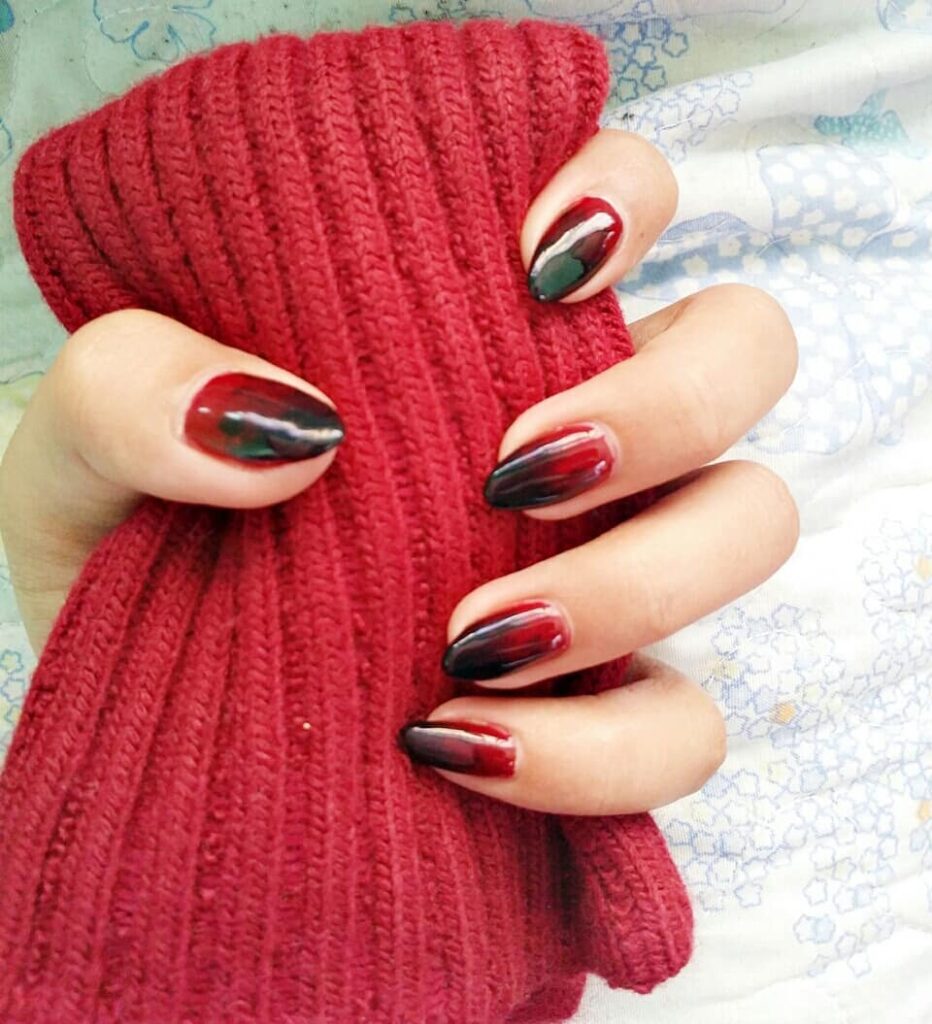
19. Glossy Black and Red Ombre Nails
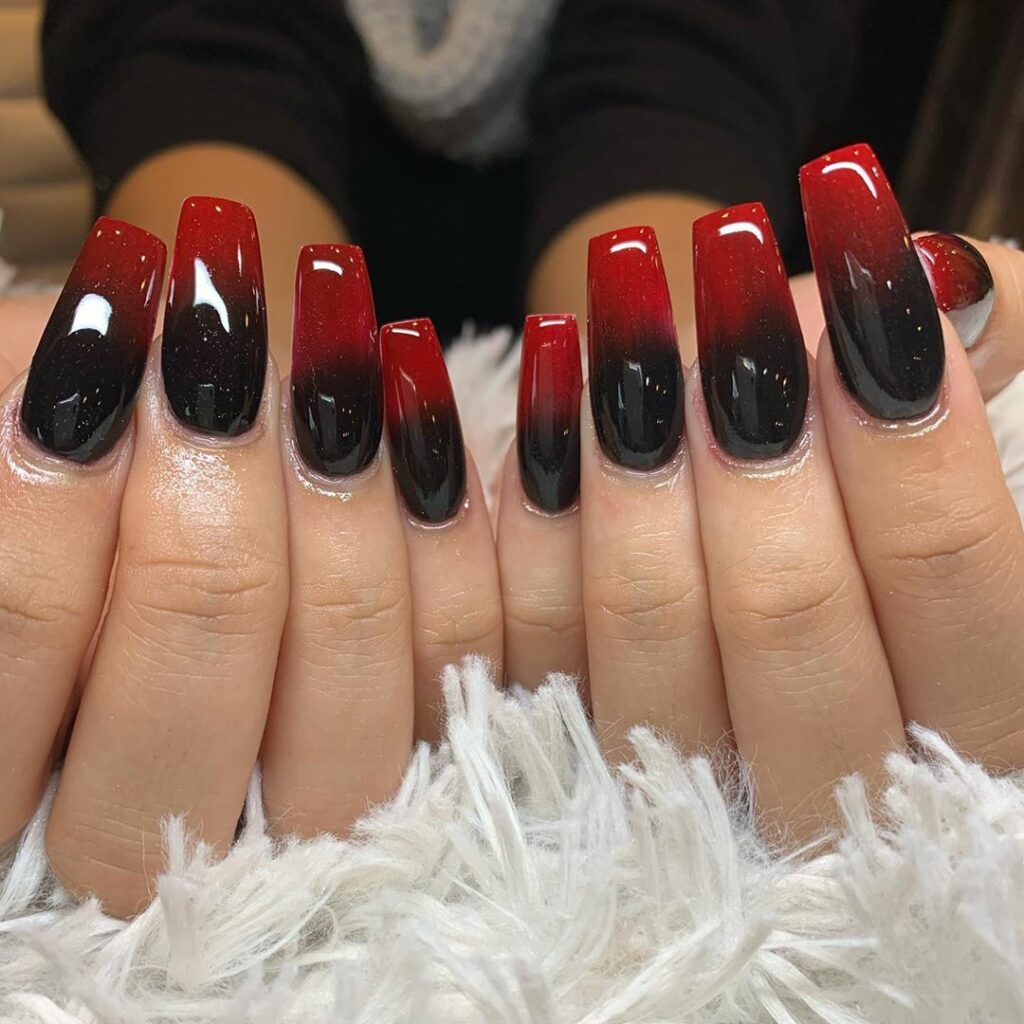
20. Black and Red Flame Nails with Ombre Detail
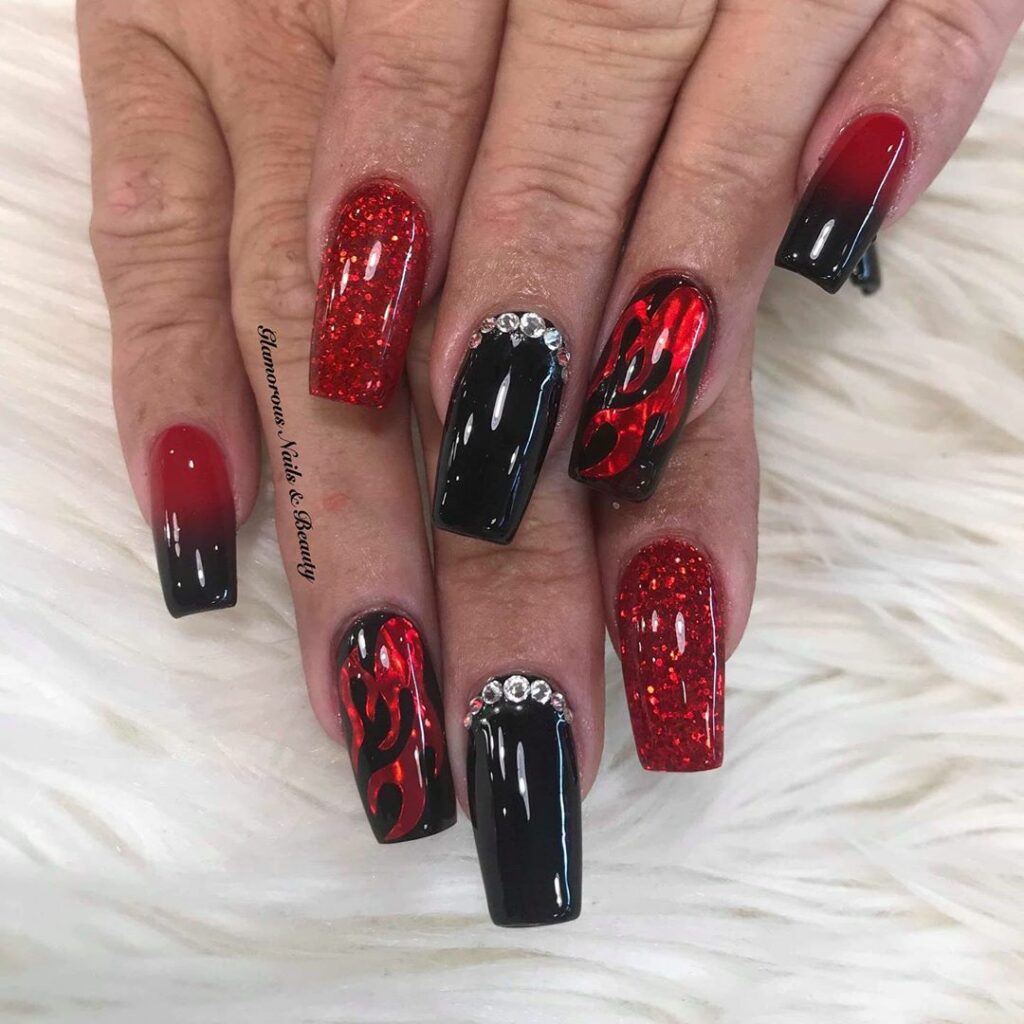
21. Floral Black and Red Ombre Nails
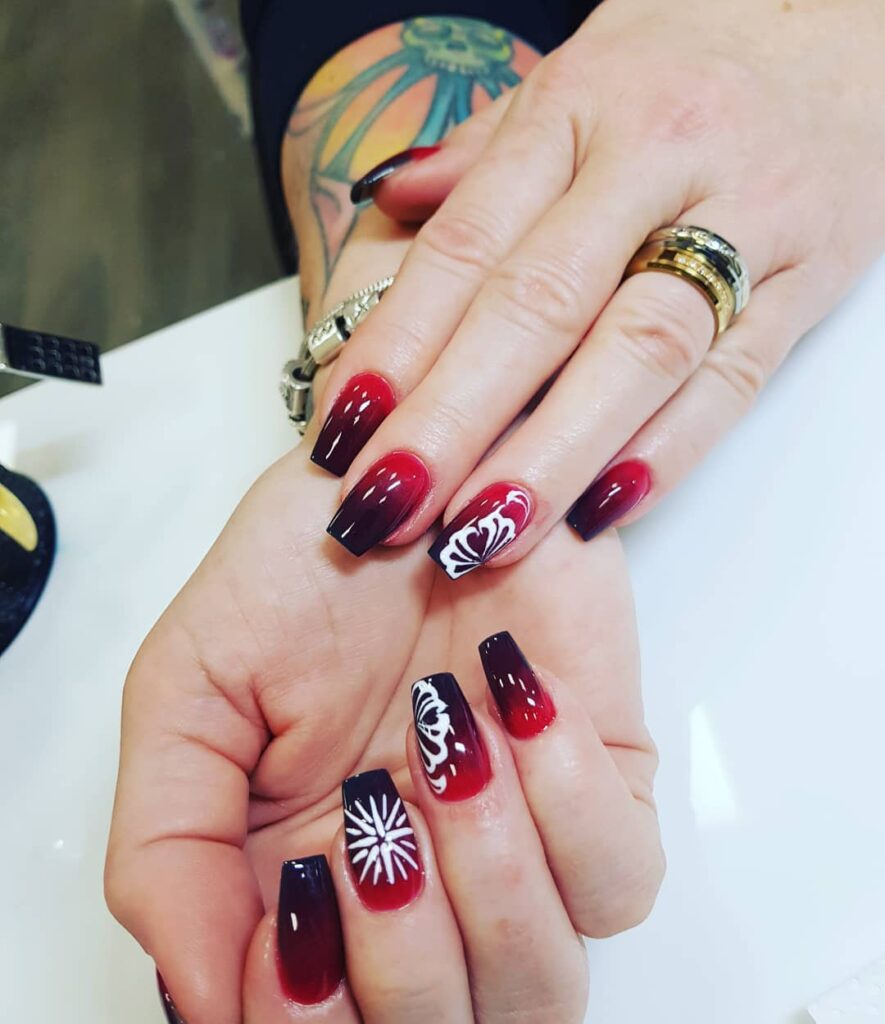
22. Black and Red Ombre Round Nails
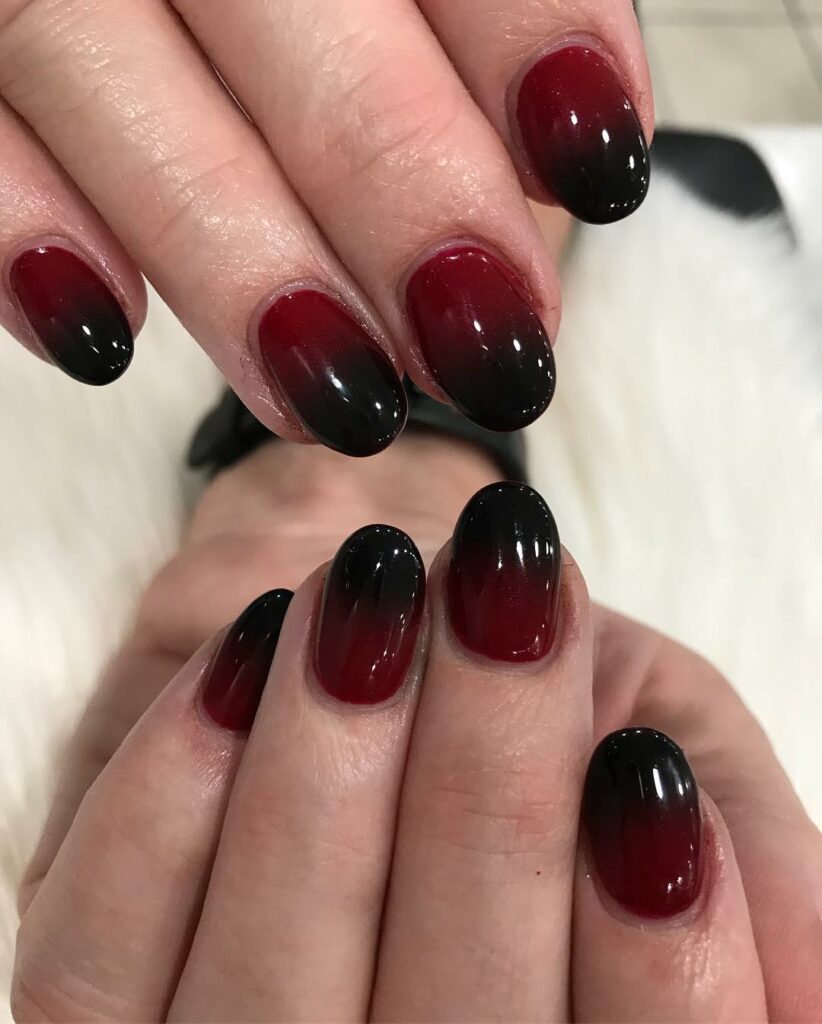
23. Deep Red and Black Subtle Ombré Nails
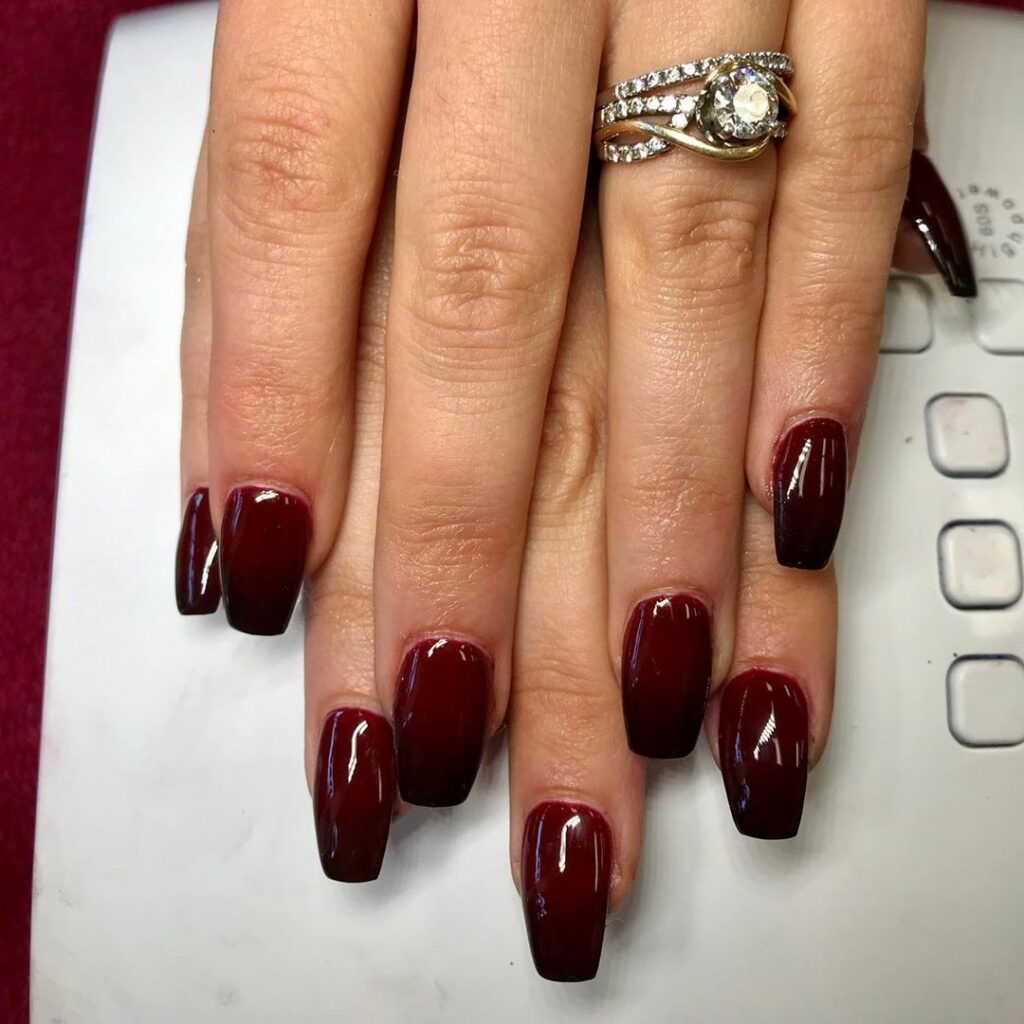
24. Bright Red and Bold Black Ombre Nails
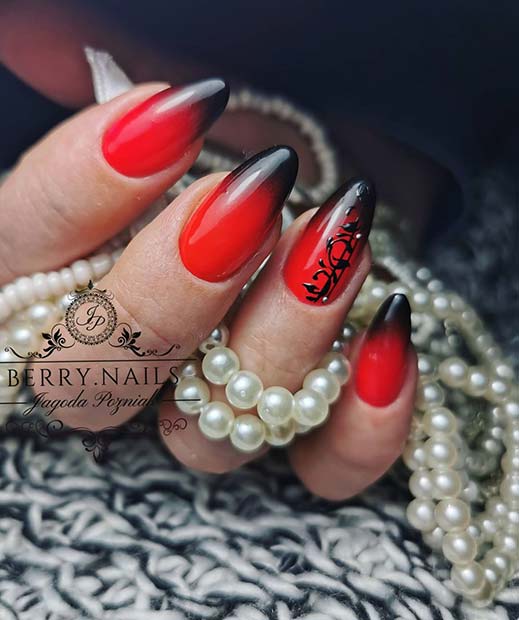
25.
26. French Style Tip Black and Red Ombre Nails
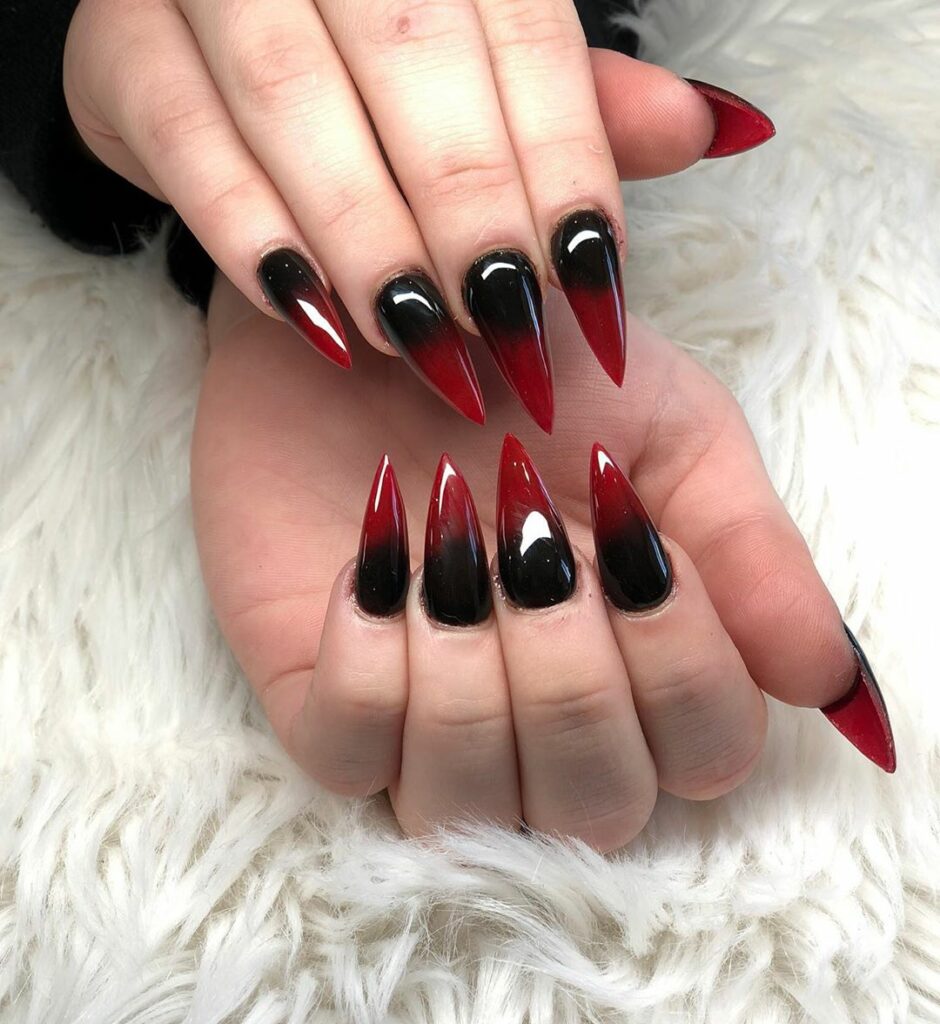
27. Black and Red Aura Ombre Nails with Chrome Details
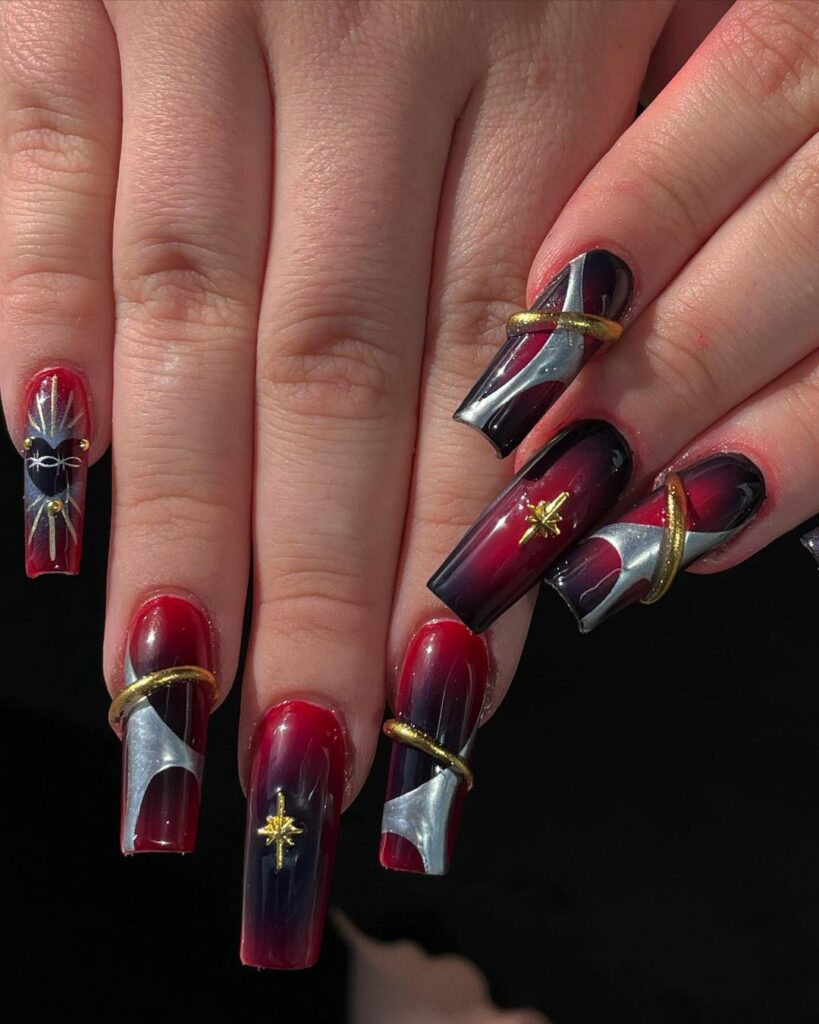
28. Glittery Black and Red Ombre Nails with Spider Art
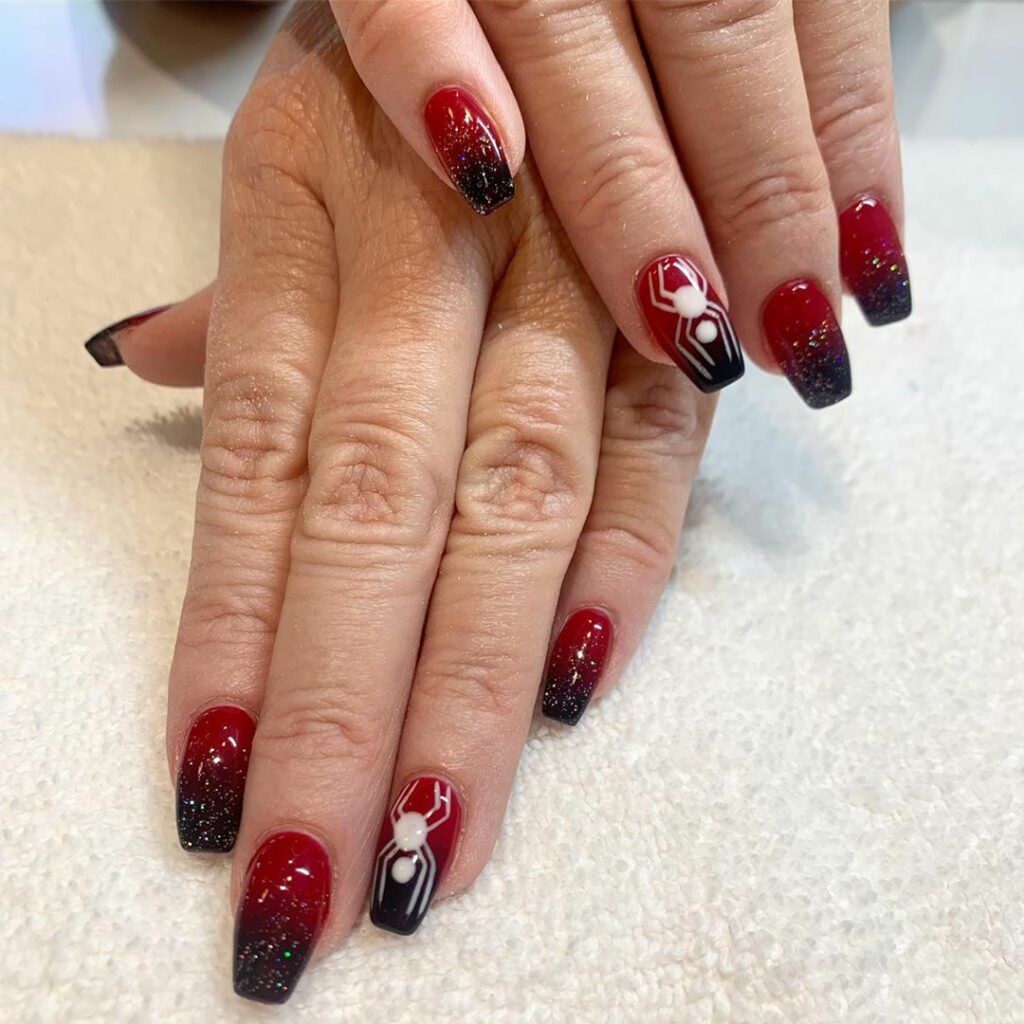
29. Red and Black Ombre Nails with Glitter and Crystals
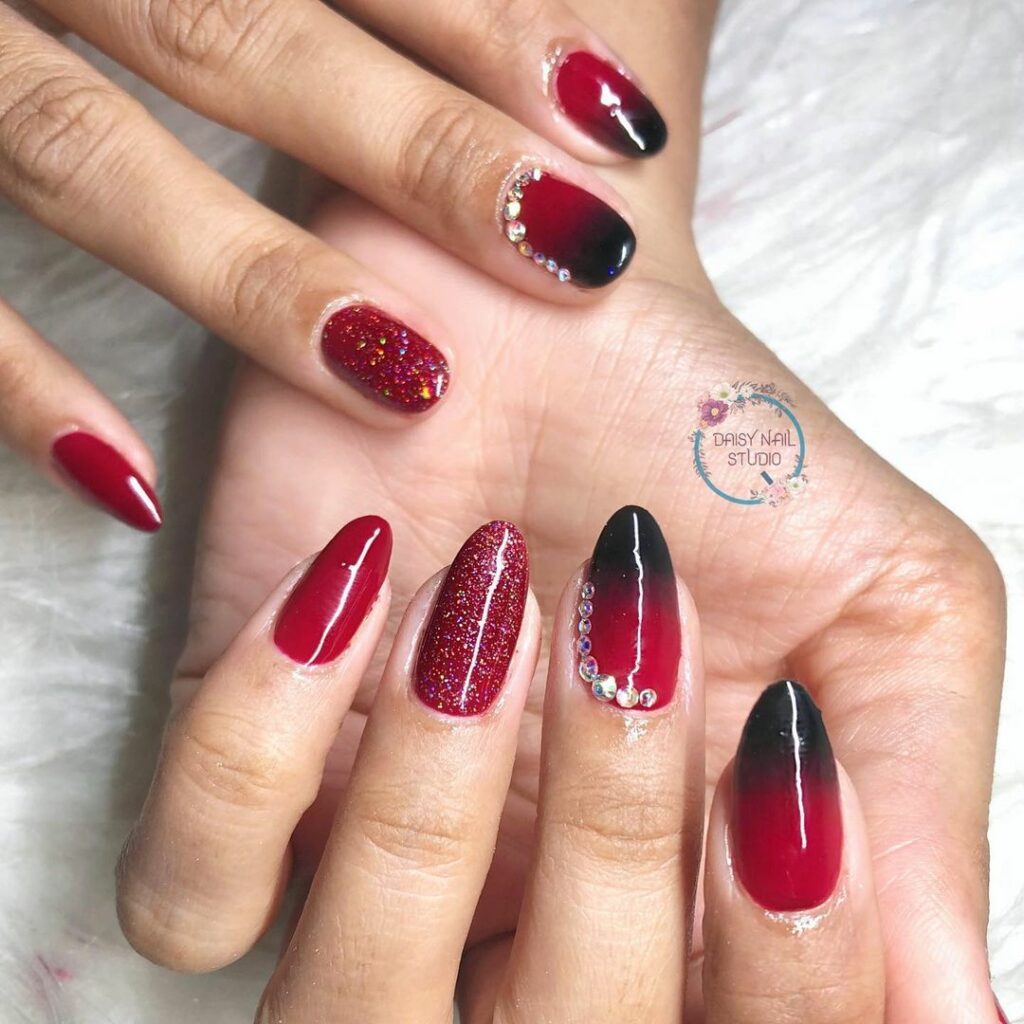
30. Black, Red and White Accent Ombre Nails
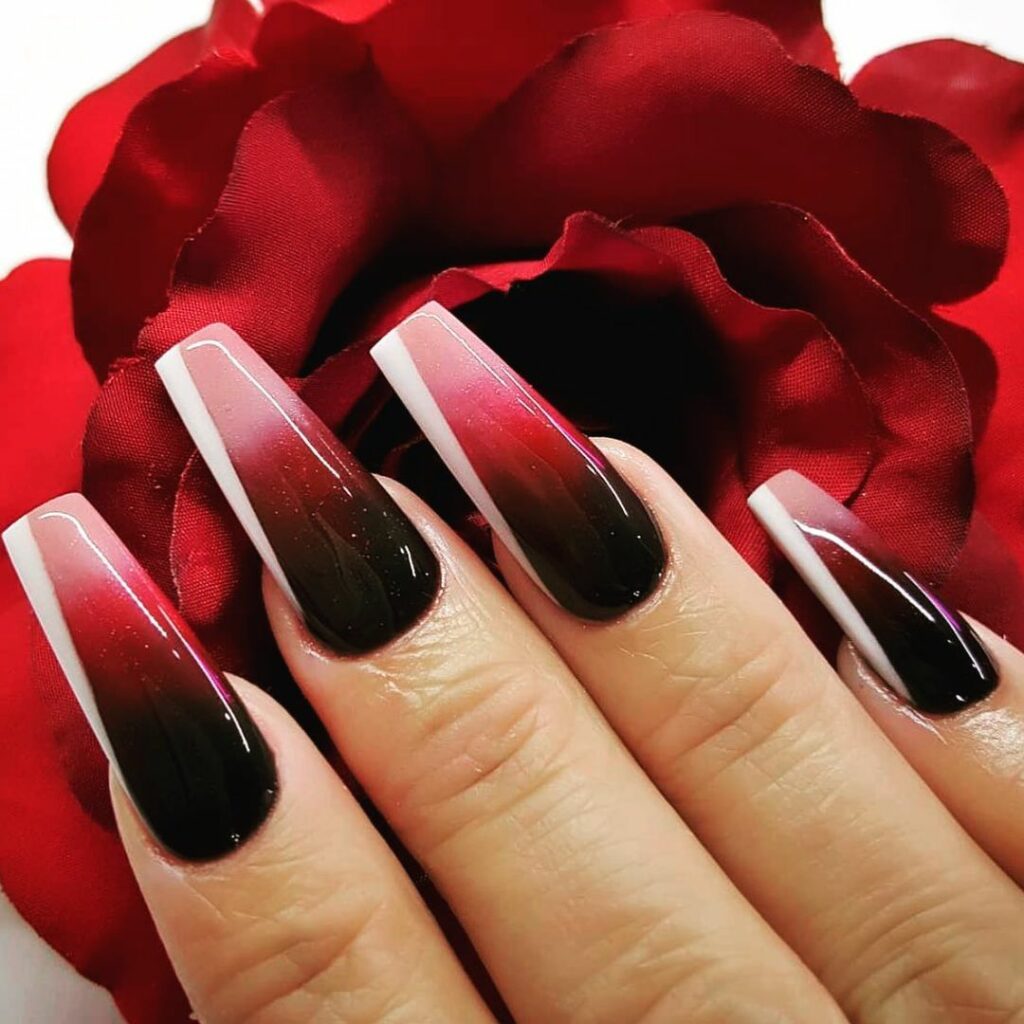
Creating Red and Black Ombre Nails
The ombre technique can appear intimidating, but it’s pretty easy to nail down.
Here’s a step-by-step guide to getting salon-worthy talons:
1. Prep your nails.
- Sterilize your hands with antibacterial soap to remove any traces of dirt, grime, and germs.
- Use a nail clipper to trim excess length.
- Shape your nails to smooth out any rough edges with a nail file.
- Buff the surface of your nails to ensure the paint adheres properly.
- Push back your cuticles to get rid of any dead skin cells.
- Use a lint-free pad to absorb excess oil and keep the nails clean and dry.
2. Apply a clear base coat to protect your nails and keep them from getting stained.
3. Since we use the lighter hue for the base, we’ll go in with red. You can keep it subtle with blush or go for maximum drama with garnet.
3. As to creating the ombre effect, you have two options:
- Sponge: Take a sponge with a similar width to your nail bed and apply a couple of coats of red and black hues on it side-by-side, then stamp it on your nails a couple of times until you achieve the desired effect.
- Brush: Apply black color on the right half of your nail and red on the left, blending them together in the center using a polish brush. Do this multiple times until the colors begin to mix together.
4. Once your nails have dried, go in with a glossy top coat to smooth out any texture, seal in color, and increase its lifespan.
5. Use a Q-tip dipped in nail polish remover to eliminate any messes. Or, you can apply liquid latex around your nails right after nail prep to protect the skin from messes.
And there you have it — the perfect ombre design.
If you want, you can further enhance their appeal with glitter and rhinestones.
Maintaining and Removing Red and Black Ombre Nails
Caring for your ombre nails is easy.
All you have to do is massage your cuticles with cuticle oil to boost your nail’s moisture levels, and apply topcoats every 2-3 days to give your mani some top-quality staying power. It’s also a good idea to wear gloves when doing household chores.
And if you want to remove the nail polish for a quick refresh, you can soak your nails for 10-20 minutes in a bowl with acetone — or, use the foil method.
Conclusion
If you want a statement-making look, red and black ombre nails will not fail you.
This dramatic nail effect is stunning by itself, though you can always play around with different nail accessories to create a look that’s unique to you!

