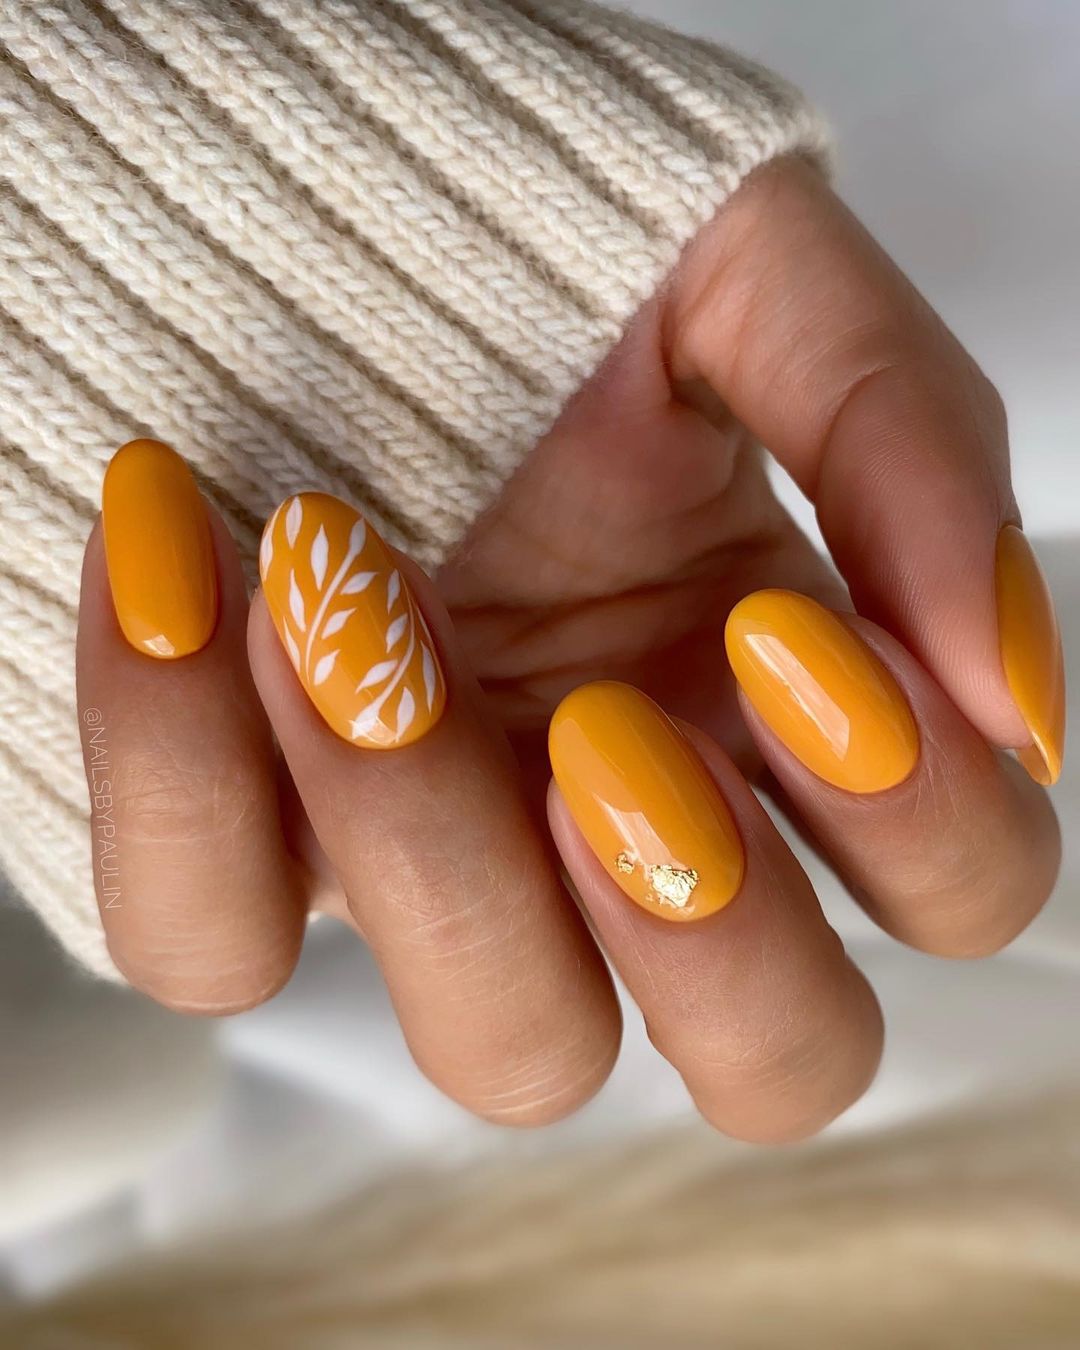
Nail dipping powder is a fantastic way to achieve long-lasting, flawless nails without the hassle of UV lights or complex processes. And with dipping powder kits, this design is available for nail enthusiasts at all levels. This article is your ultimate guide to creating stunning nail designs using a nail dipping powder kit.
What Are Nail Dipping Powder Kits?
Nail dipping powder kits revolutionise the way we approach nail art. They consist of a series of elements that work cohesively to provide a professional and lasting manicure.
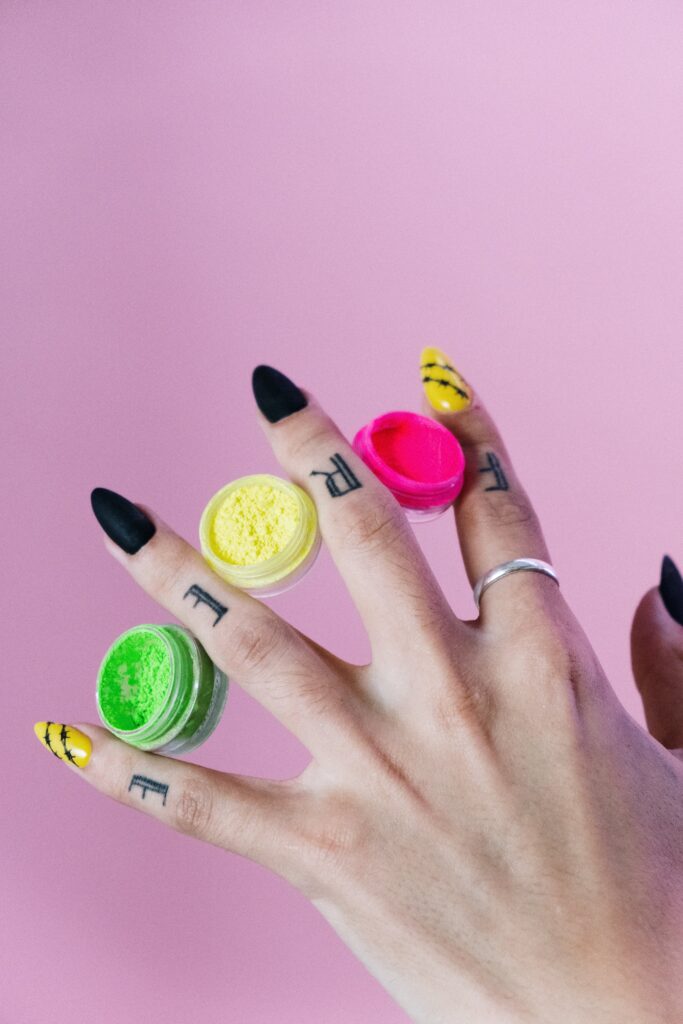
A standard kit typically includes a base coat, an array of coloured powders, an activator, and a topcoat.
Let’s explore these components in more detail:
- Base coat: This initial layer primes the nail, creating an adhesive surface for the coloured powder.
- Powders: Available in an array of shades, these powders are the heart of the kit, enabling creativity and personalised designs.
- Activator: Once the powder is applied, the activator is used to solidify and strengthen the layers, ensuring a durable and long-lasting finish.
- Topcoat: The final touch, this coat adds lustre to the nails and provides protection to maintain the design’s brilliance.
Advantages of Using Dipping Powder Kits
A nail dipping powder kit boasts various advantages over traditional nail polish or other nail enhancement techniques:
- Longevity: The application typically lasts longer than traditional methods, offering a durable and chip-resistant manicure for several weeks.
- Time efficiency: These designs are less time-consuming than other methods, making them ideal for individuals with busy schedules.
- No UV light required: Unlike gel manicures, nail dipping does not necessitate UV lights, ensuring a safer and easier application process.
Step-by-Step Tutorial for Nail Dipping Powder Kit Designs
Nail dipping powder kits offer an innovative way to create elegant and durable nail designs without the need for UV lights. Follow this comprehensive step-by-step tutorial to achieve stunning nail art using these kits.
Preparing Your Nails
Before diving into the creative process of using nail dipping powder kits, it’s crucial to properly prepare your nails. It ensures a flawless application and enhances the longevity of your manicure.
Begin by cleaning your nails from any existing polish or debris. A gentle nail polish remover can help eliminate any remnants of previous polish.
Following this, cleanse your nails thoroughly to remove oils and dirt that could hinder the bonding of the dipping powder. A gentle scrub using a nail brush and soap will do the trick.
Basic Nail Dipping Technique
- Start by applying a thin, even layer of the base coat to your nails, ensuring complete coverage. Be careful not to flood the cuticles or skin surrounding the nails.
- Once the base coat is applied to all nails, immediately dip your nail into the clear base powder at a 45-degree angle. Ensure the entire nail surface is covered.
- Gently tap your finger to remove excess powder. You can use a soft brush to remove excess powder gently.
- Repeat the process for each nail. Allow the base coat and powder to set before moving to the next step.
- After applying the base powder, dip your nails into the coloured powder of your choice. Ensure each nail is evenly coated. You can repeat the dipping process for a more intense colour.
- If necessary, use an angled brush to remove any excess powder around the nail and cuticle areas.
- Allow the powder to set for a few seconds before moving on to the next step.
Shaping and Filing Techniques
Shaping and filing are essential to achieve the desired nail shape and length:
- Once the powder is applied, use a fine-grit buffer to smooth the surface of your nails. Gently buff the nails to ensure a seamless finish.
- File the nails to your chosen length and shape. You can create square, oval, almond, coffin, or other shapes to suit your style.
Creating Designs and Patterns
Experimenting with multiple colours can add depth and vibrancy to your nail designs:
- Begin by layering or blending different coloured powders to create gradient effects or intriguing combinations. Apply one colour at a time, ensuring each layer is properly set before applying the next.
- You can mix or overlay colours to achieve an ombre effect, creating a smooth transition from one colour to another.
Using Stencils or Nail Art Tools
Specialised nail art tools can help in creating intricate designs or patterns:
- Stencils allow for precise patterns or shapes on your nails. Place the stencil gently over the nail and apply the powder to achieve the desired design.
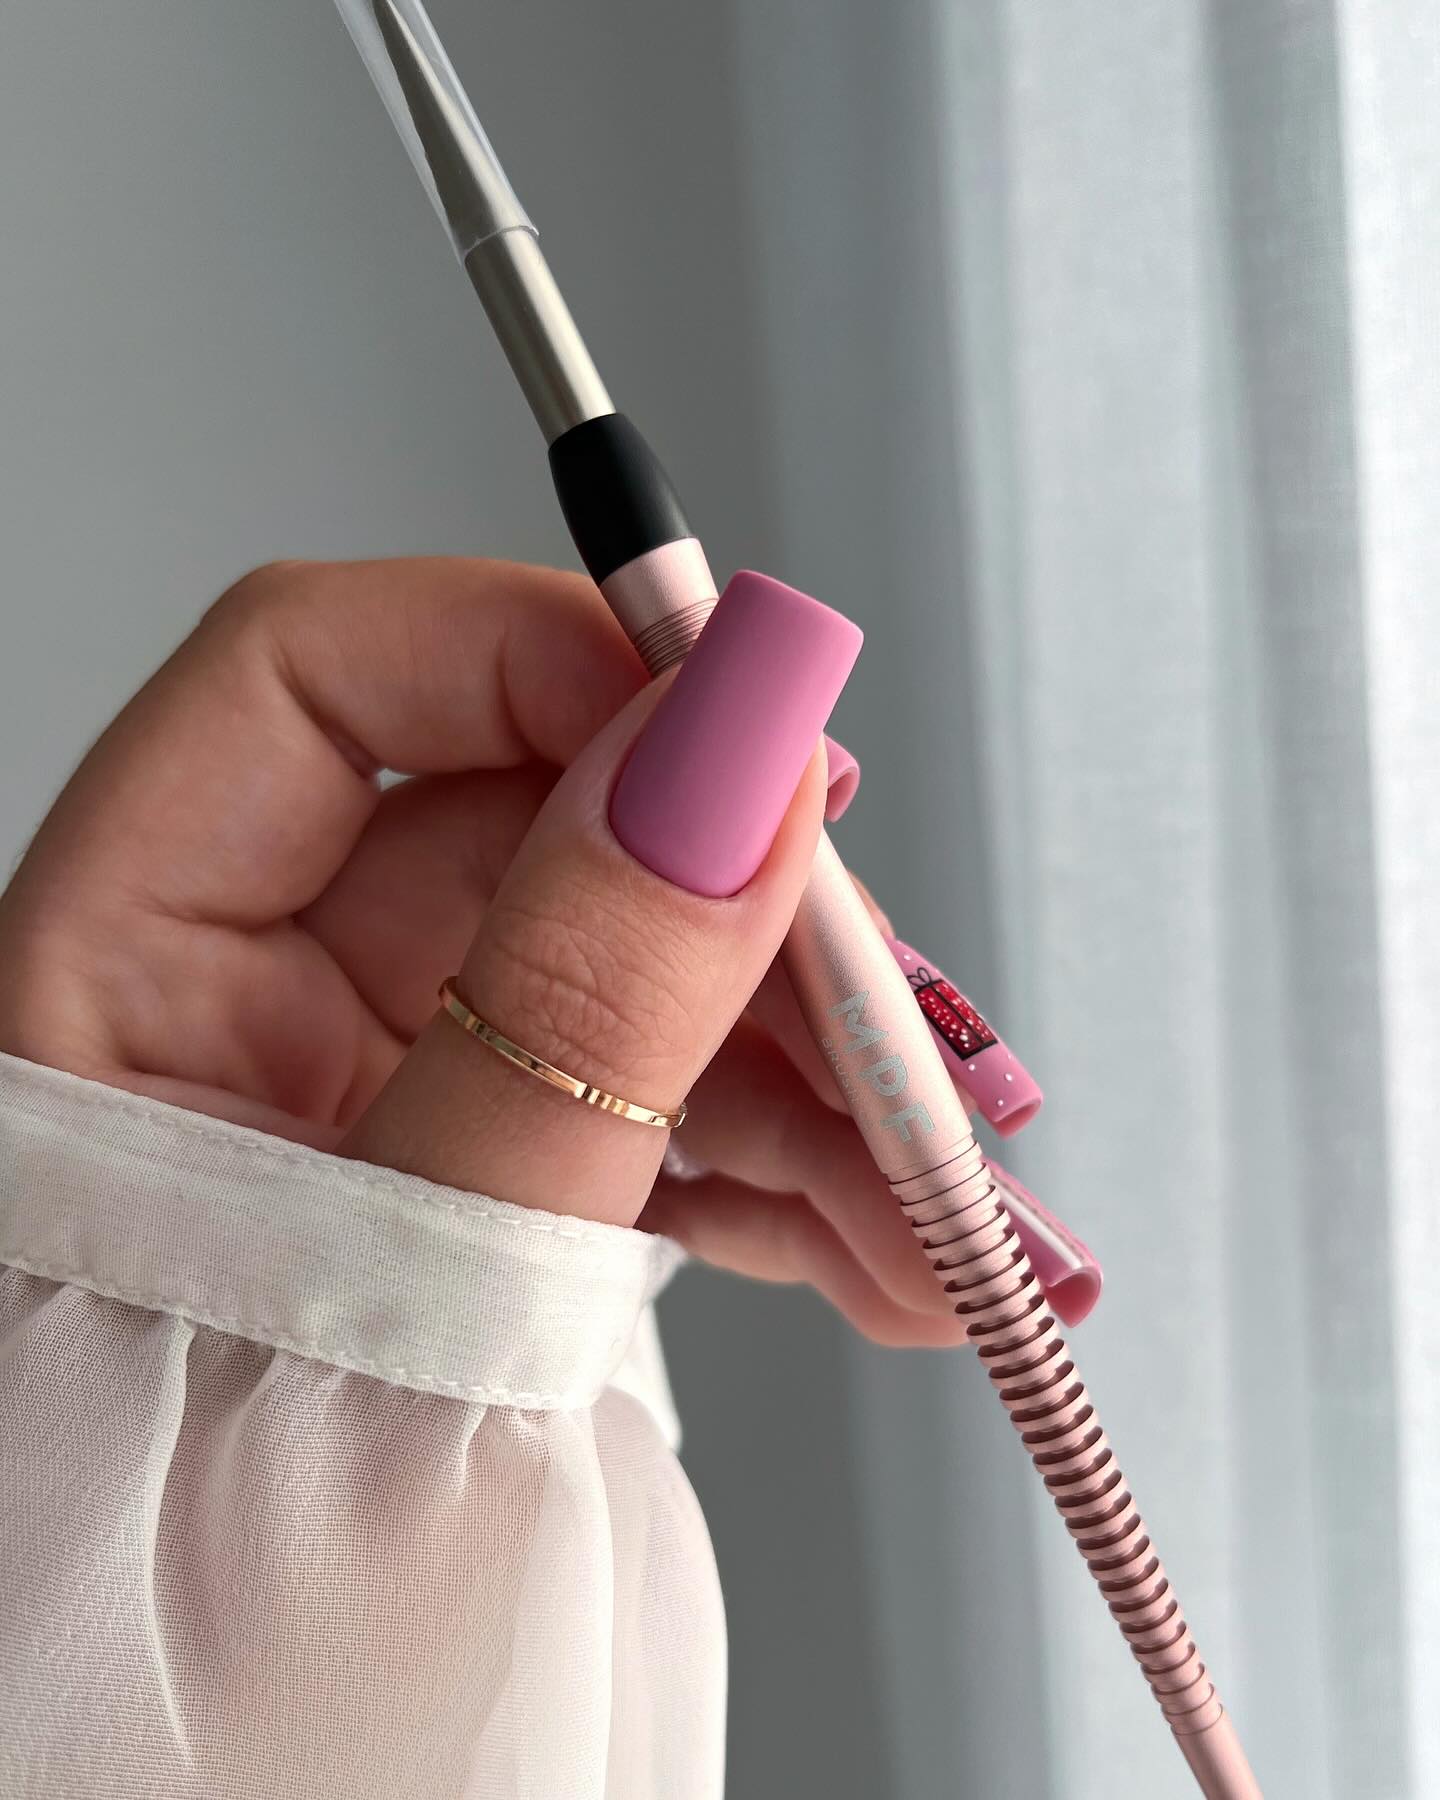
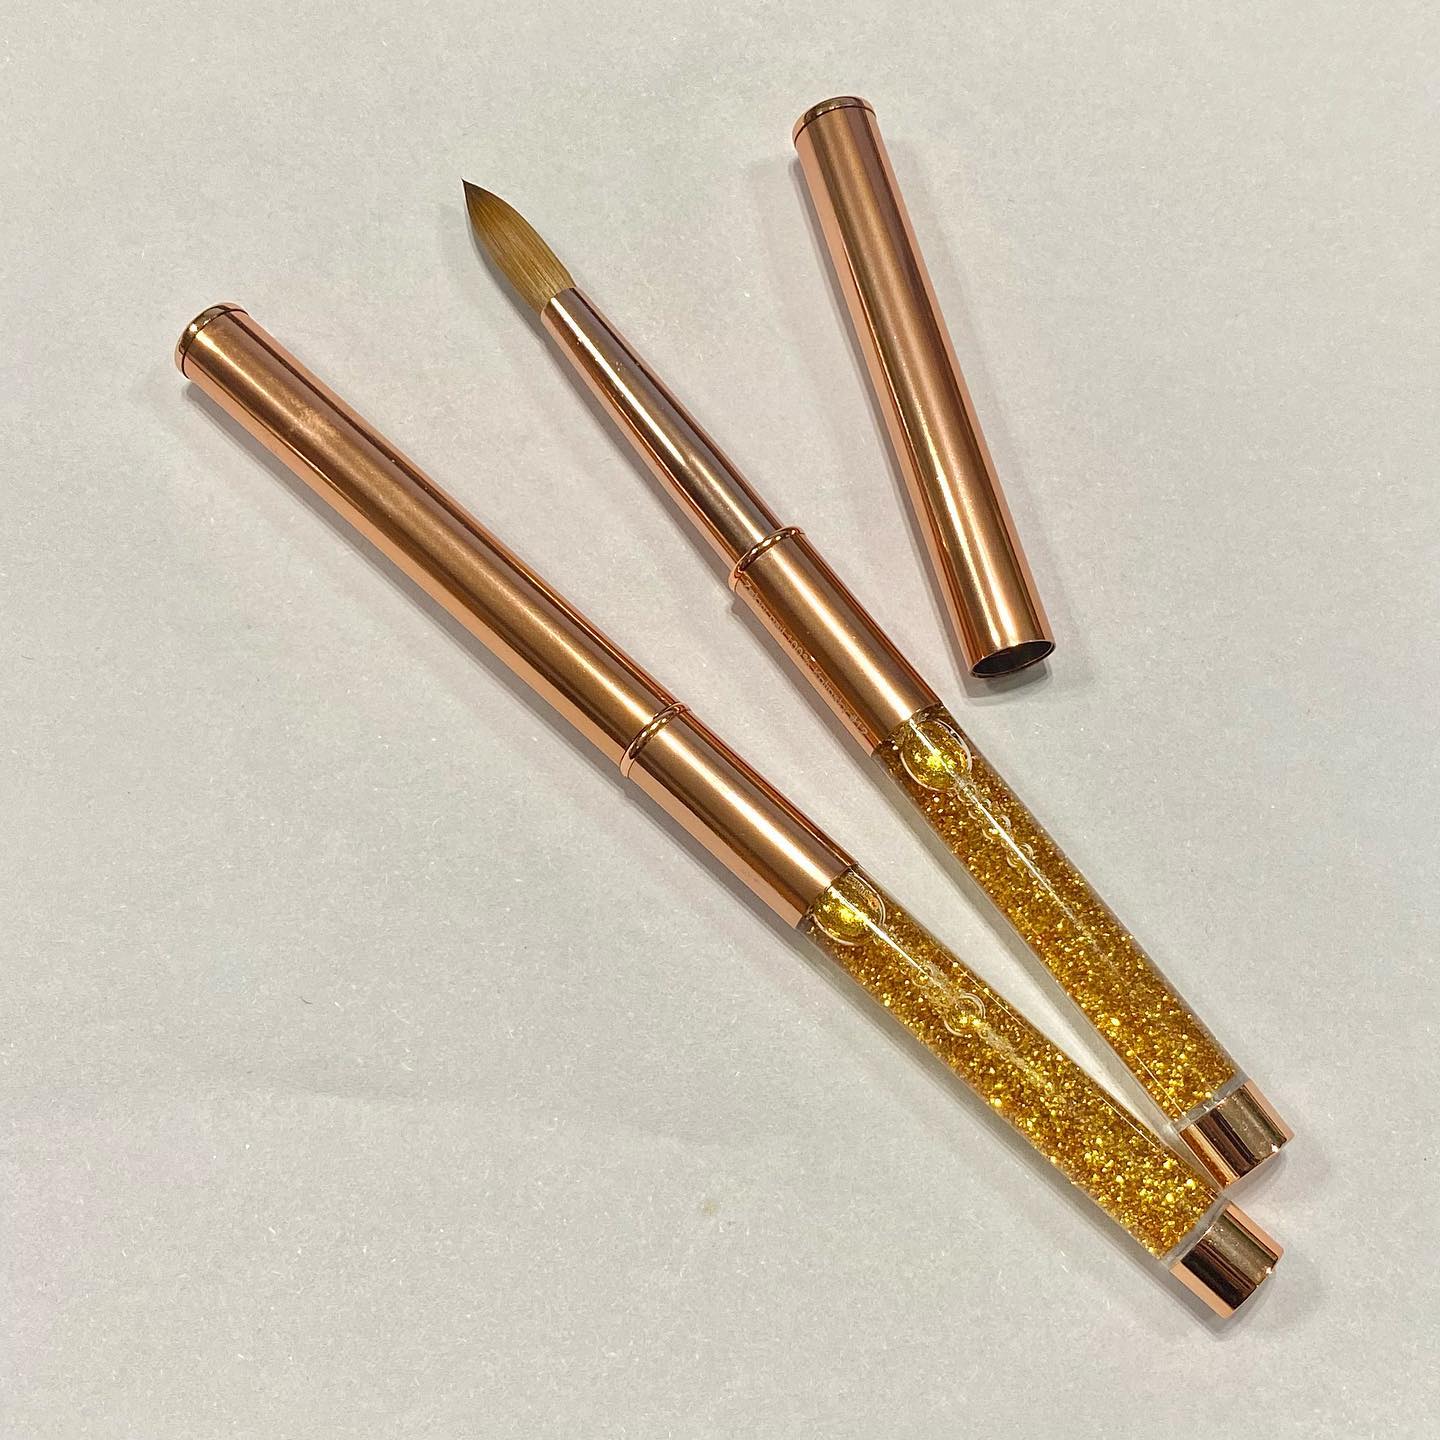
- Fine brushes, dotting tools, or toothpicks can also help create detailed patterns, lines, or dots.
Tips for Intricate Designs
Complex designs require patience and attention to detail:
- Start with simpler designs before progressing to more intricate ones. Practice basic techniques to improve your skills and confidence.
- Take your time and have patience. Intricate designs may take longer but will result in beautiful, detailed nail art.
Finishing the Design
You’re almost there! Now that your nails are adorned with your chosen designs, it’s time to give them the finishing touches:
- Activator application: After finalising the design, apply the activator to harden and seal the colours. Be cautious not to oversaturate the nails, as it might cause a smudged effect.
- Buffing and smoothing: Once the activator has dried, gently buff the nails to ensure a smooth finish. Avoid over-buffing, which could remove layers of colour.
- Applying topcoat: Finish off your nail art with the topcoat. Apply a generous layer to add a glossy finish and protect your design.
Maintenance and Care
Once you’ve completed your beautiful nail design using the nail dipping powder kit, maintaining and caring for your nails is crucial for their longevity and continued allure.
Tips for Long-Lasting Nail Designs
- Protective measures: Wear gloves while doing household chores or activities that might expose your nails to potential damage, ensuring your manicure’s durability.
- Hydration: Apply cuticle oil regularly to keep your nails and surrounding skin moisturised, preventing them from becoming dry or brittle.
Removing Dipping Powder Properly
When it’s time for a change or if you wish to try a new design, proper removal is essential to avoid damaging your nails:
- Use an acetone-based solution or follow the manufacturer’s guidelines to effectively and safely remove the dipping powder without causing harm to your nails.
- Gently buff the topcoat to break the seal before soaking your nails in the acetone solution.
Nail Care Between Applications
- Give your nails some breathing space between applications to maintain their health. Avoid constant reapplication to prevent nail damage.
- If your nails become weakened or damaged due to frequent applications, use a nail strengthener to help restore their health.
Conclusion
This step-by-step tutorial provides a foundation for creating your nail art masterpiece. Feel free to experiment, explore, and let your creativity shine through your designs. Remember, practice makes perfect!
As you explore different designs and techniques, you’ll find your unique style reflecting your personality and taste. Take inspiration from trends, but don’t hesitate to add your personal touch to make your nail art truly your own.


