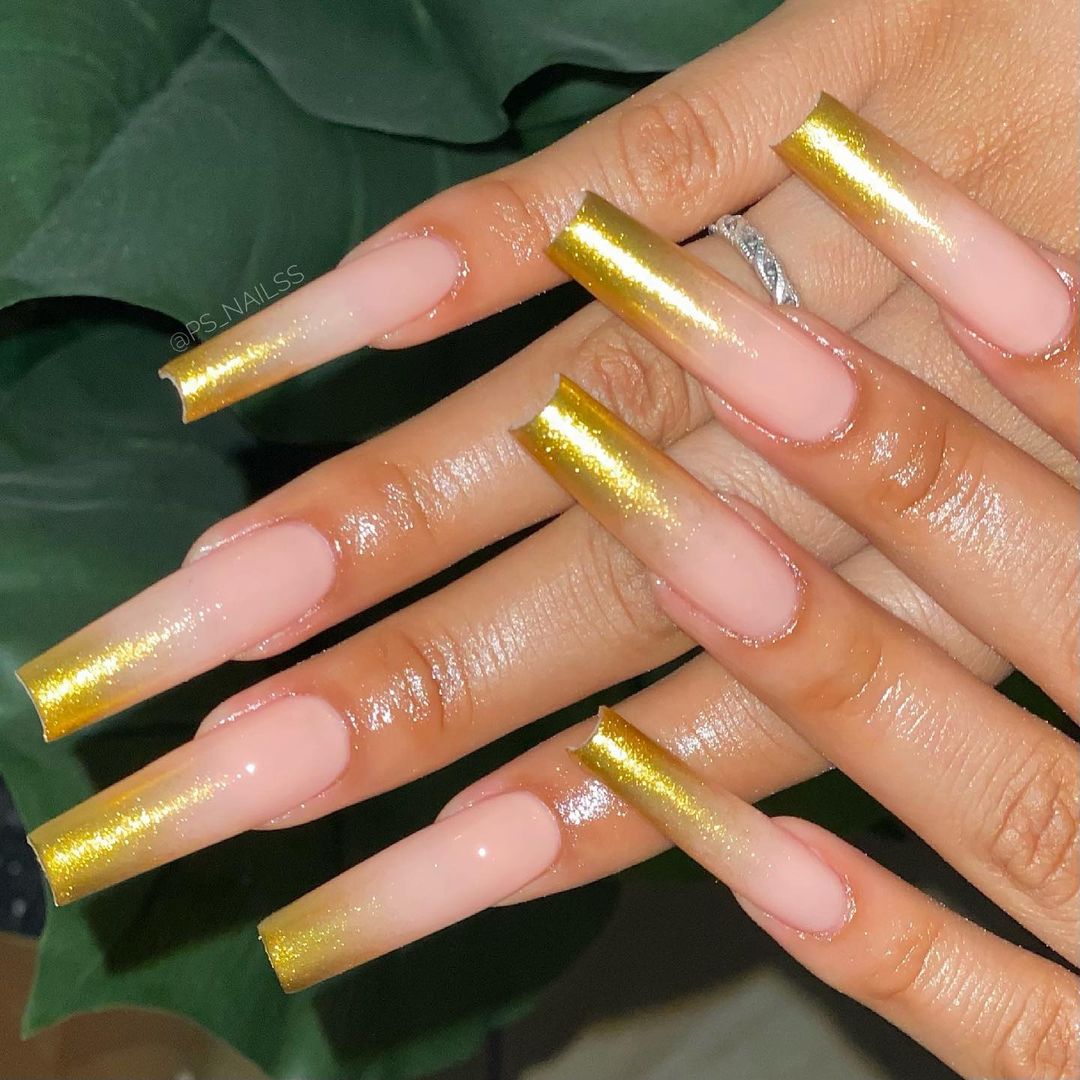
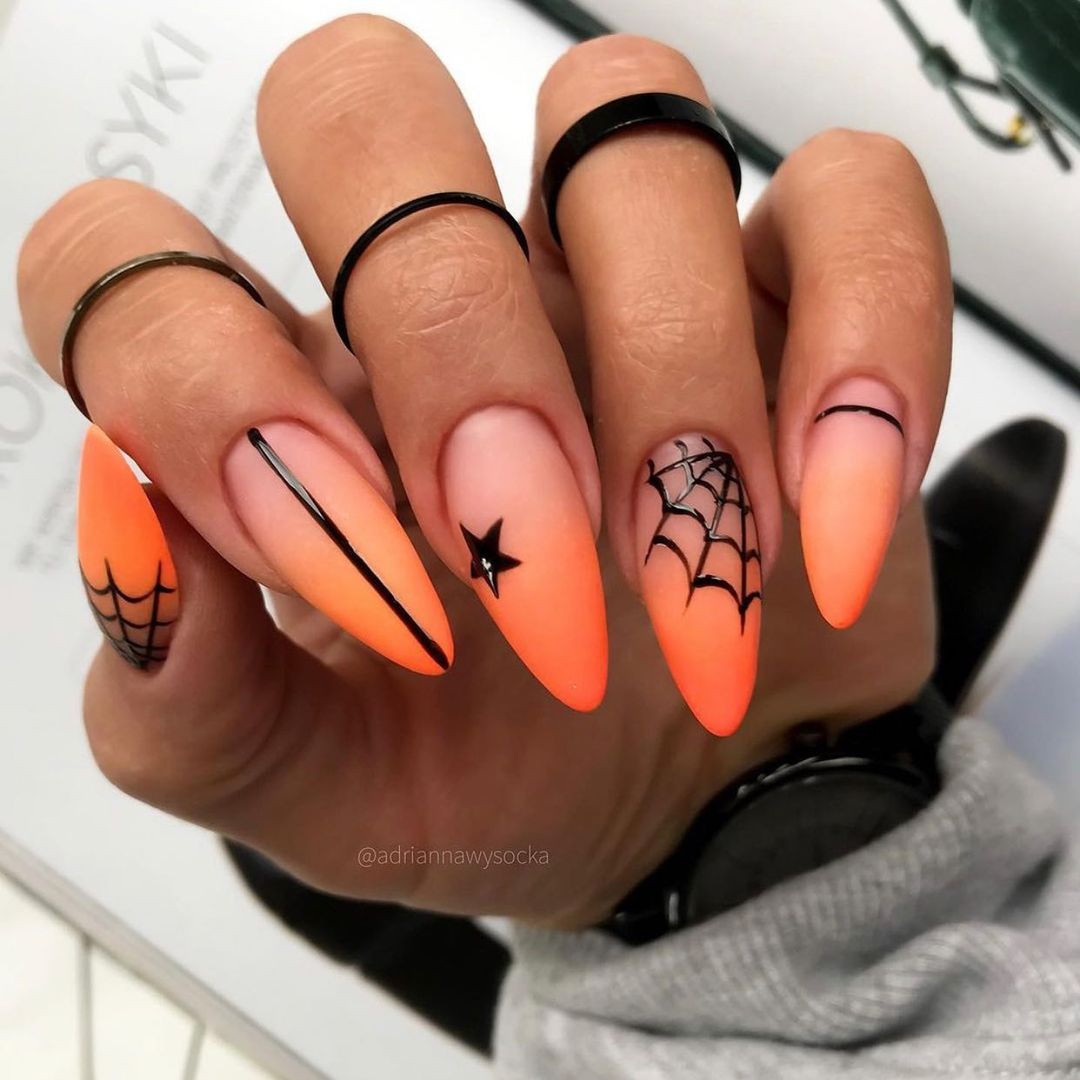
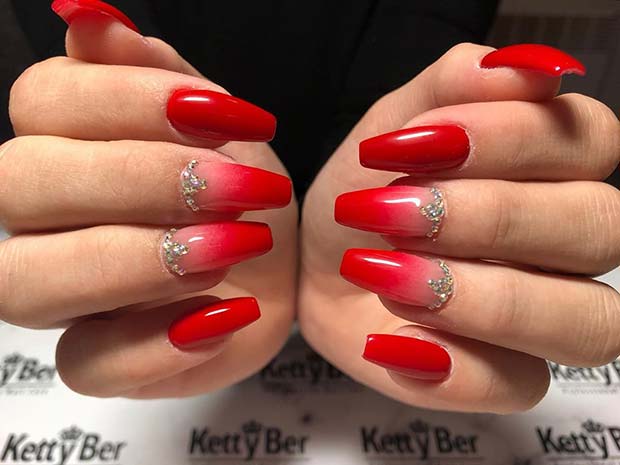
Need inspo for sunset ombre nails? We got you.
If you’re a ’90s kid, you probably have tried that double-shade nail color in high school. That’s ombre nails, you know. It was so popular in the mid-2000s that every other teenage girl was over it.
The trend is back in 2023. But not with those unsmudged sharp lines! For you to come up with new ideas, we have gathered 30+ ombre nails that are trending in 2023. Moreover, you’ll learn how to do ombre nails at home.
Why We Love Sunset Ombre Nails
Fashion always keeps repeating after years. But this is not true for ombre nails. They have been in trend for so long. When we talk about sunset ombre nails, they never get boring. The amalgam of three colors makes it thrilling and attractive.
But the question still remains. Why do we love sunset ombre nails?
The point that they never go out of style is the very first reason for falling in love with the ombre. Secondly, it’s an ideal way to lure someone not into nail art. The simple yet beautiful technique is easy to do. You can even do it at home.
2023 Trends for Sunset Ombre Nails
Don’t know what sunset ombre designs are trending this year? Here are some of the most trending sunset ombre nail art that you must try:
- Sunset ombre nails with vibrant colors giving a summertime look
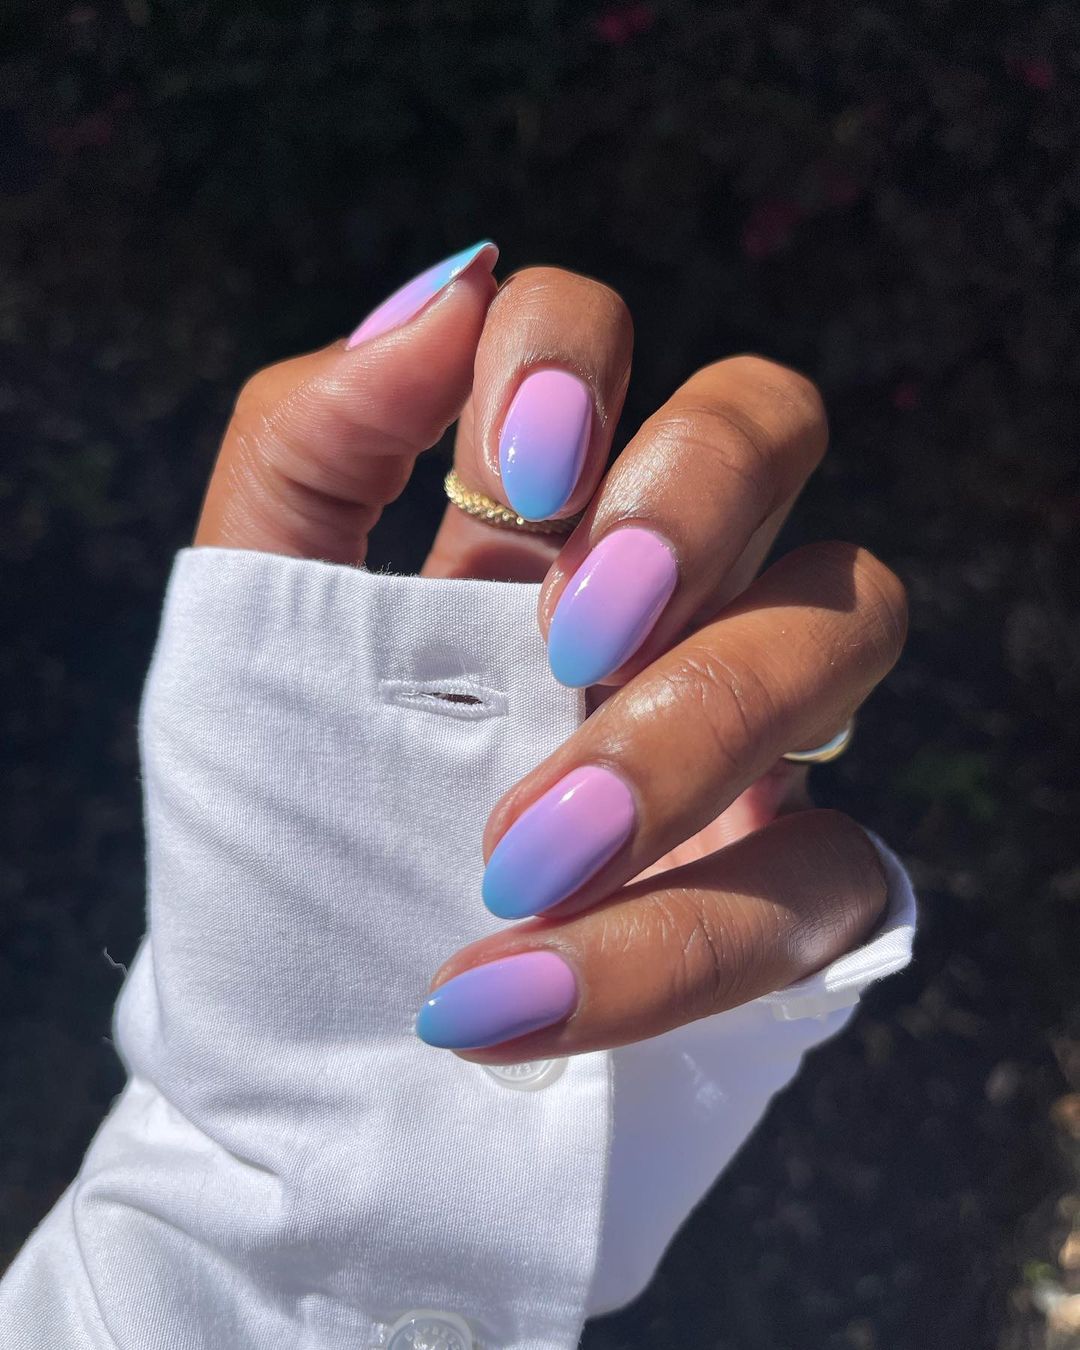
- Pastels blended into a sunset shade of pink, creating a cute look
- A blend of blue with peach gives an illusion of the sun saying goodbye
- Vertically applied yellow and orange hues to create a unique style of ombre
- All nude with a hint of orange on top will be a hit this year
Video tutorial: Sunset Ombre Nails
The ombre nails hashtag has 5.9 million posts on Instagram. You may have also seen that somewhere on your gram. And now dying to do that. No? Here’s a video tutorial for you.
30+ Ideas for Sunset Ombre Nails
Bored of that typical pink, yellow, and orange sunset ombre nail style? Worry not. You can try playing with shades of yellow for the perfect sunset look. Here are 30+ ideas for yellow ombre nails that you can choose for your next salon trip!
1. Glitter Sunset Ombre Nails
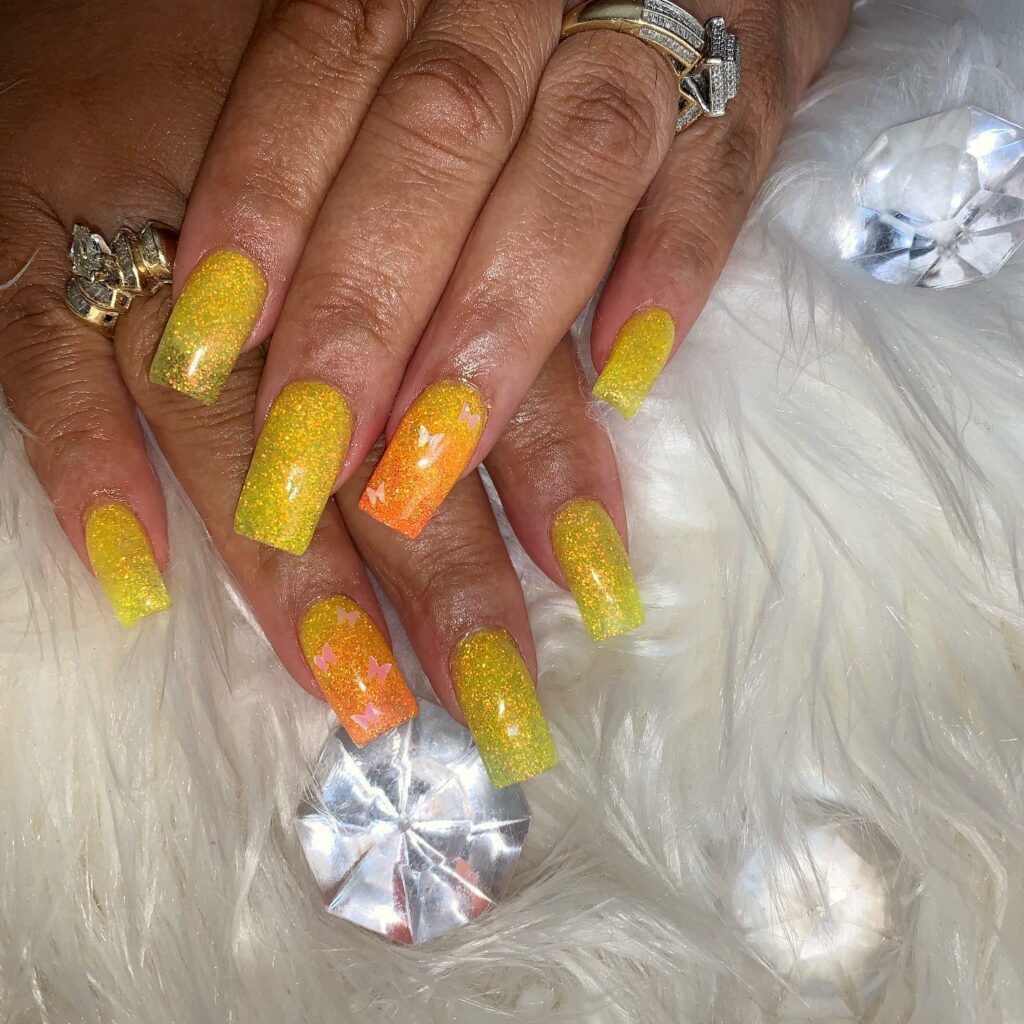
2. Pink Ombre Sunset Nails
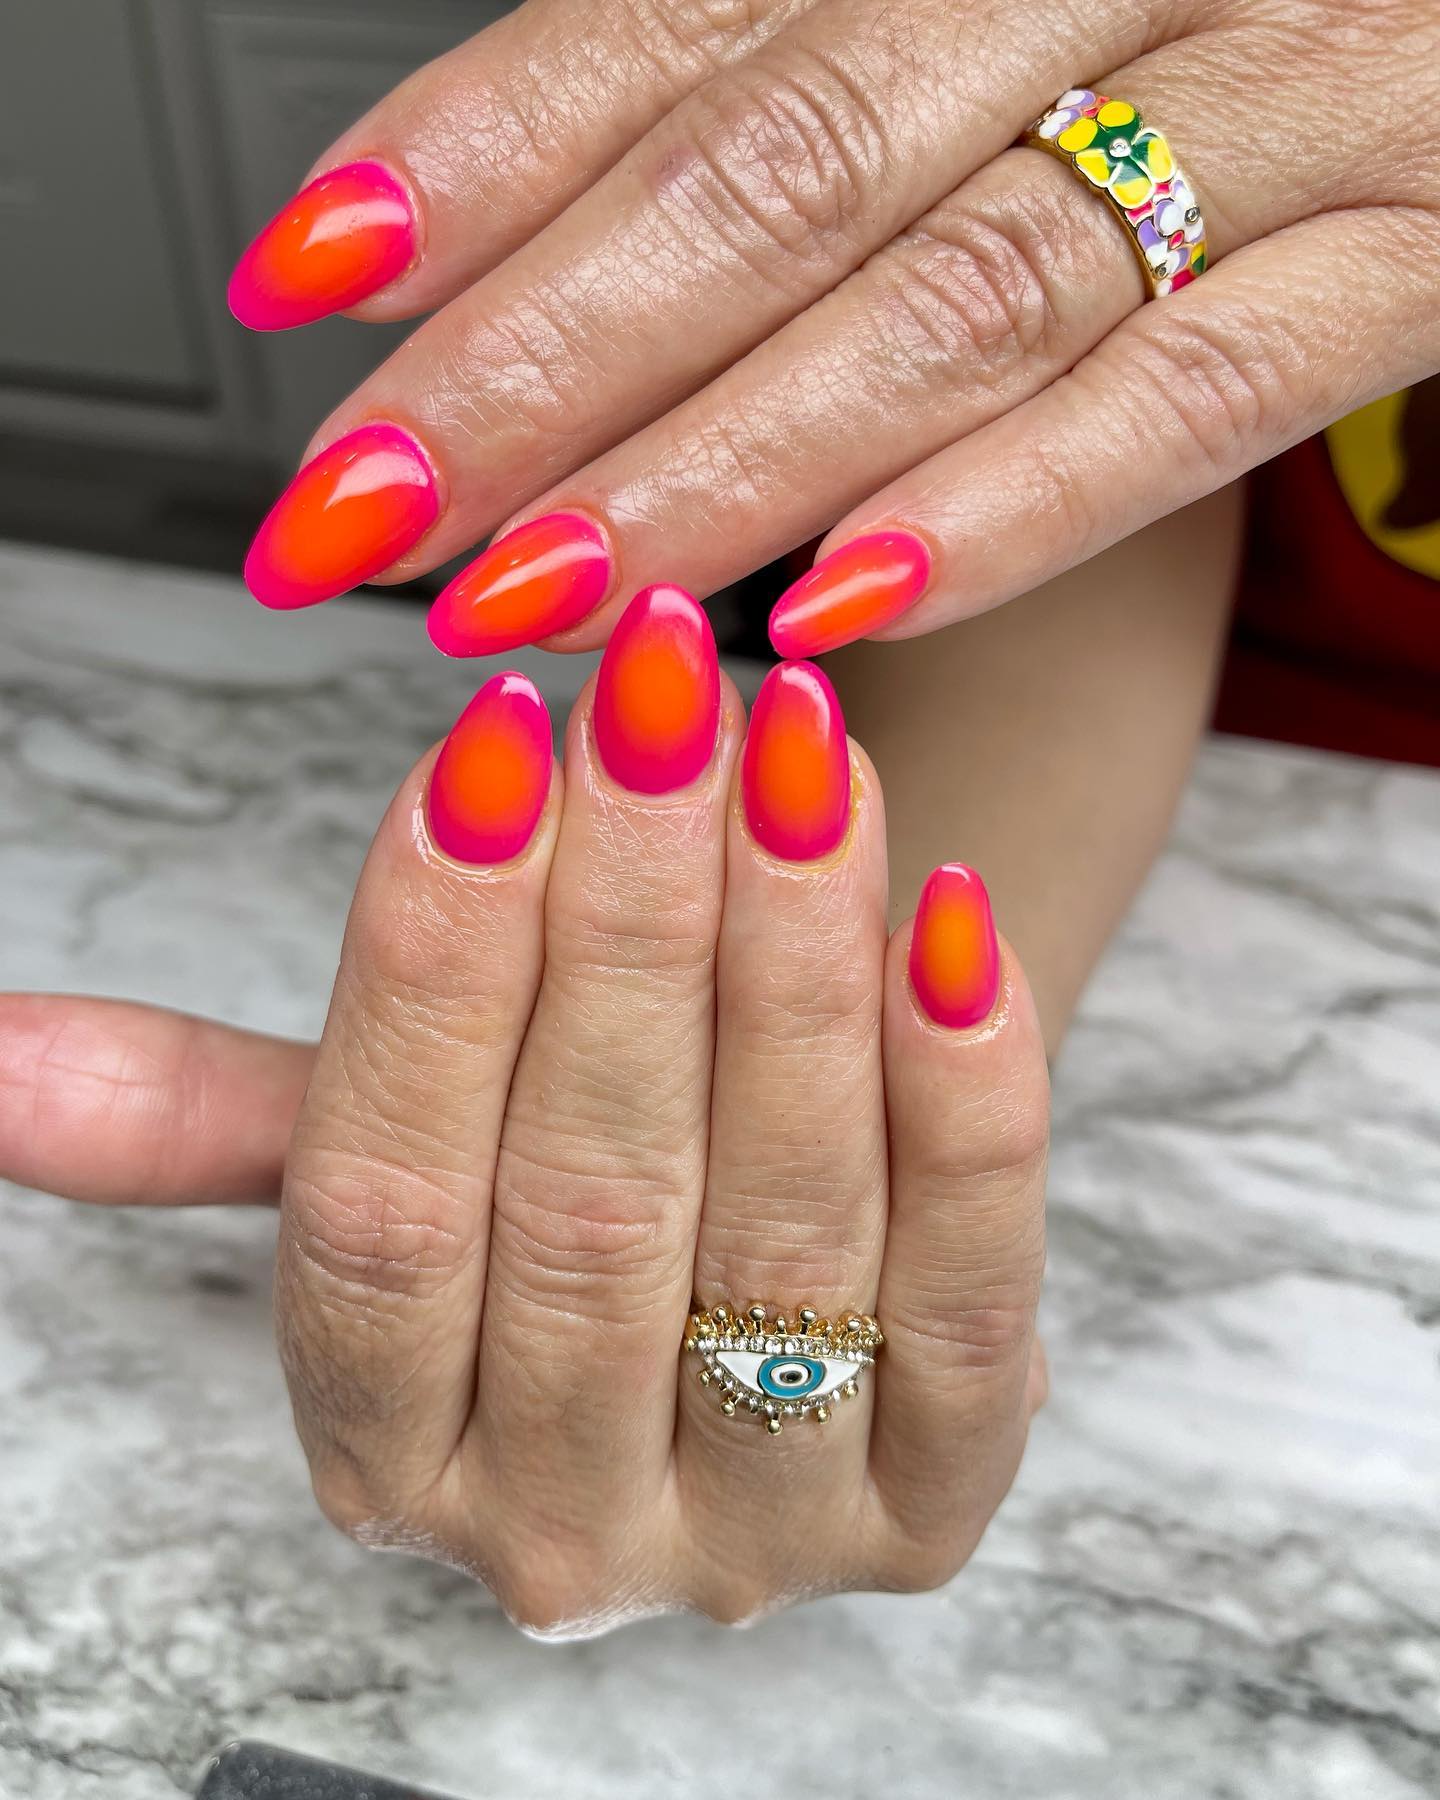
3. Rounded Stiletto Sunset Nails
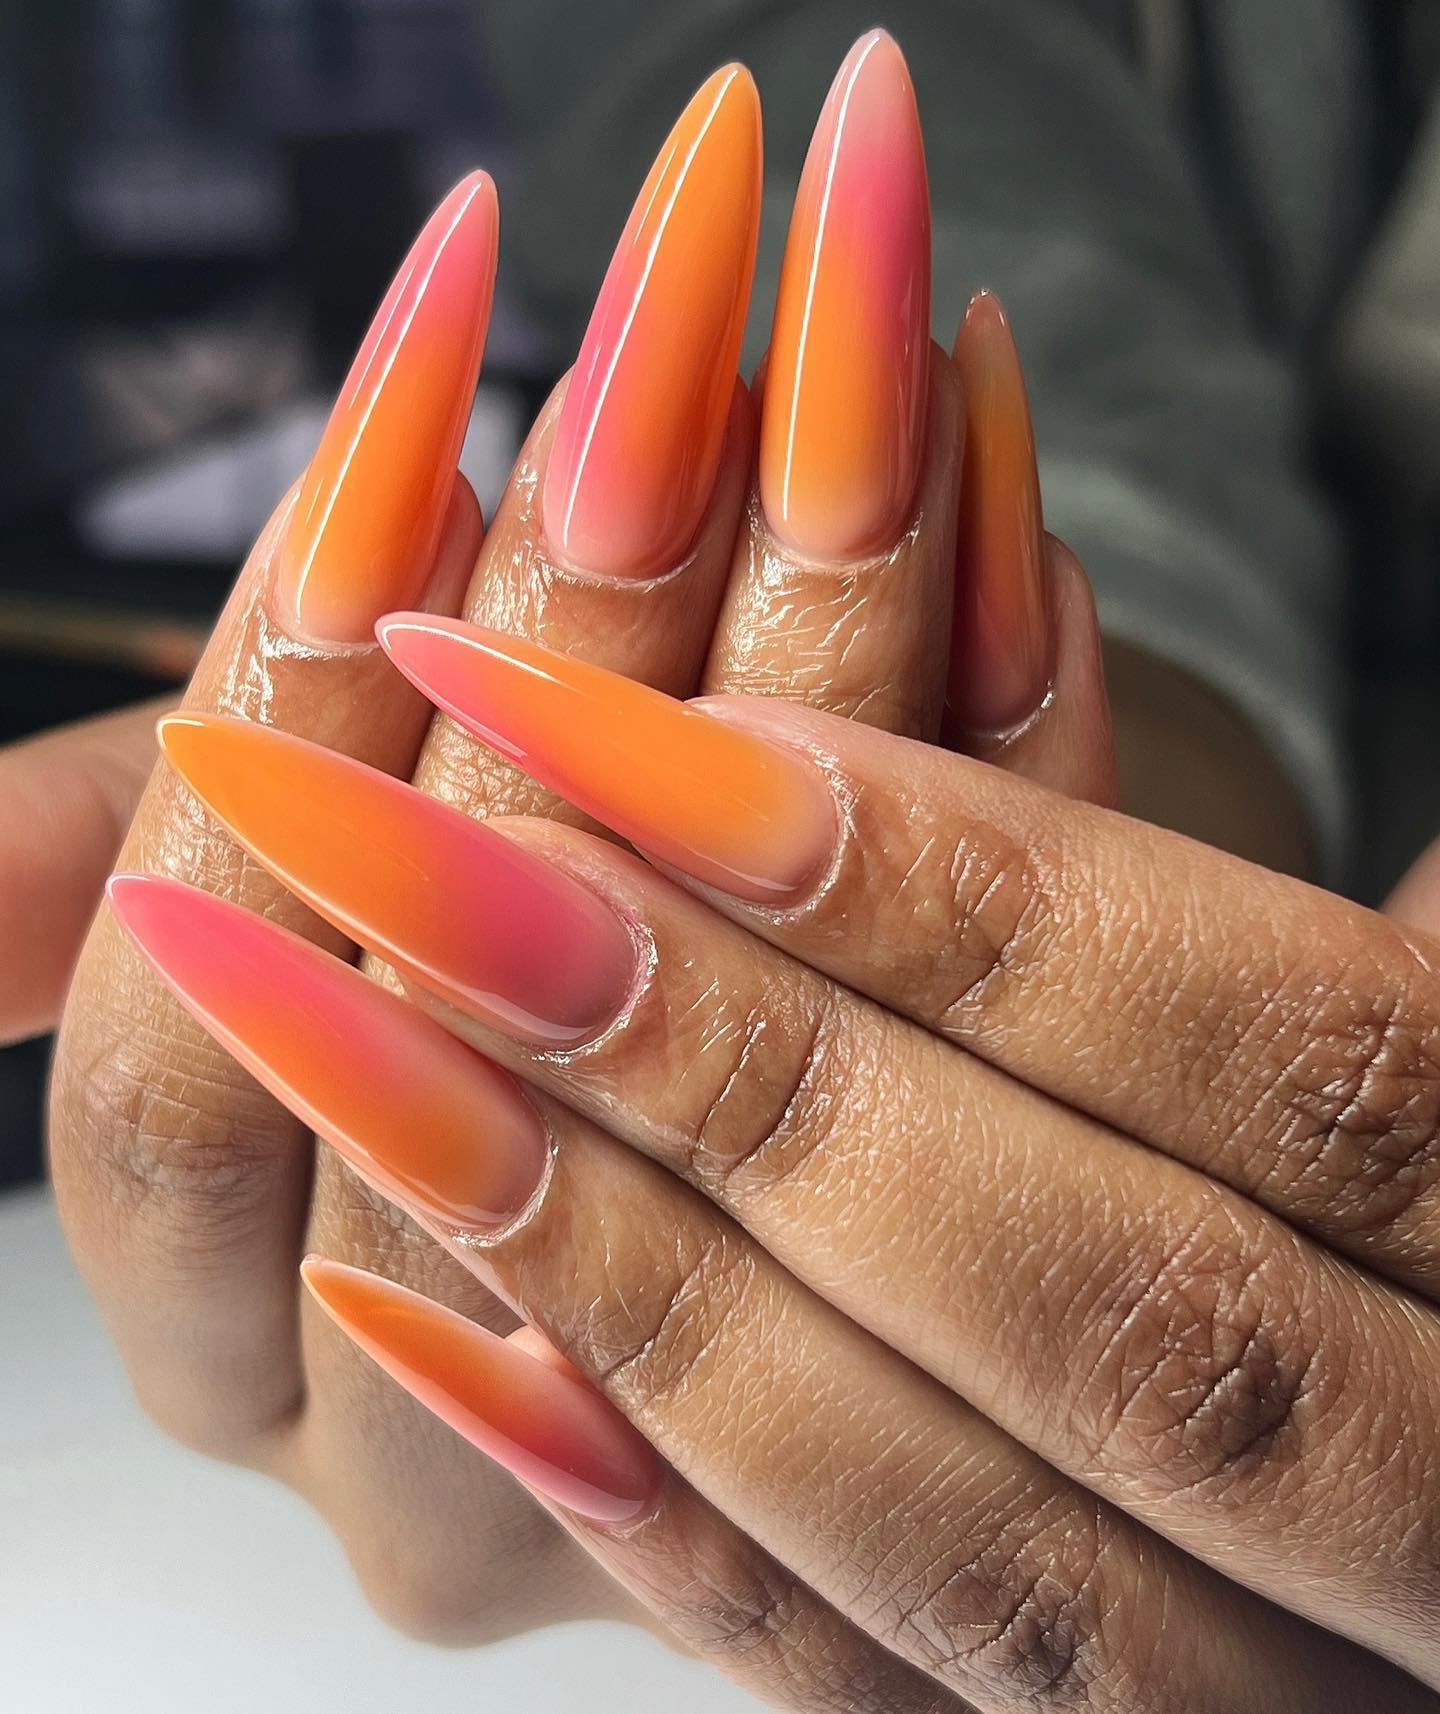
4. Orange Ombre Nails with Lines
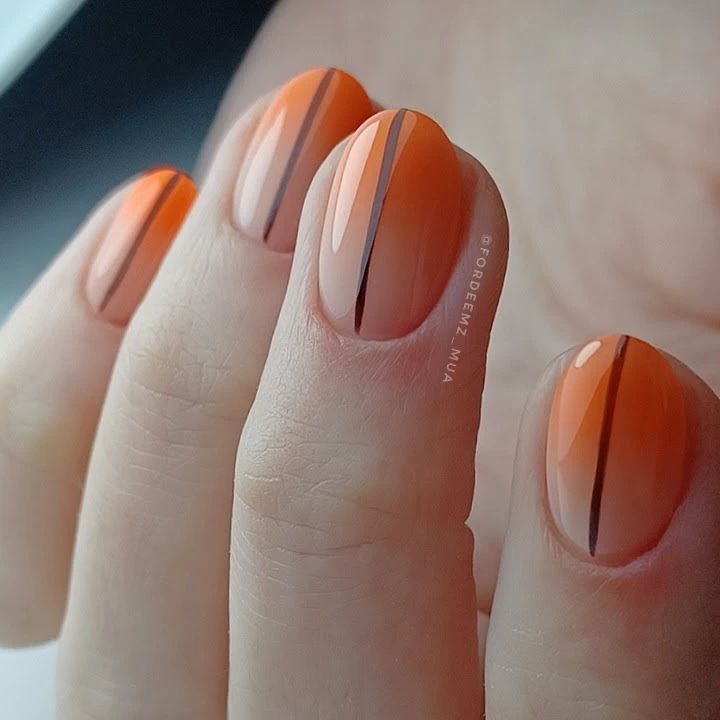
5. Sparkling Sunset Nails
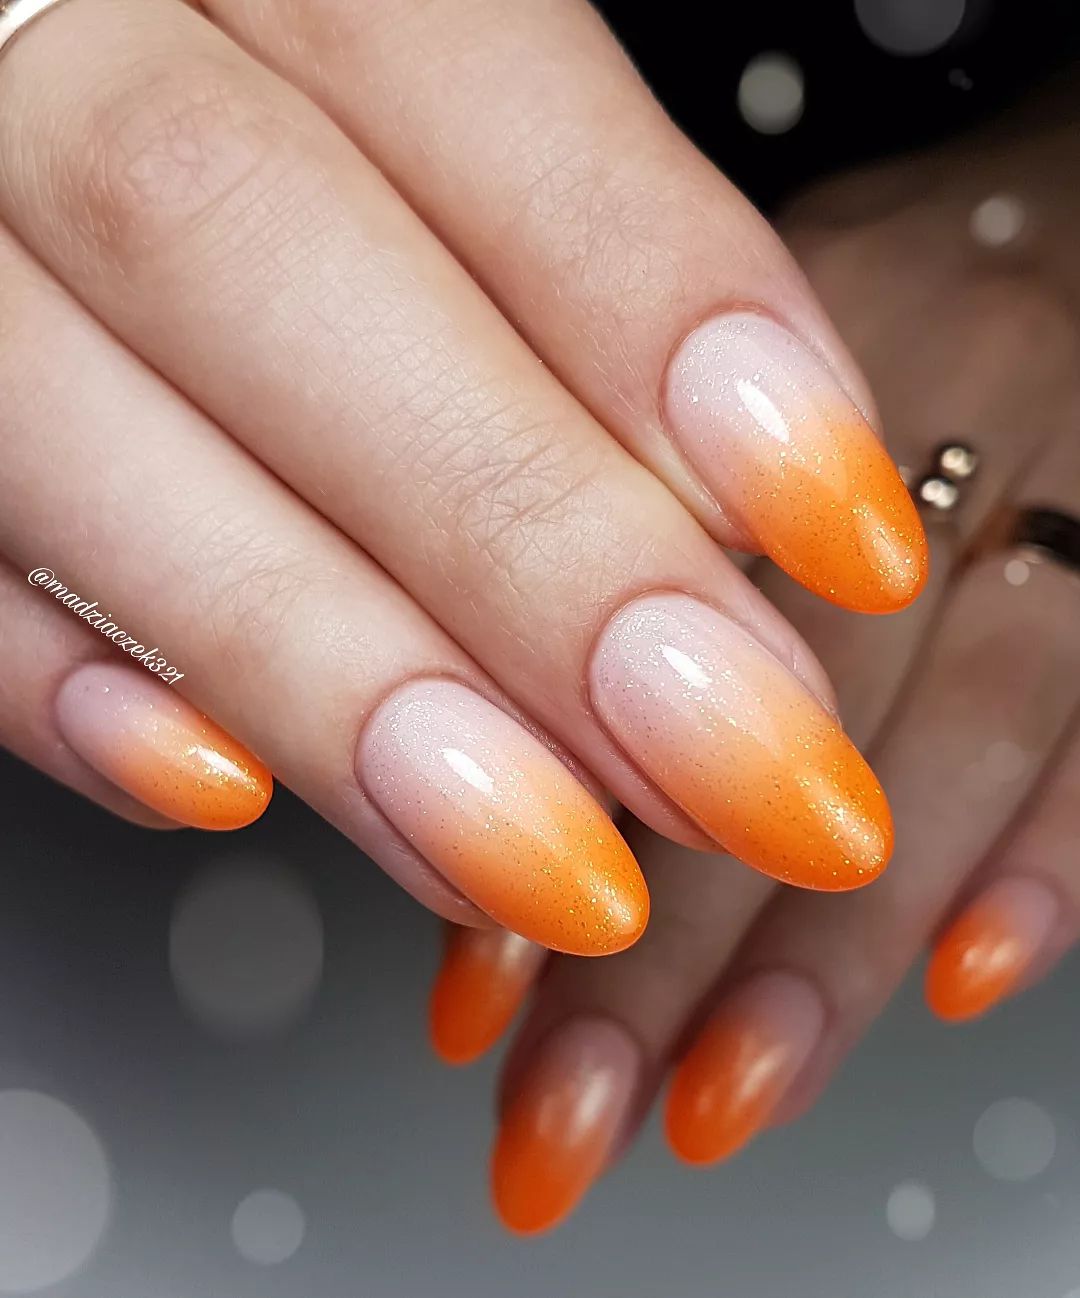
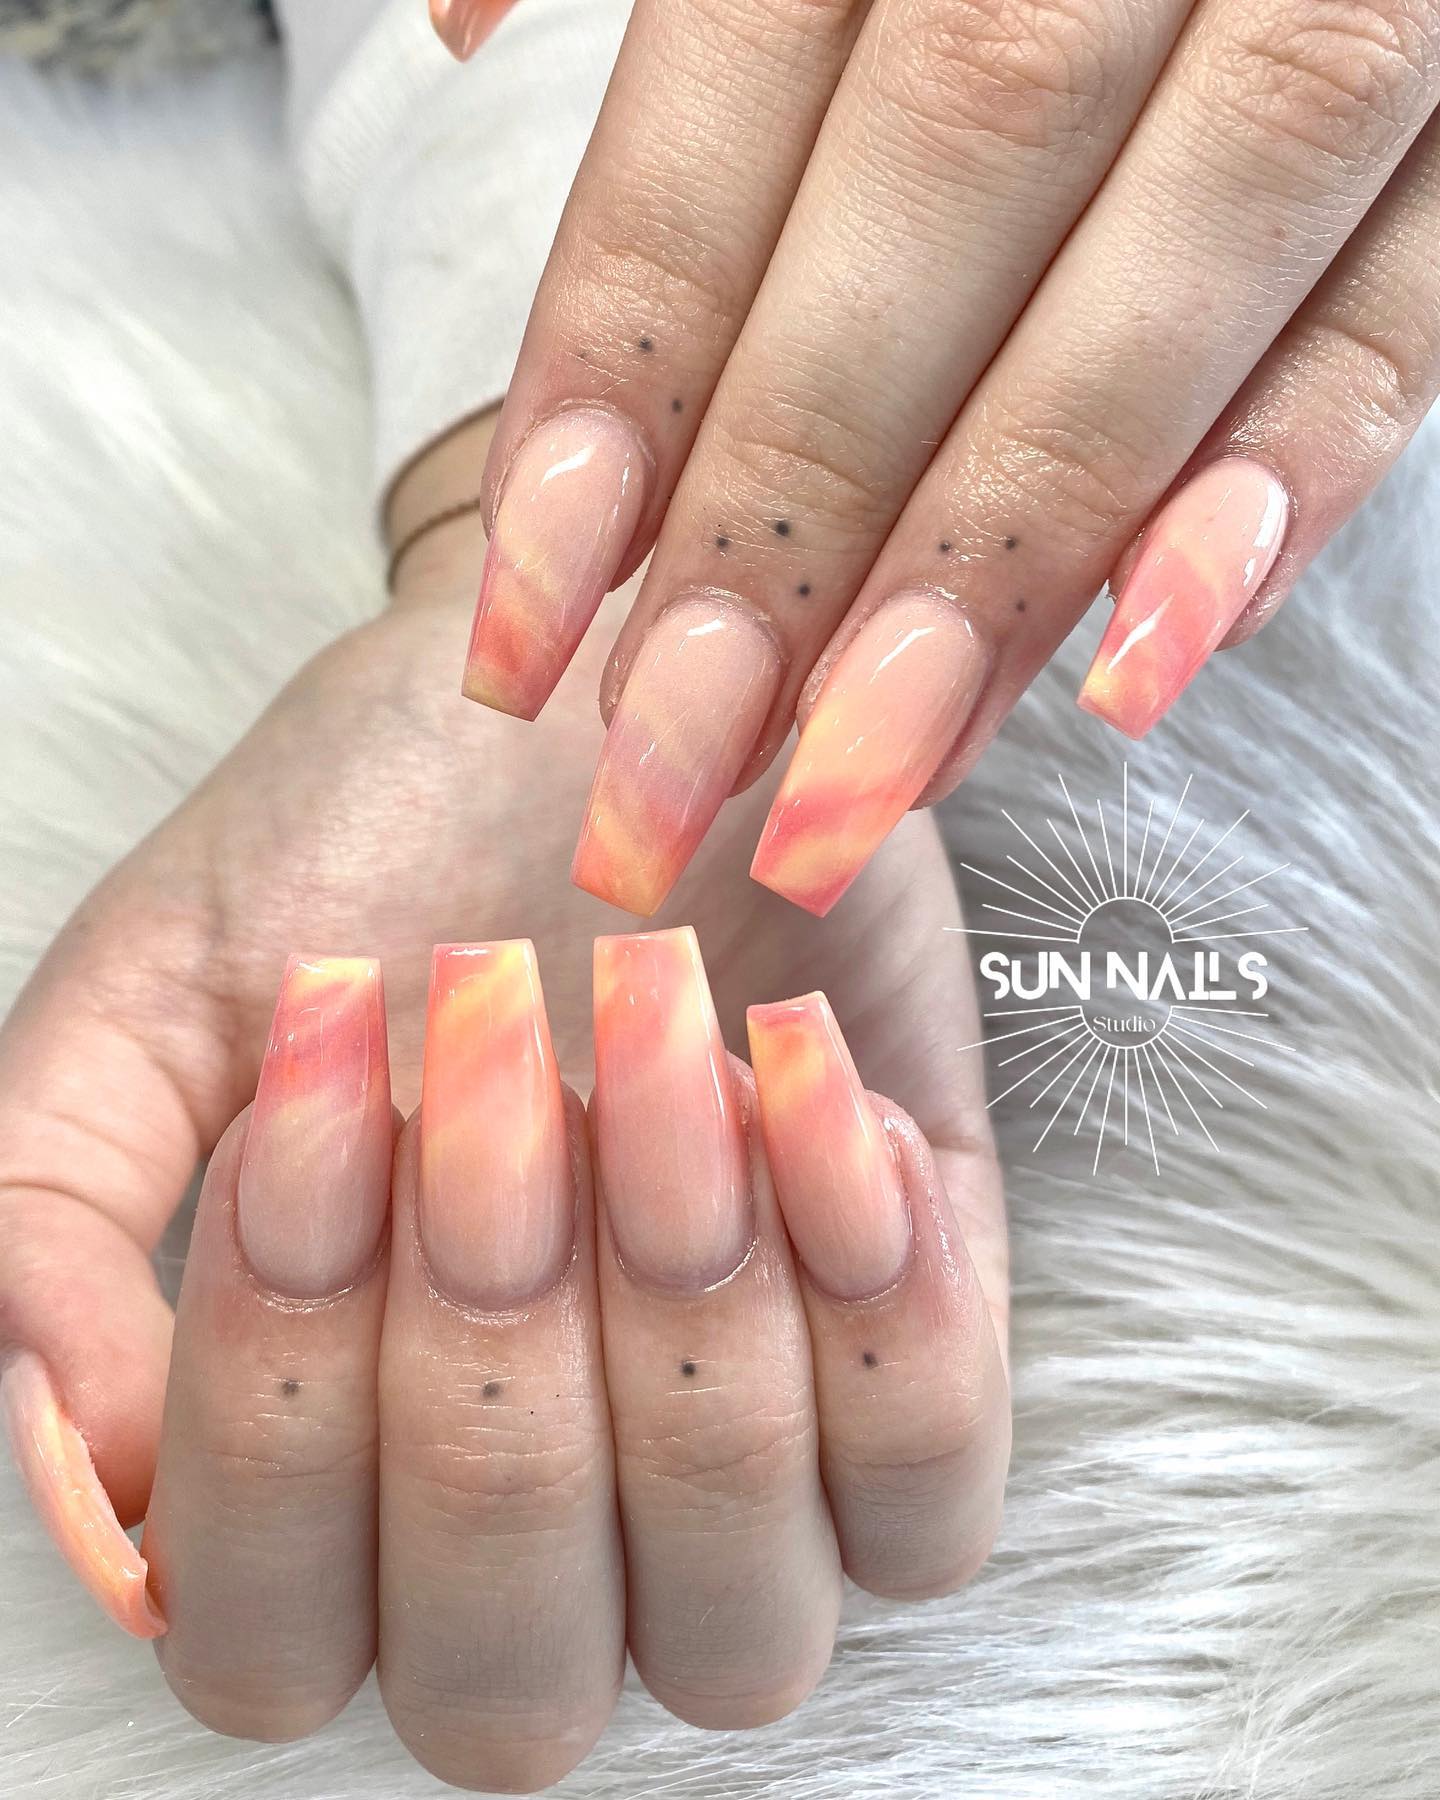
6. Pastel Ombre Nails
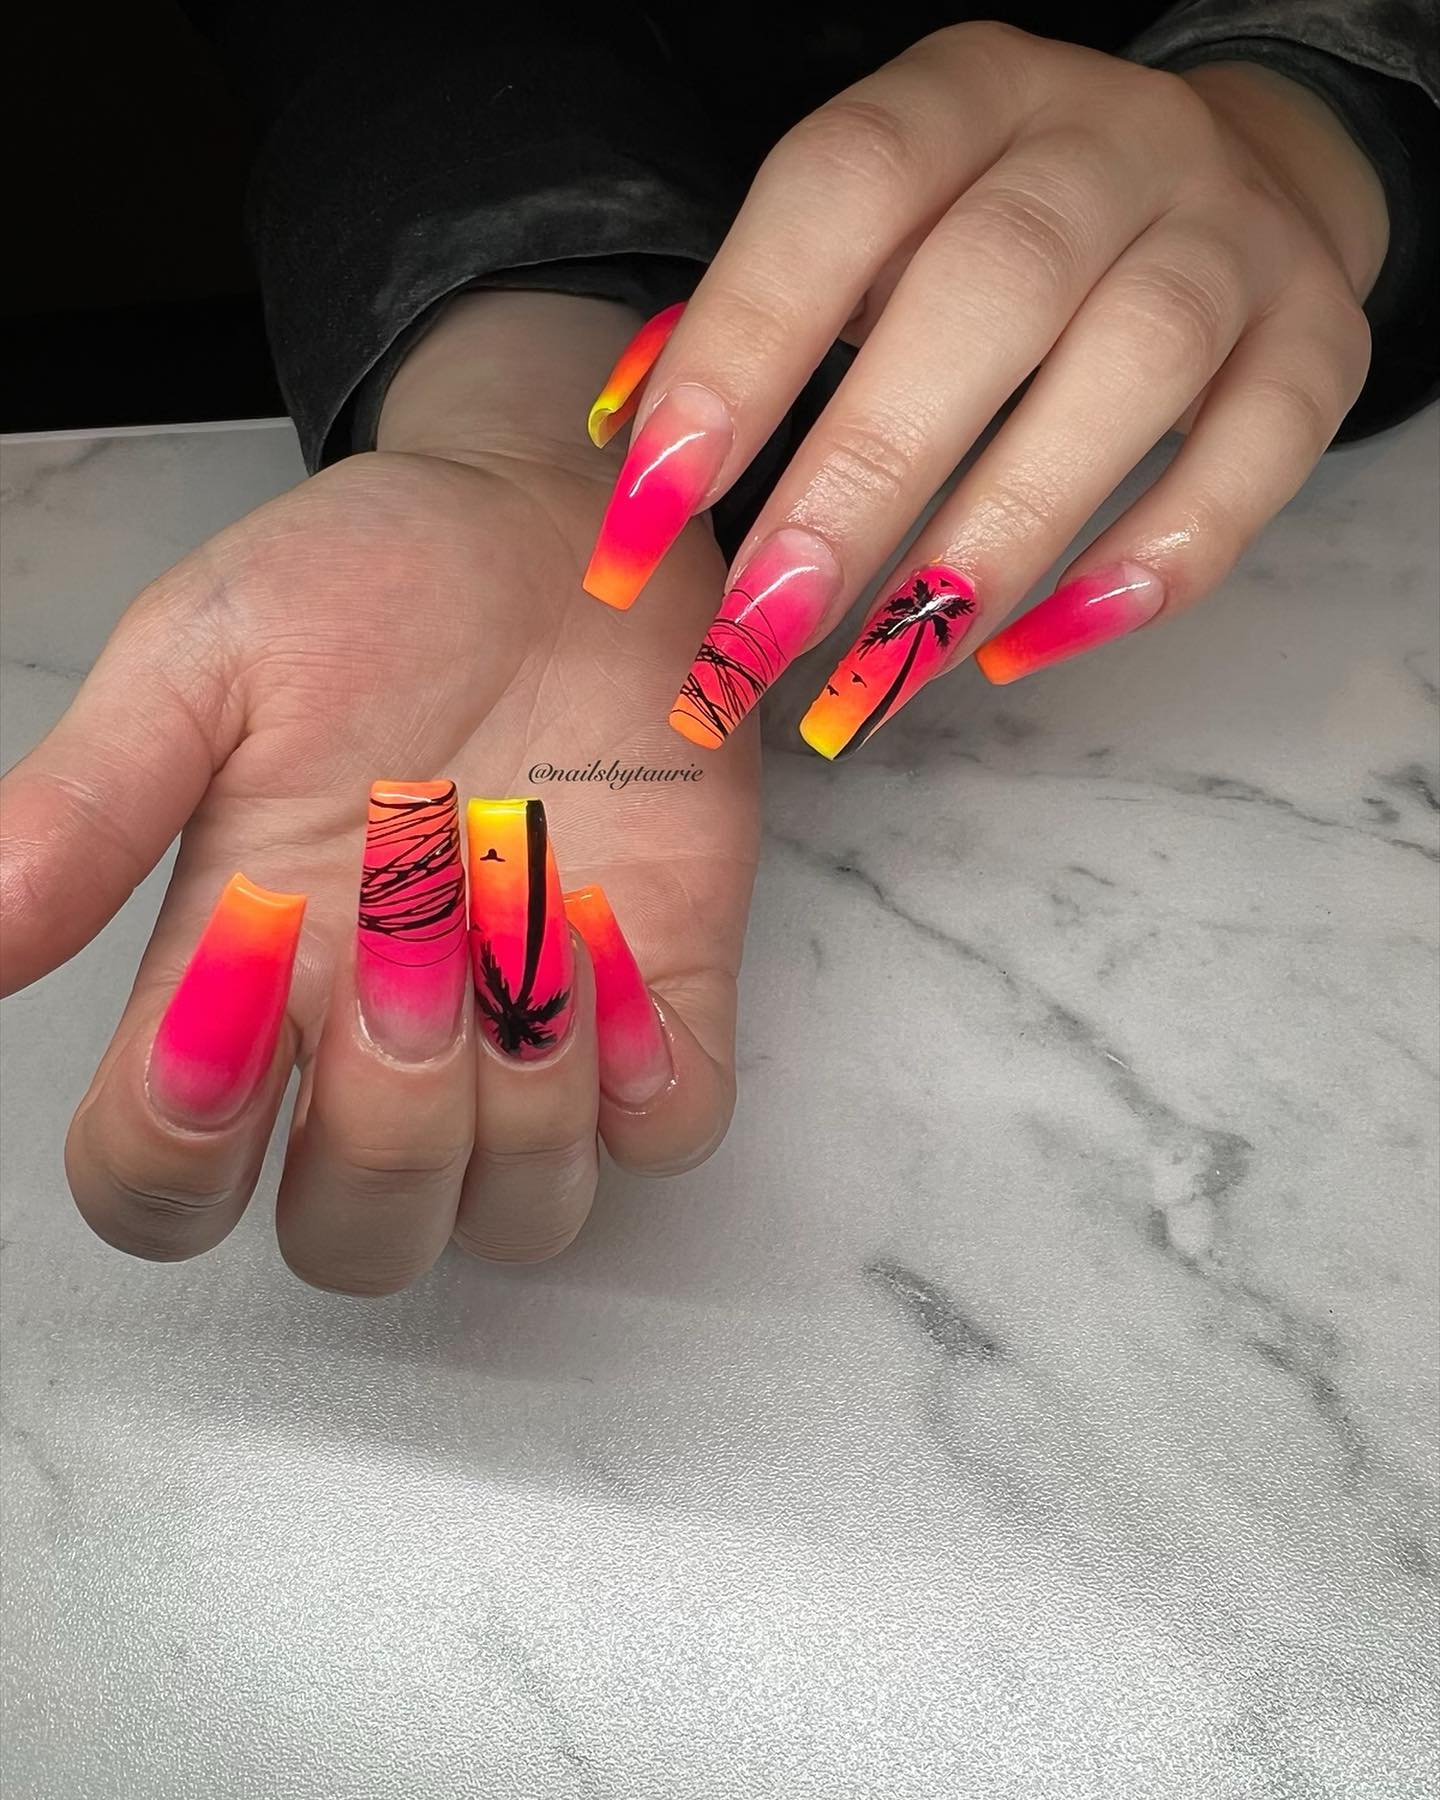
7. Fuchsia Sunset with Palms
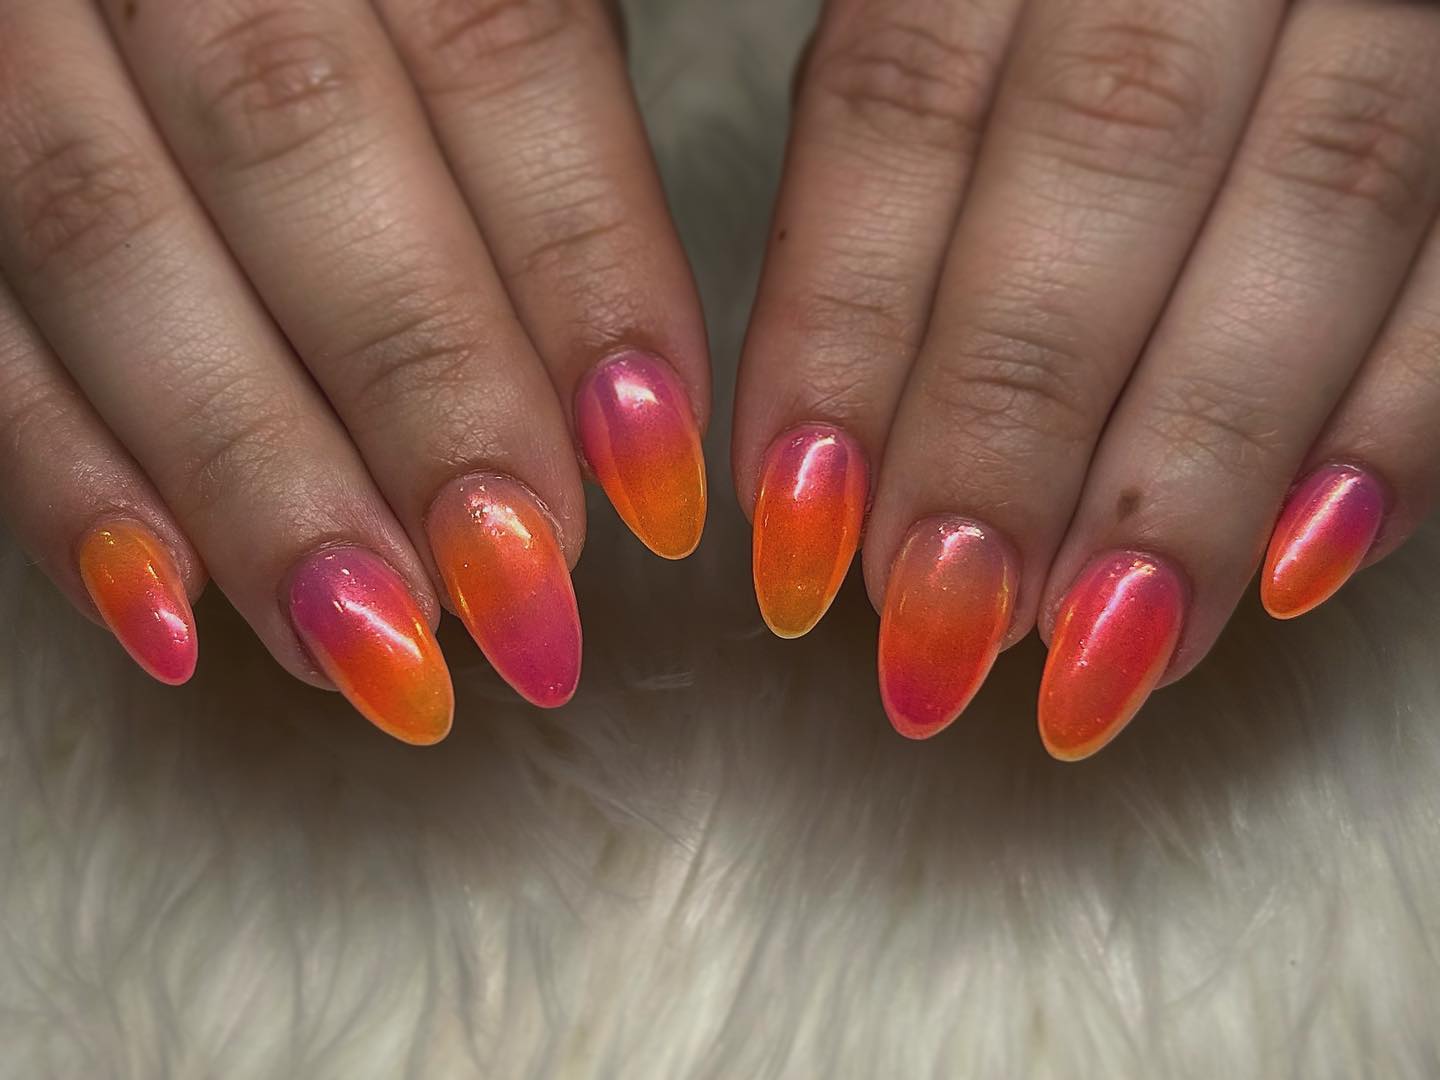
8. Orange Metallic Ombre Nails
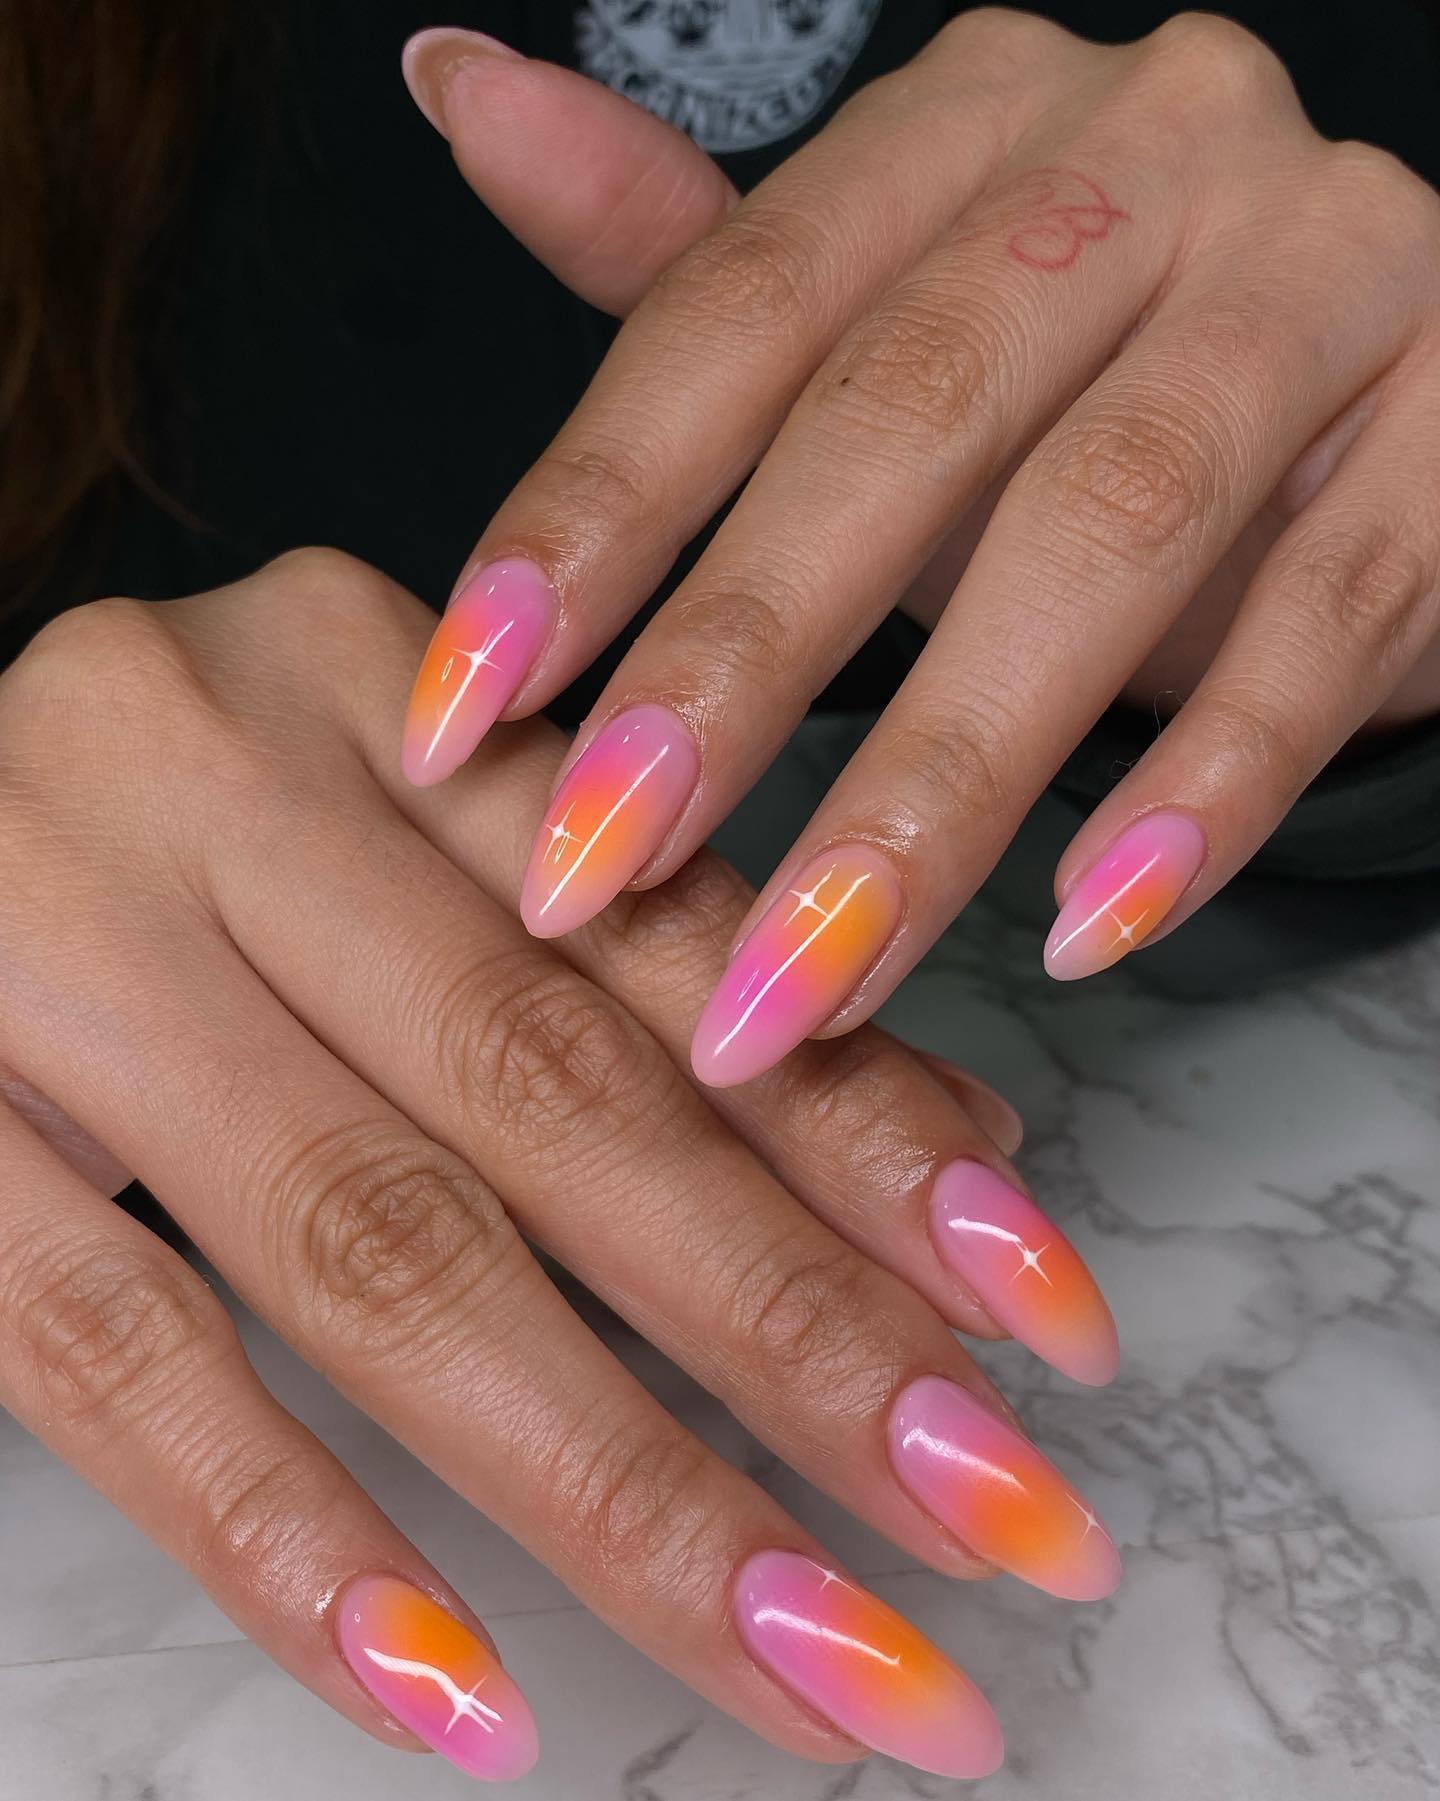
9. Pastel Pink Sunset Nails
10. Mettalic Sunset Ombre Nails
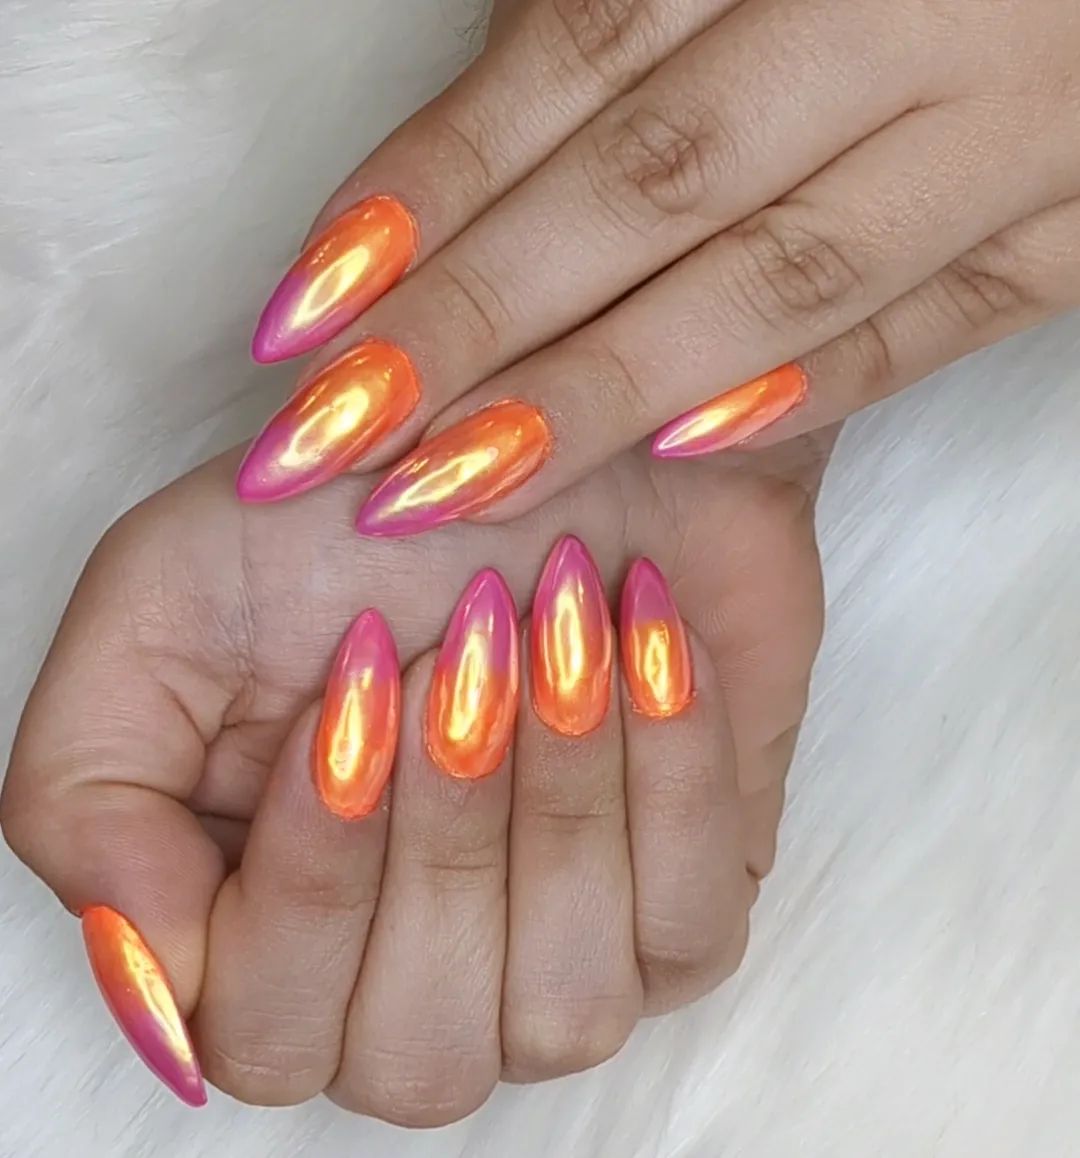
11. Orange Yellow Ombre with Gold Swirls
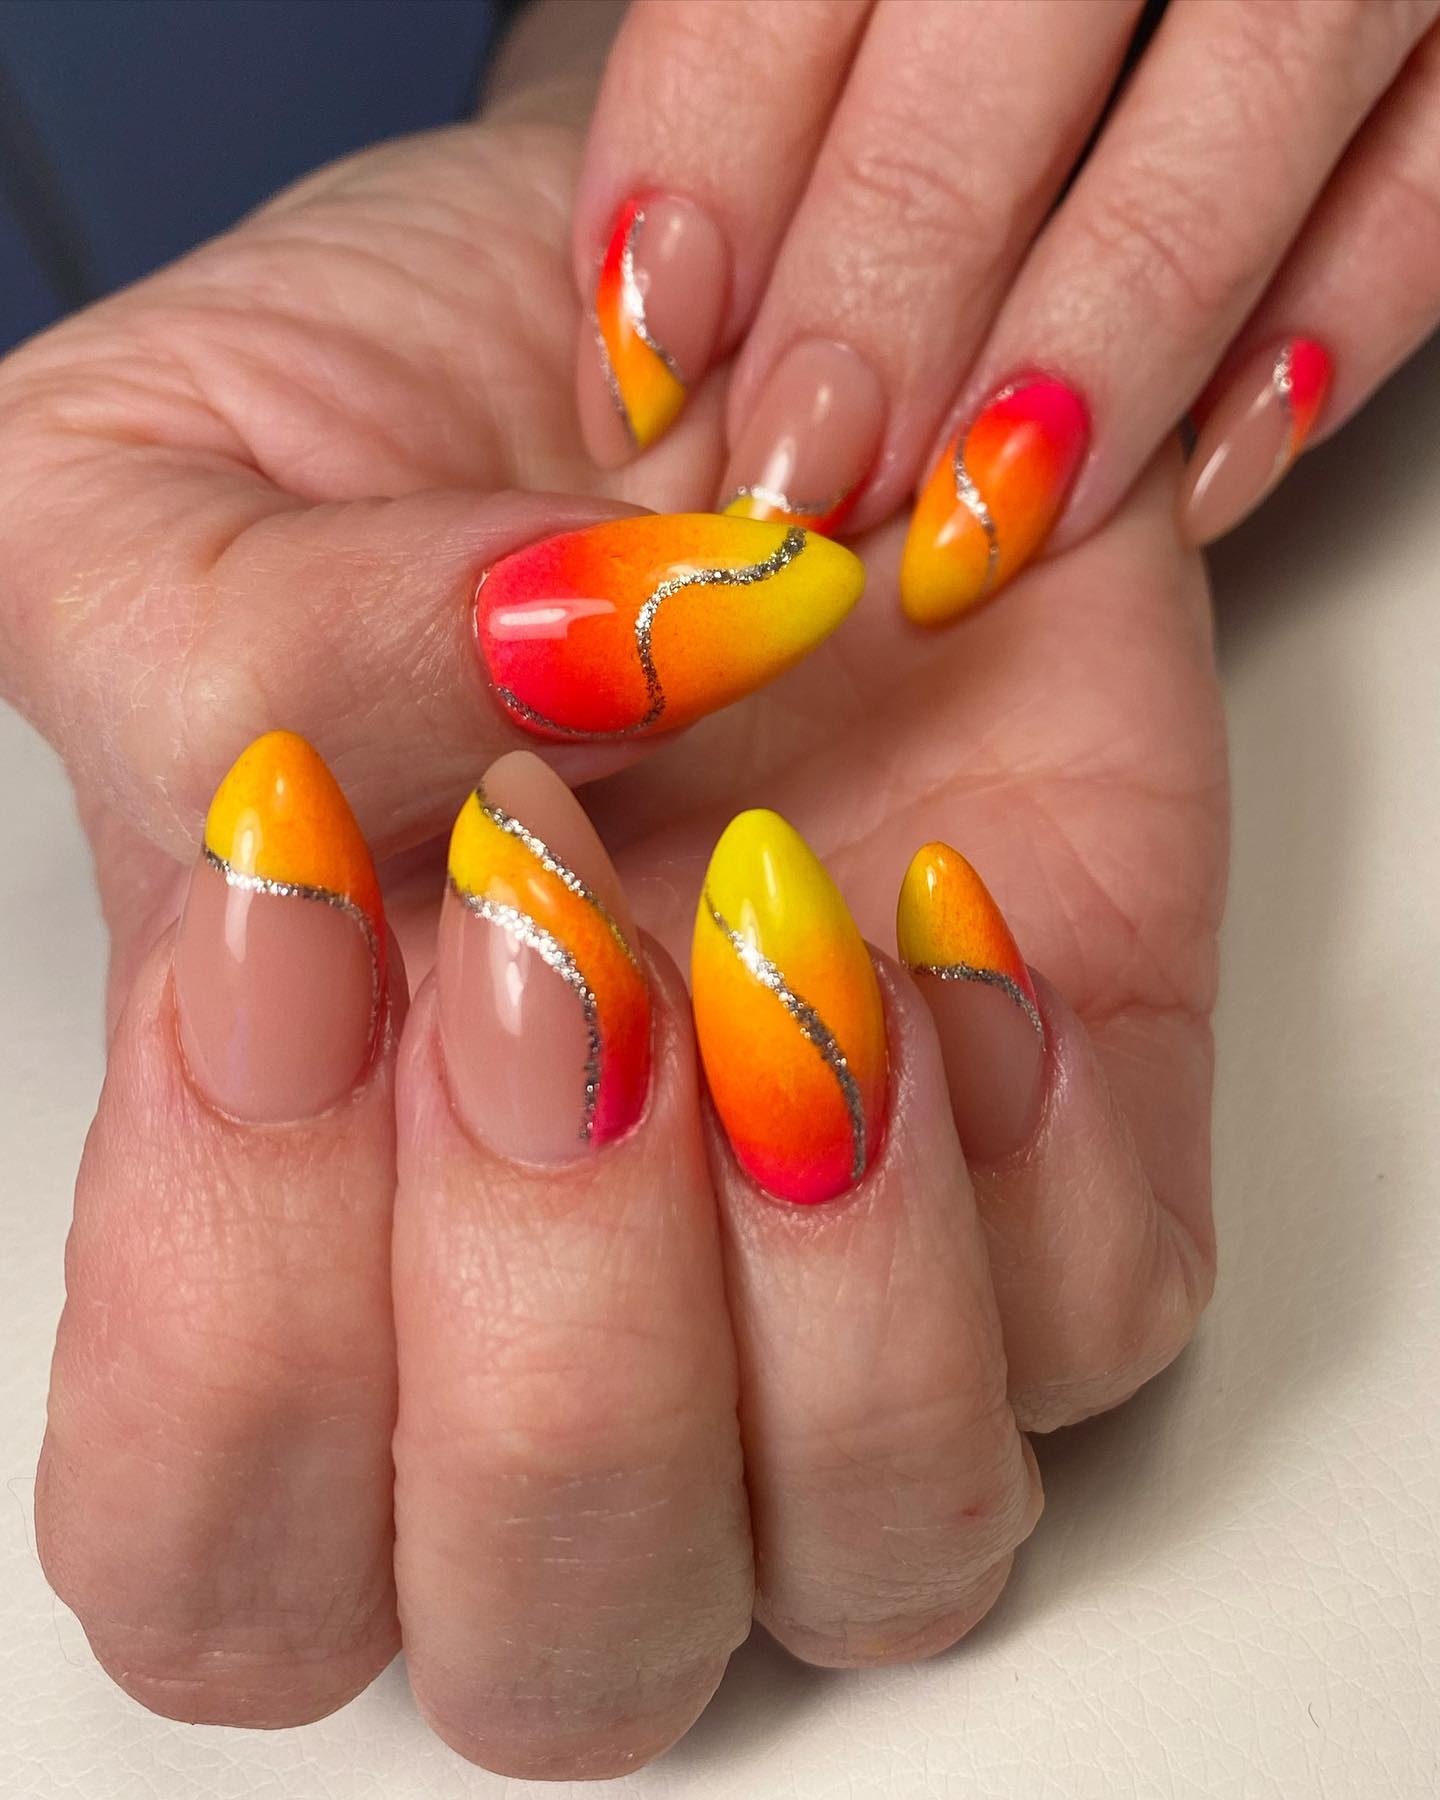
12. Pink Sunset Ombre
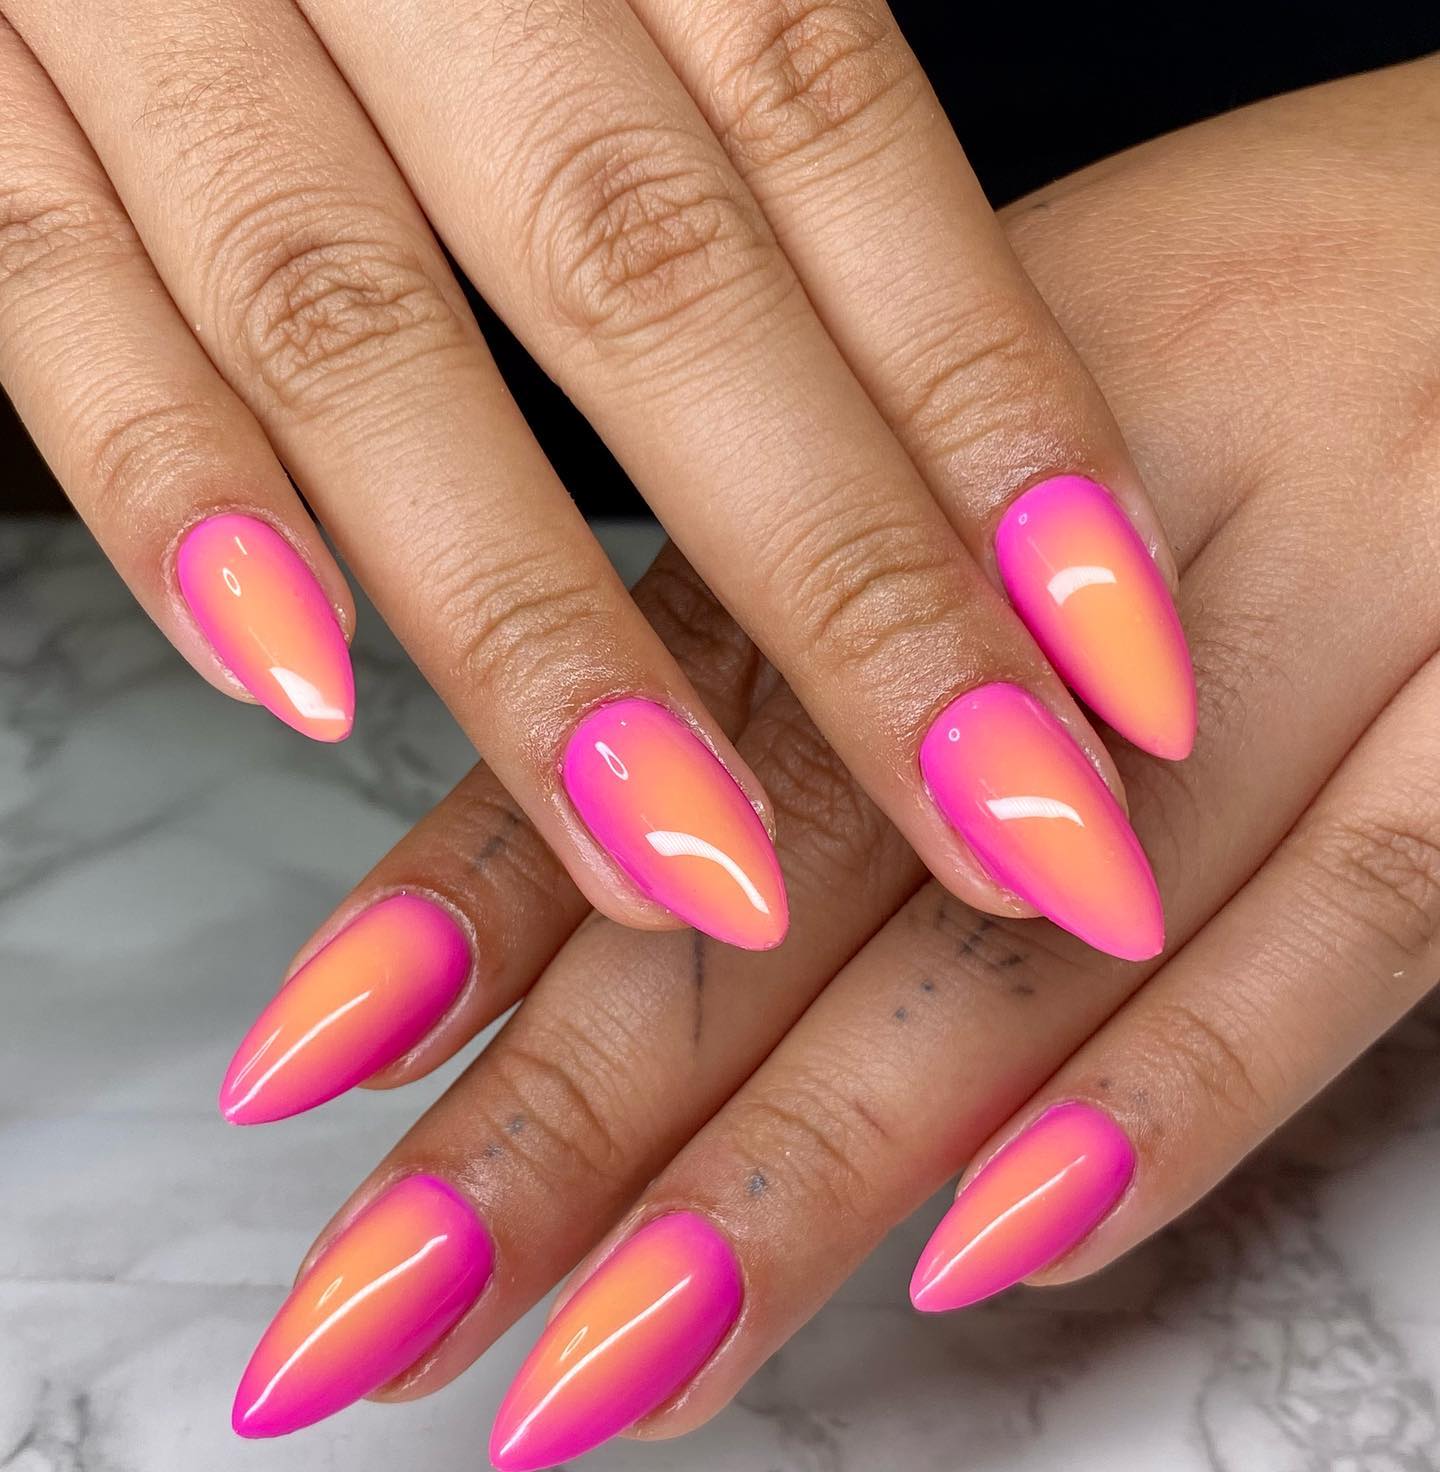
13. Cotton Candy Sunset Nails
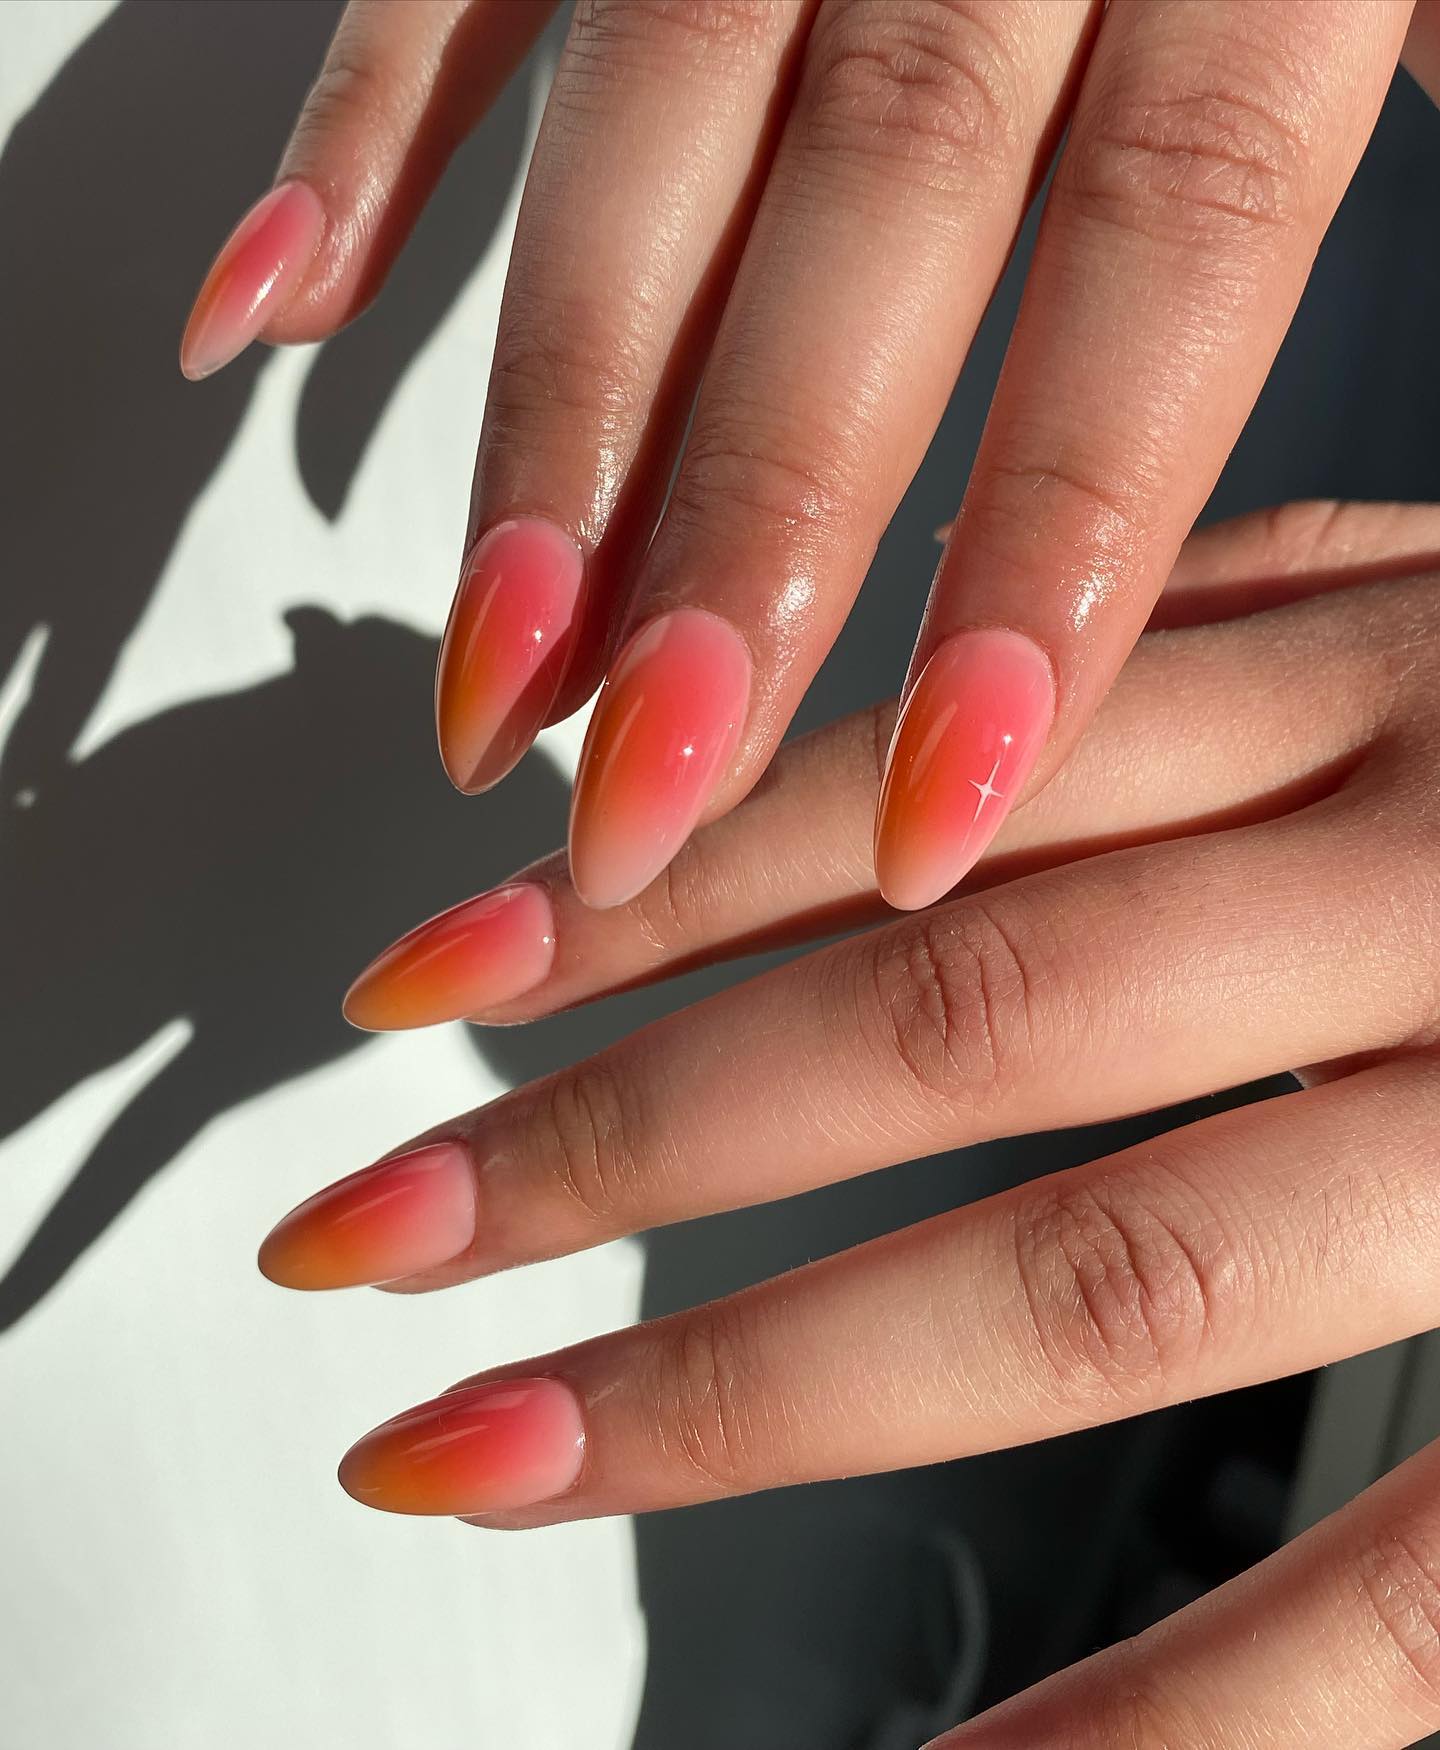
14. Clouds Ombre Nails
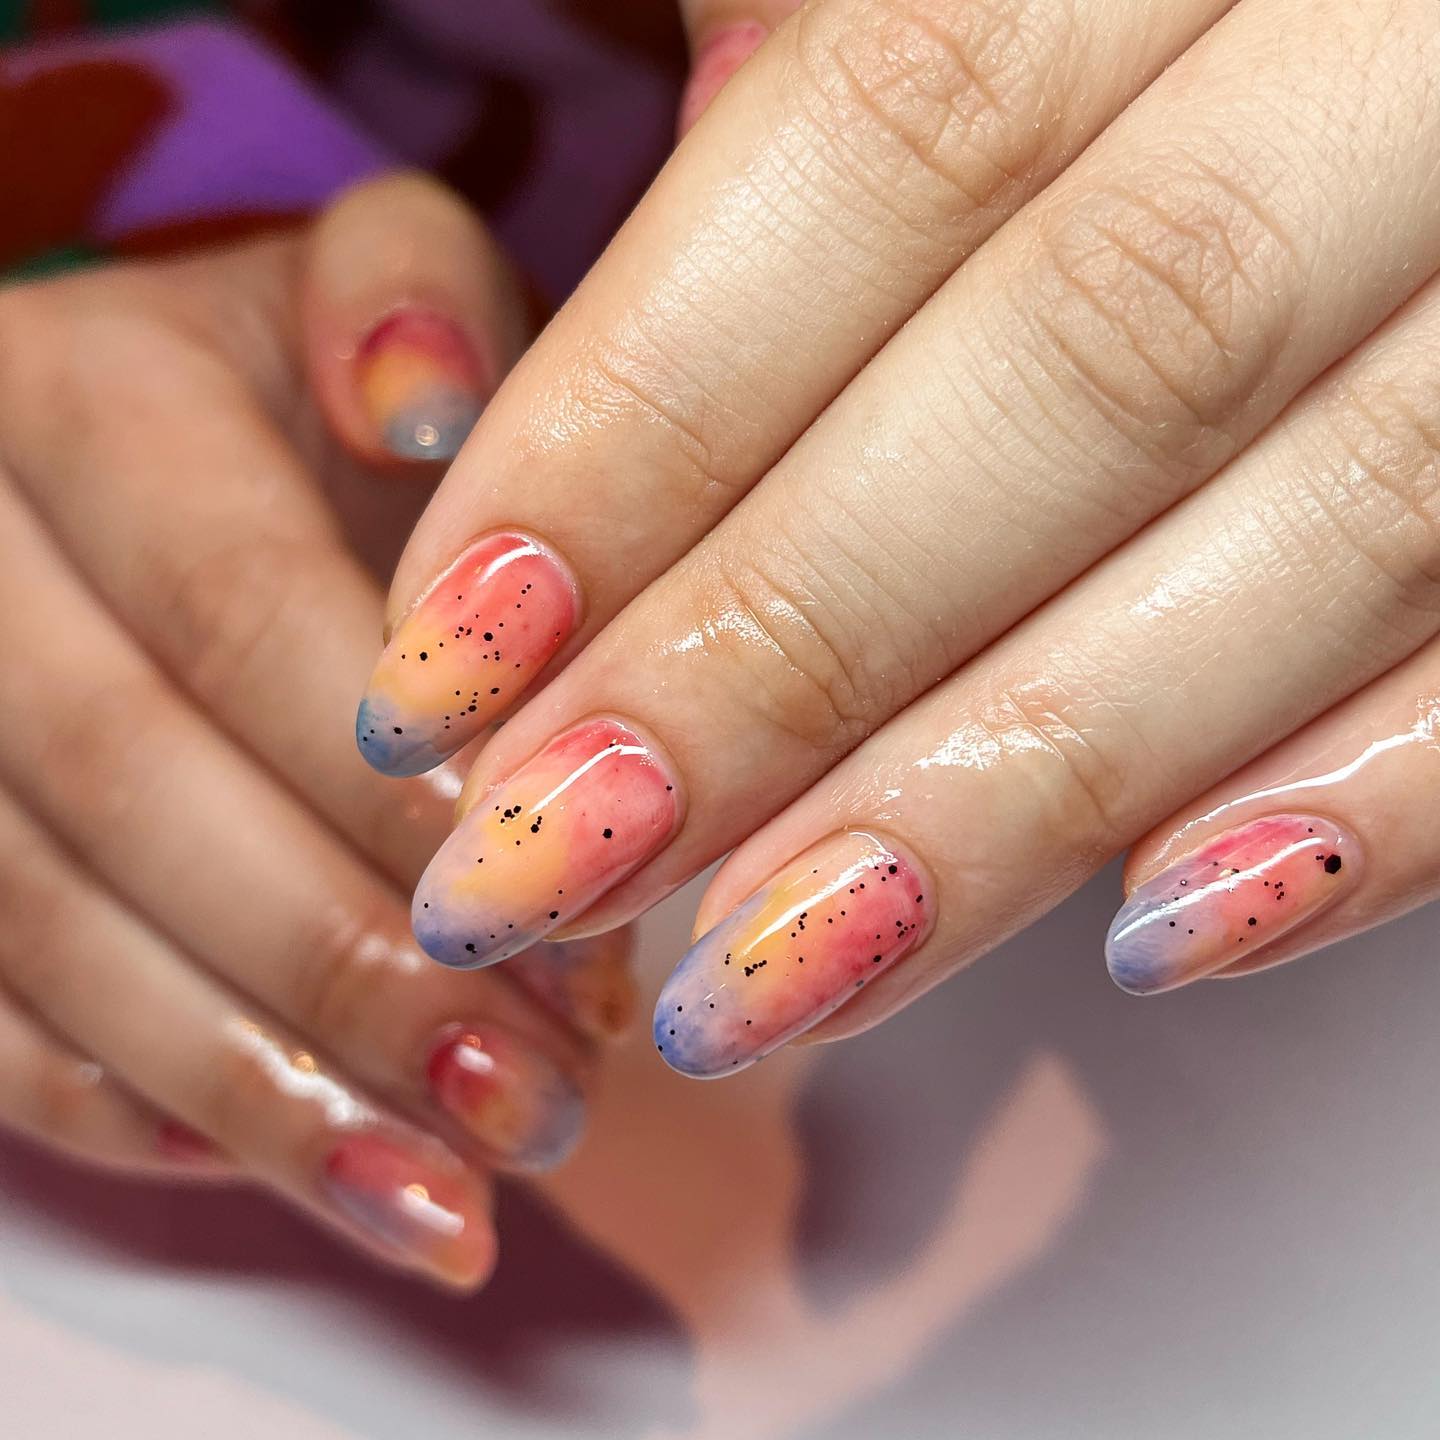
15. Summer Forest Sunset Ombre Nails
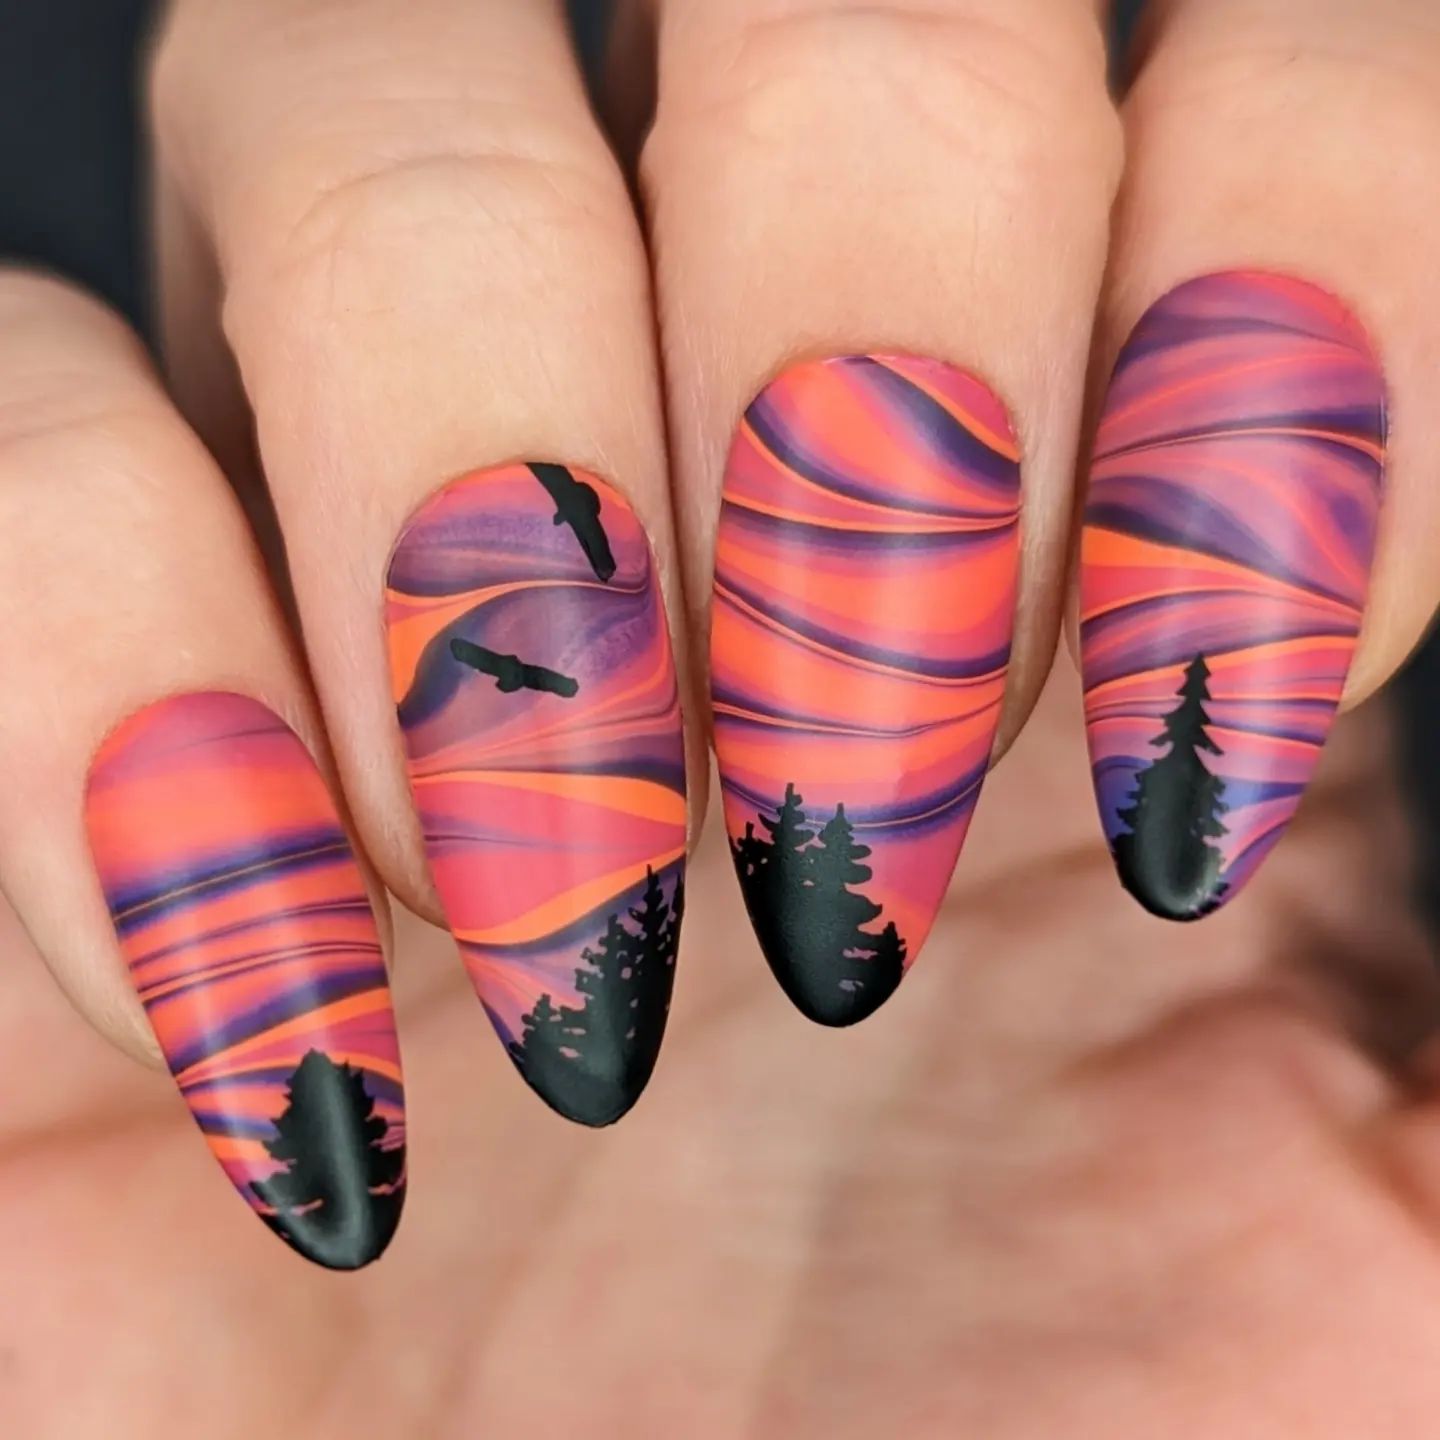
16. Hawaiian Flowers
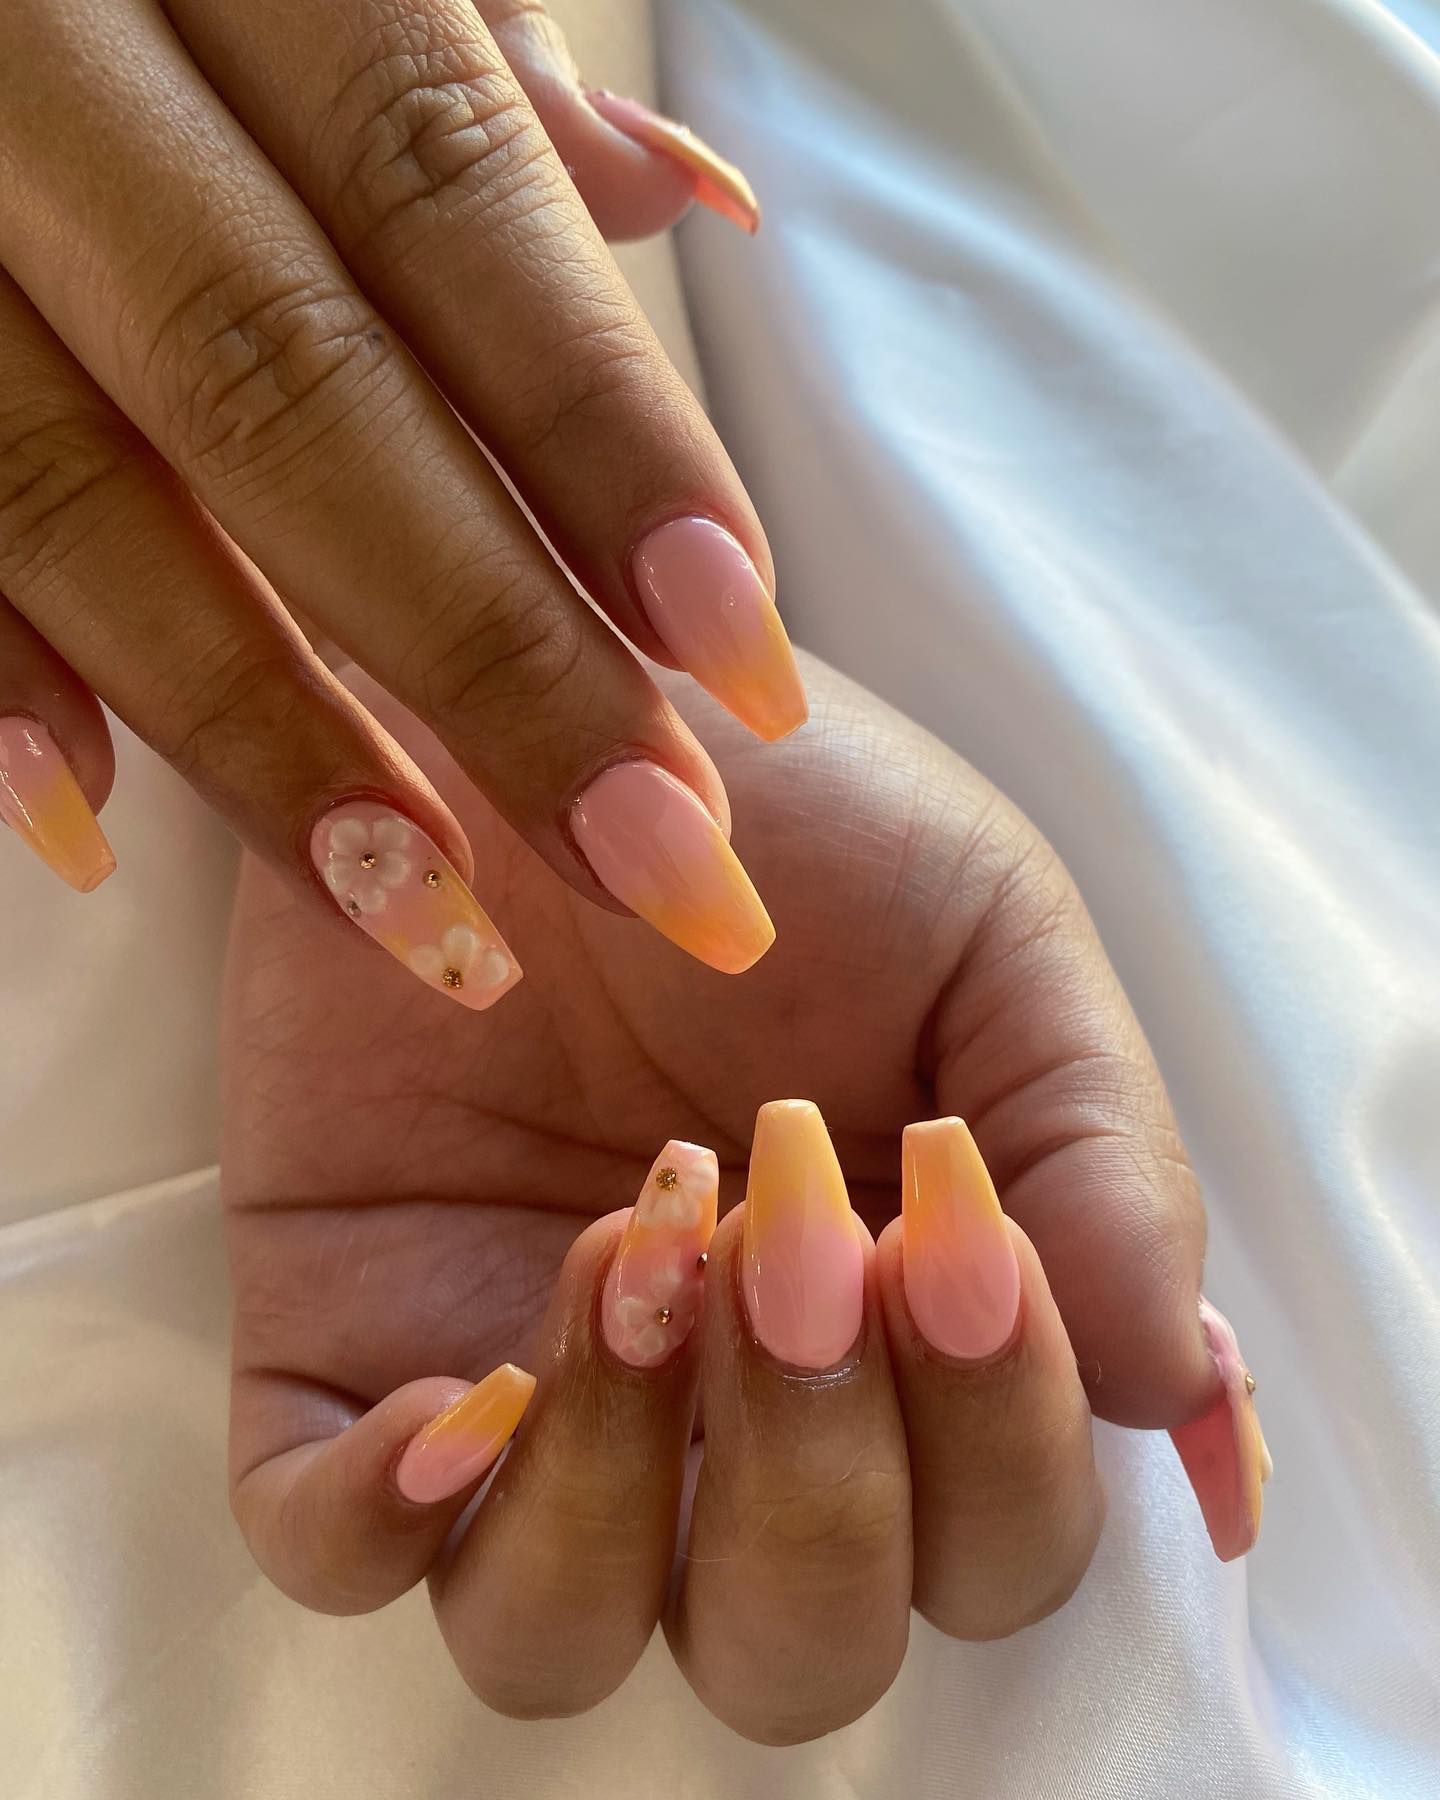
17. Black French Tip Sunset Nails
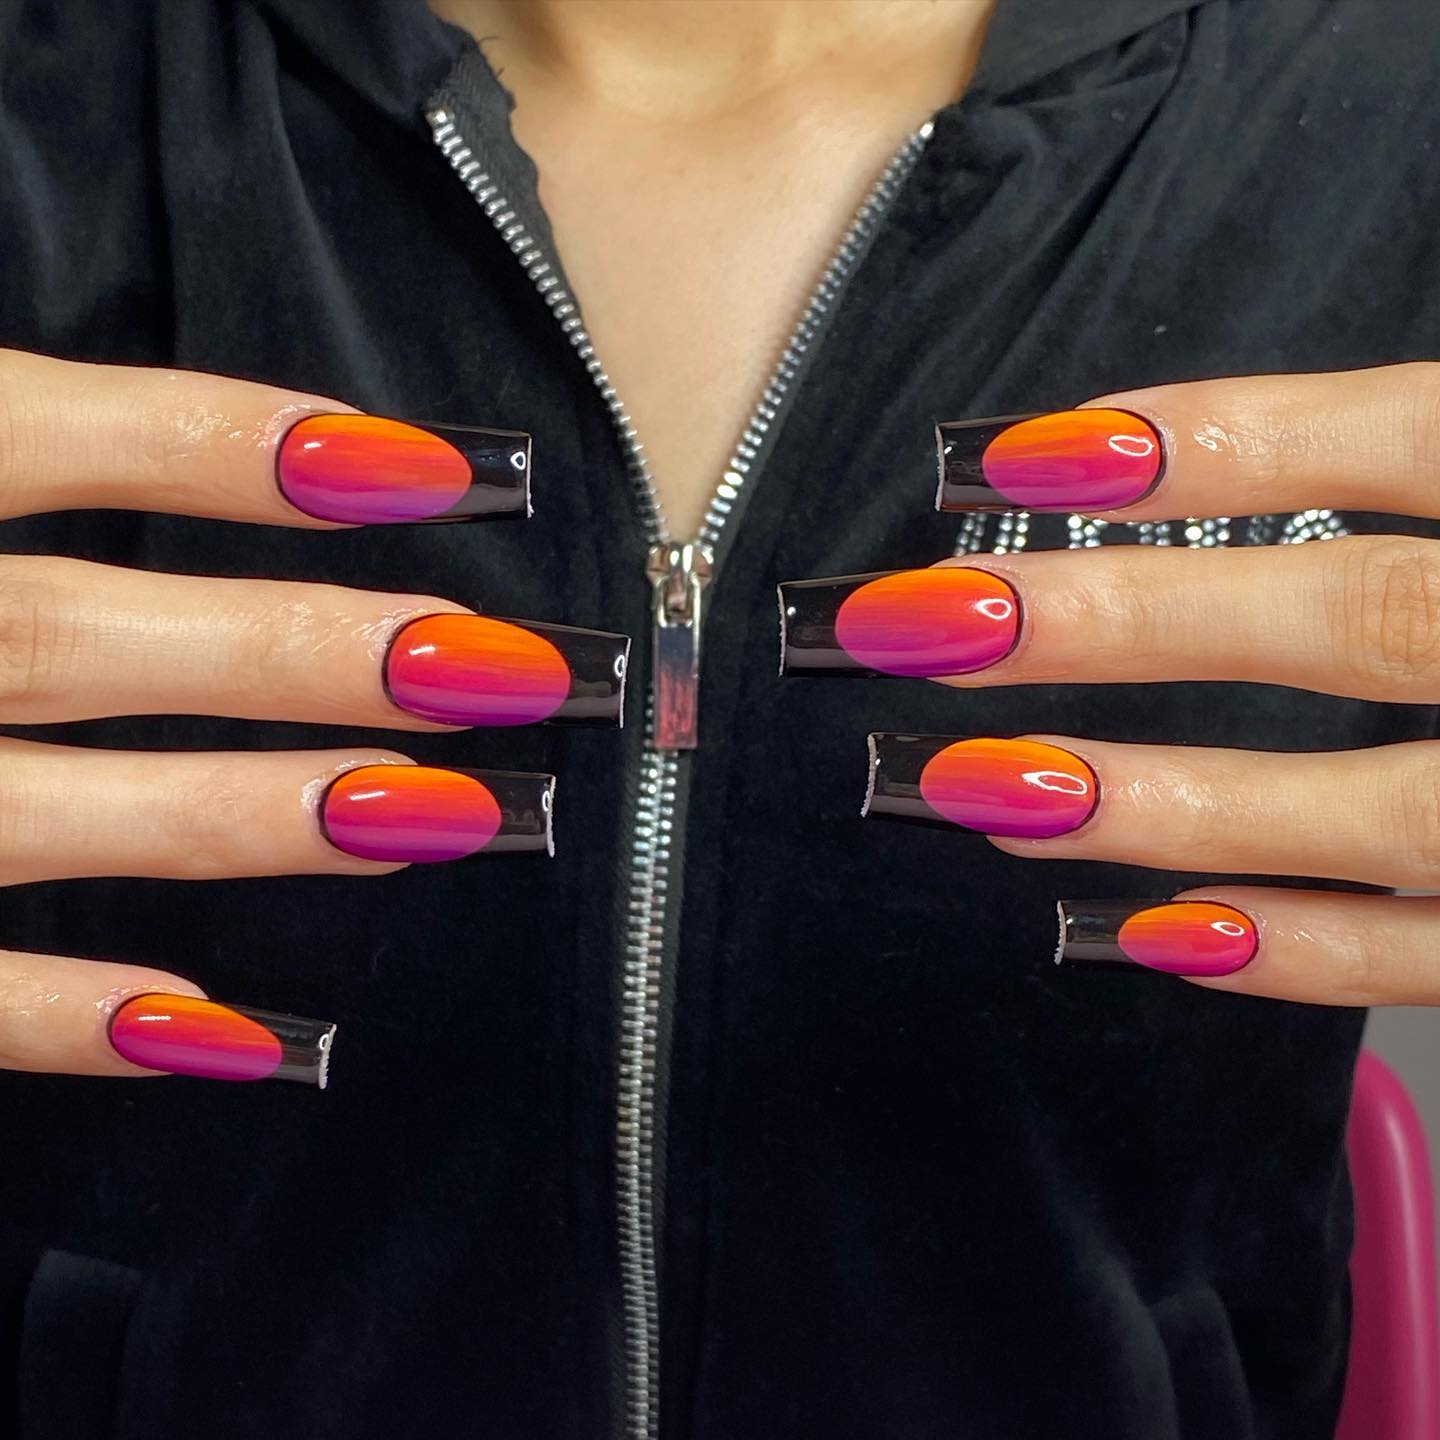
18. Palm Trees and Gold Foil Sunset Nails
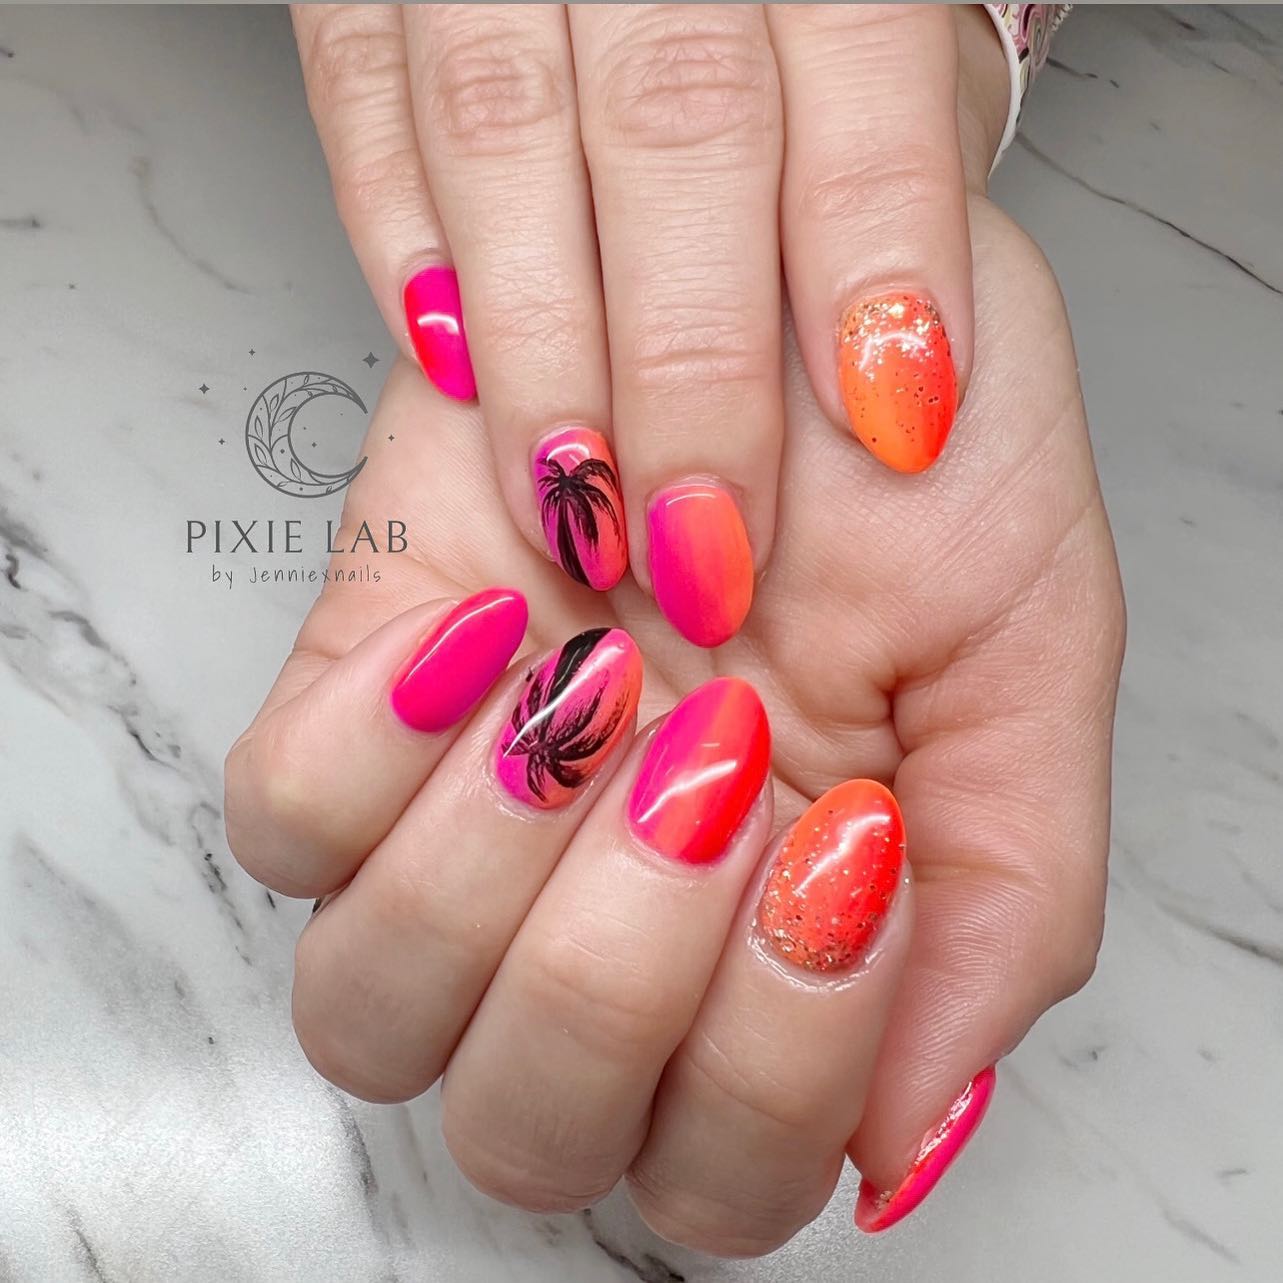
19. Paradise Found Sunset Nails
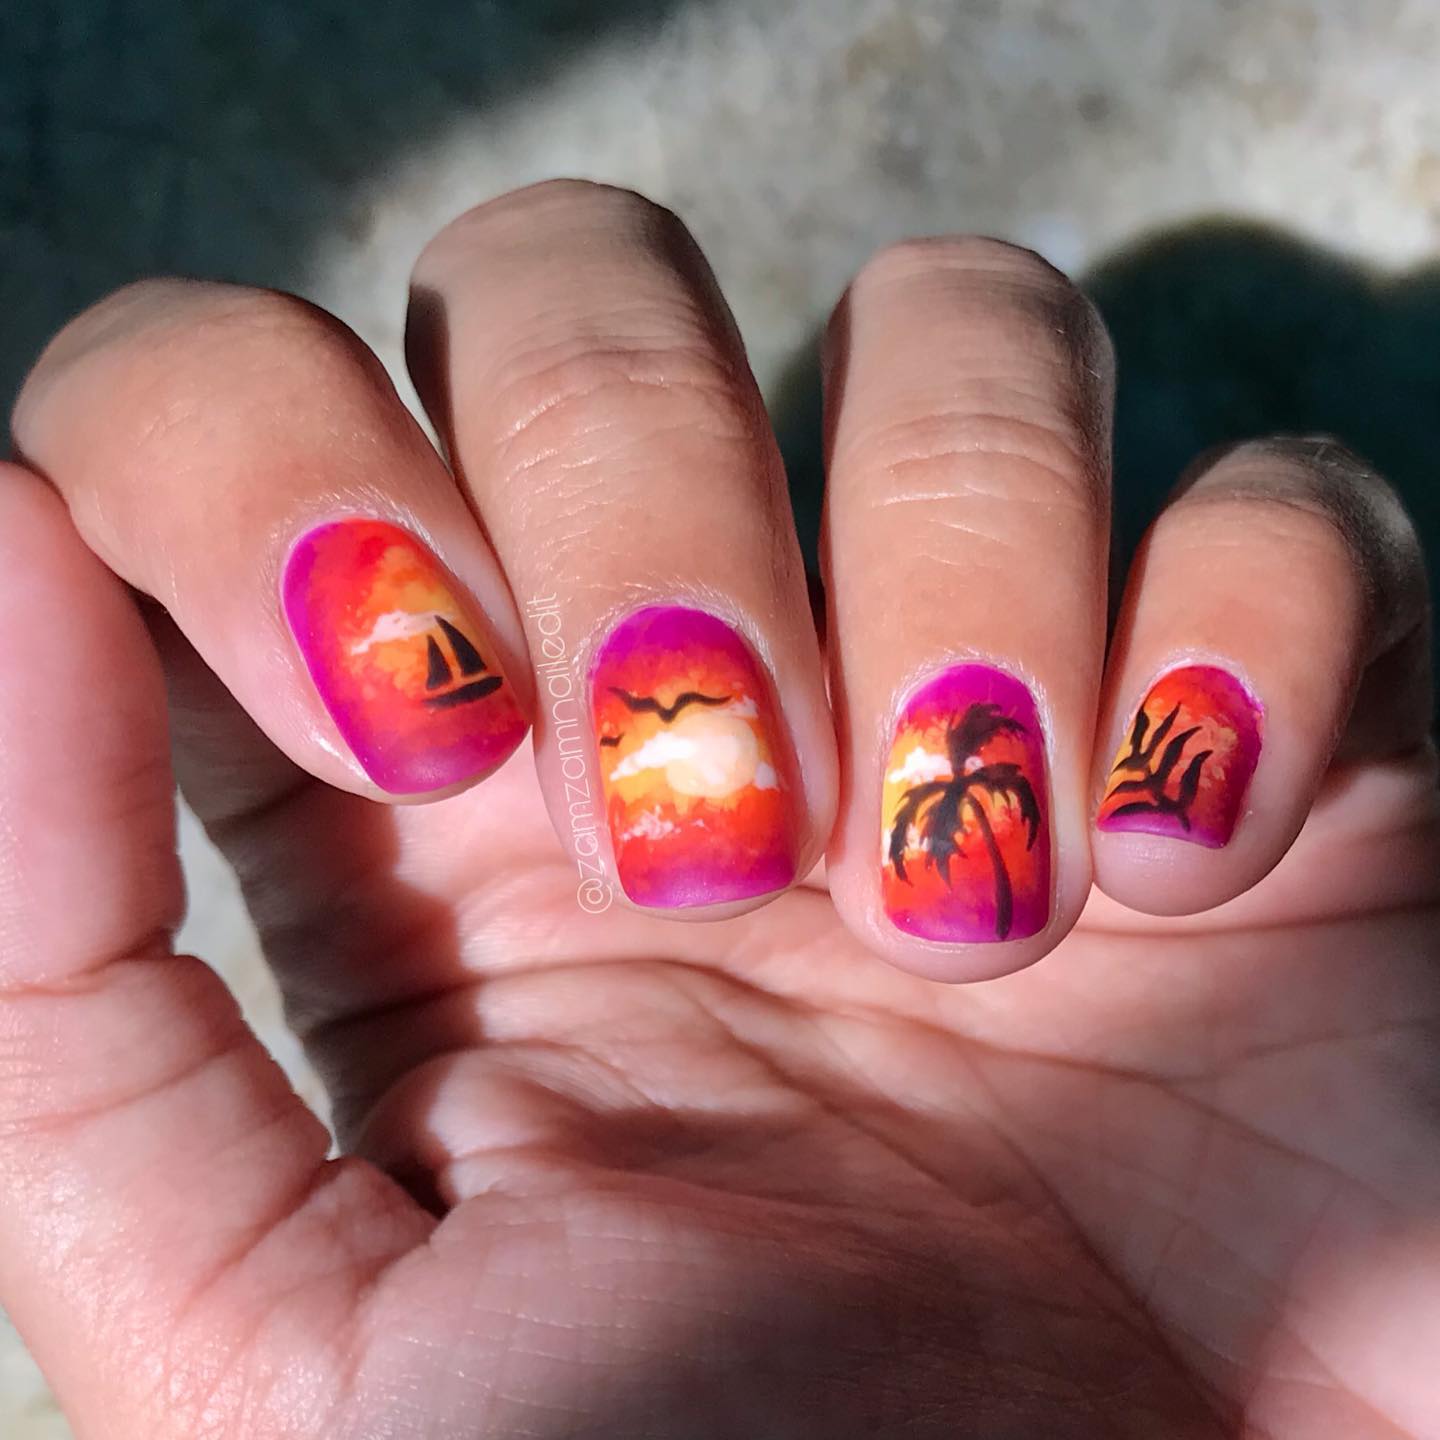
20. Tropical Sunset Nails
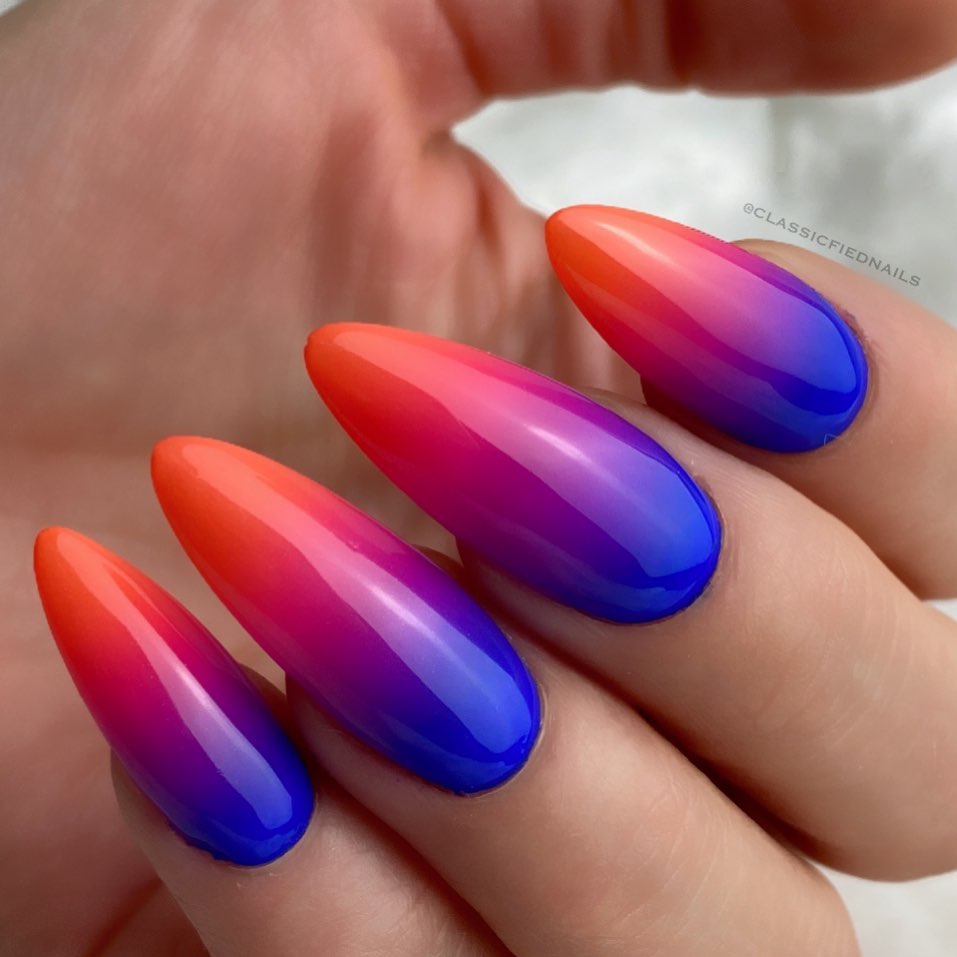
22. Red Ombre Sunset
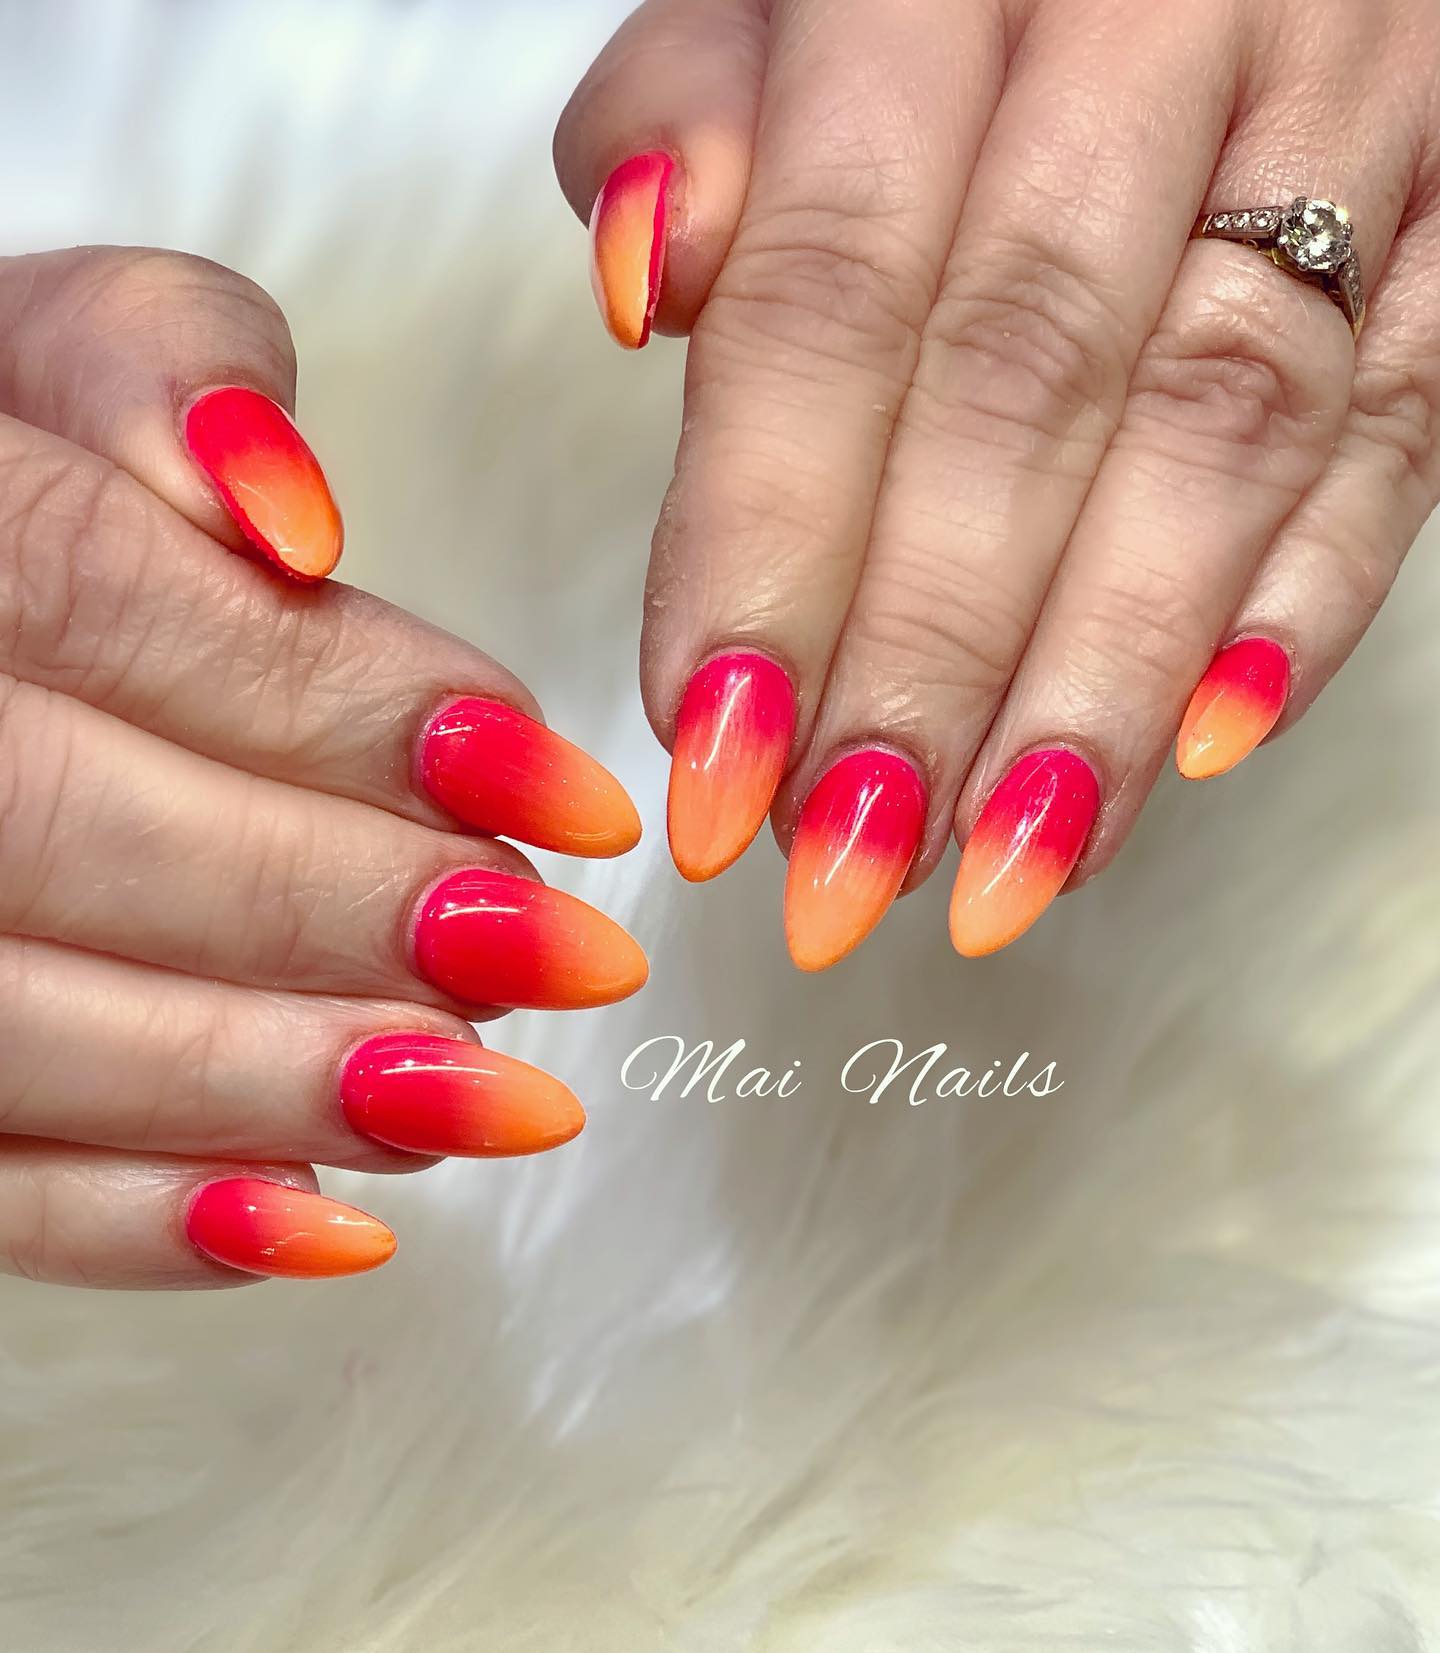
23. Blue Purple Ombre Sunset
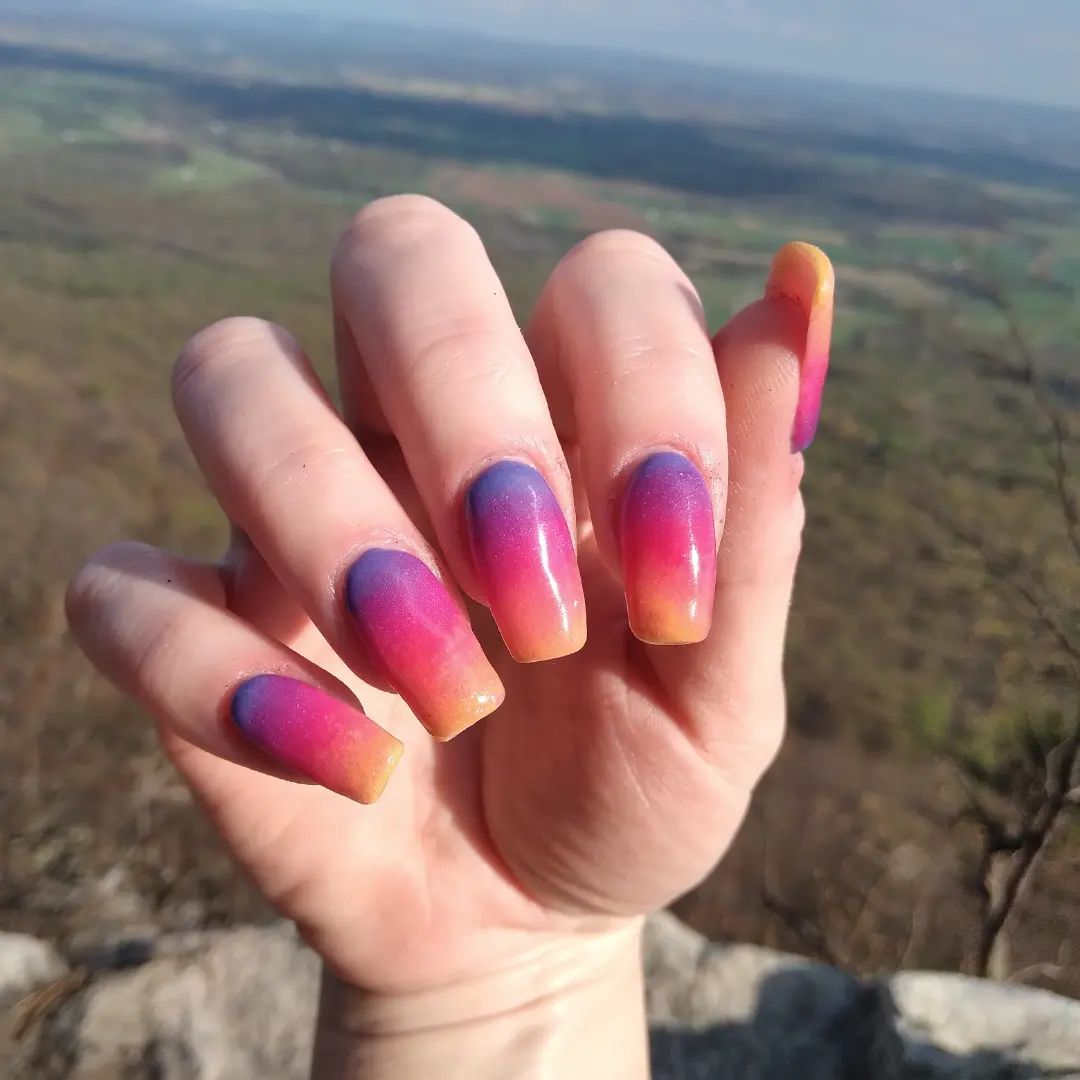
24. Magical Sunset Nails
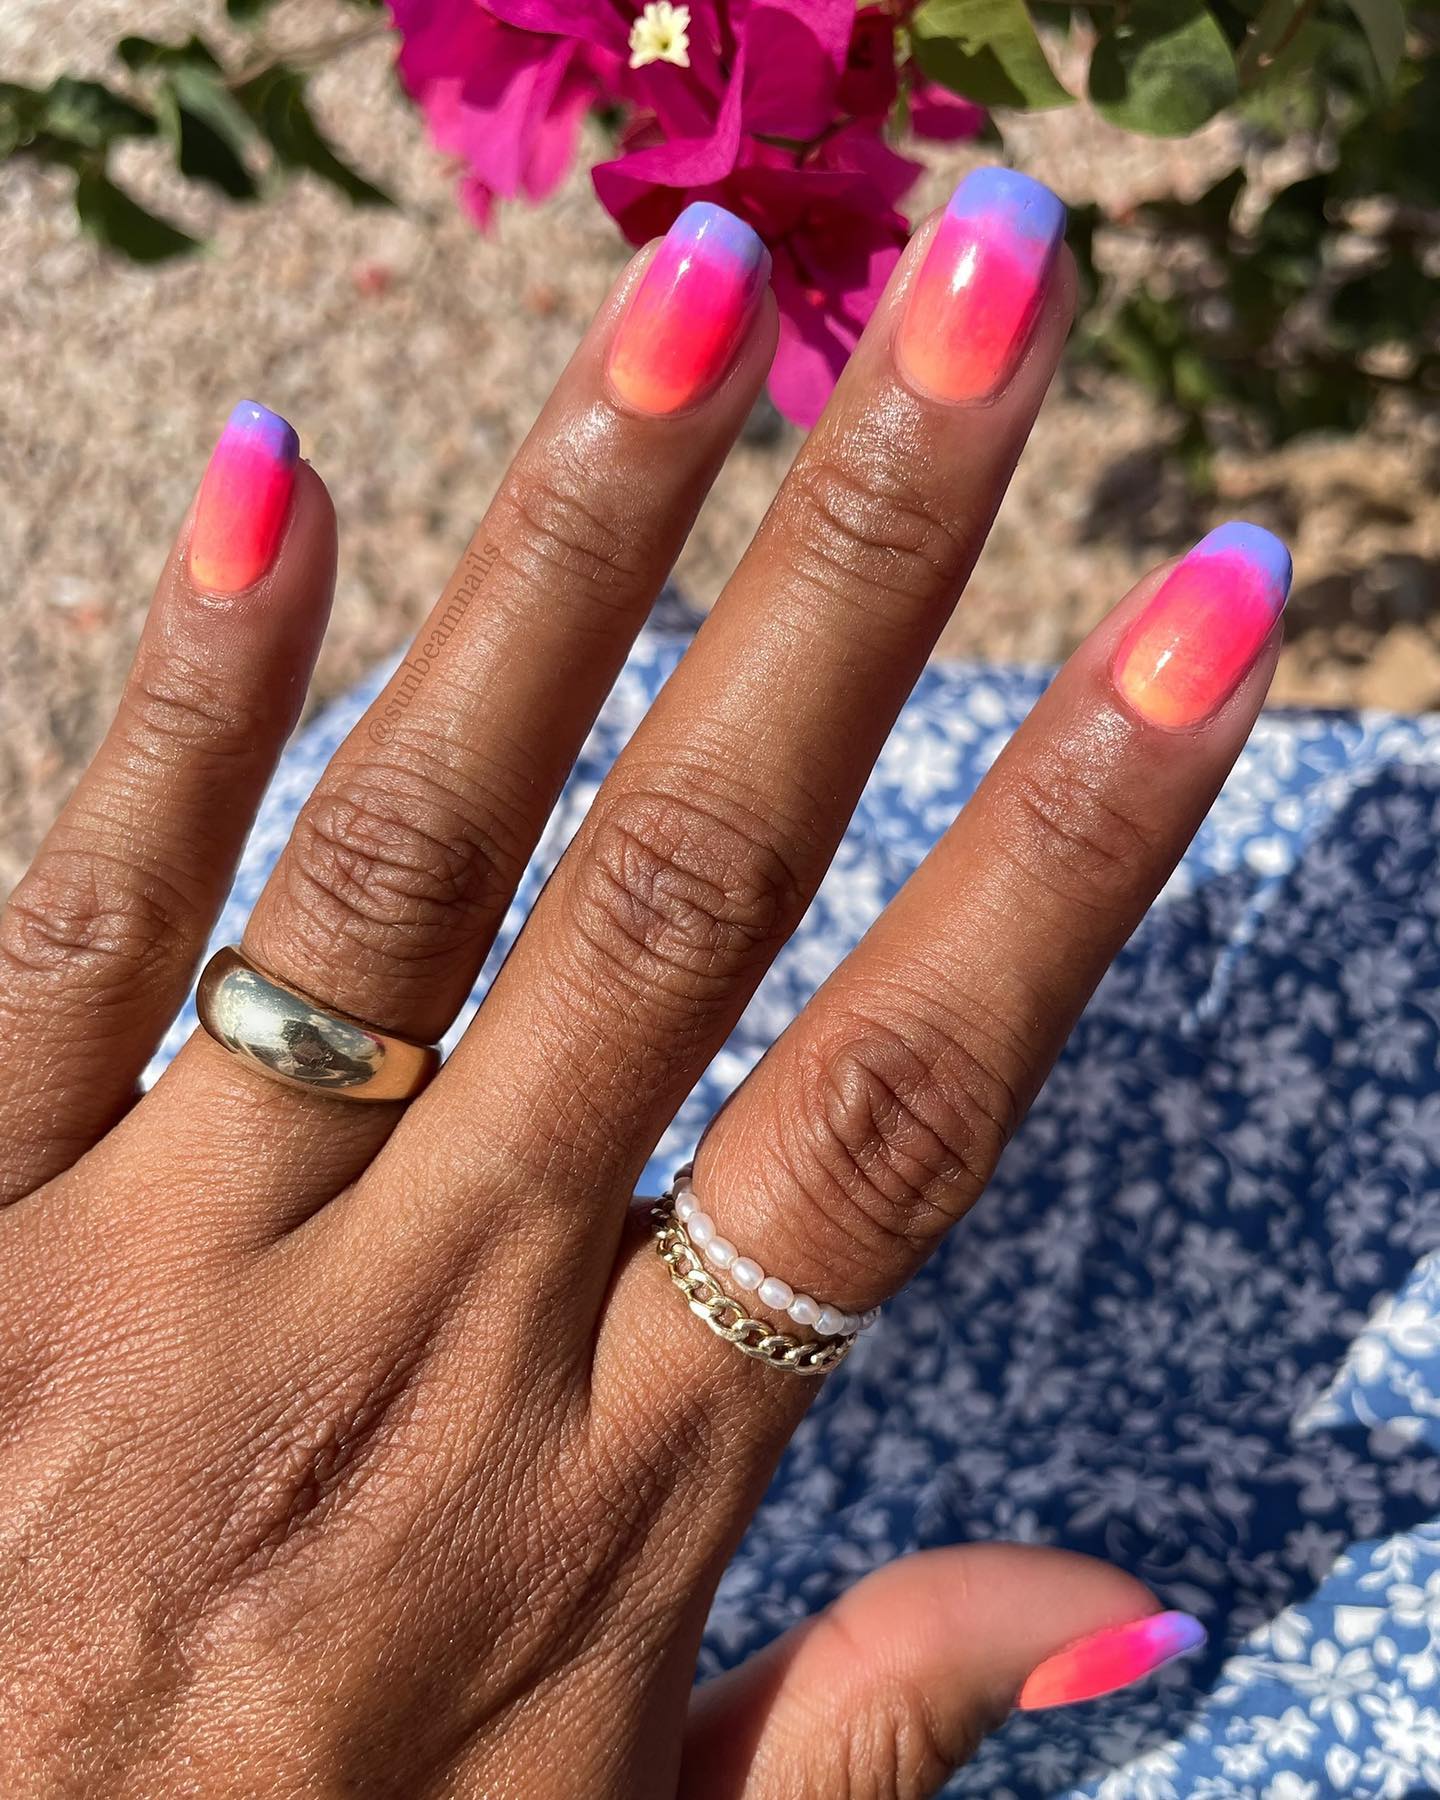
25. Mango Ombre Nails
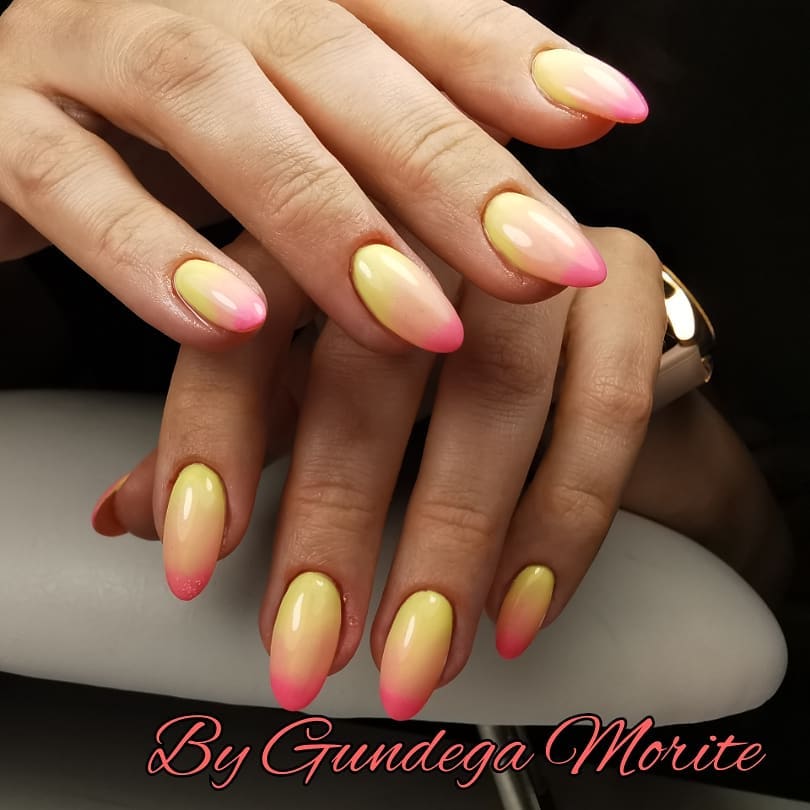
26. Orange And Pink Ombre with Rhinestones
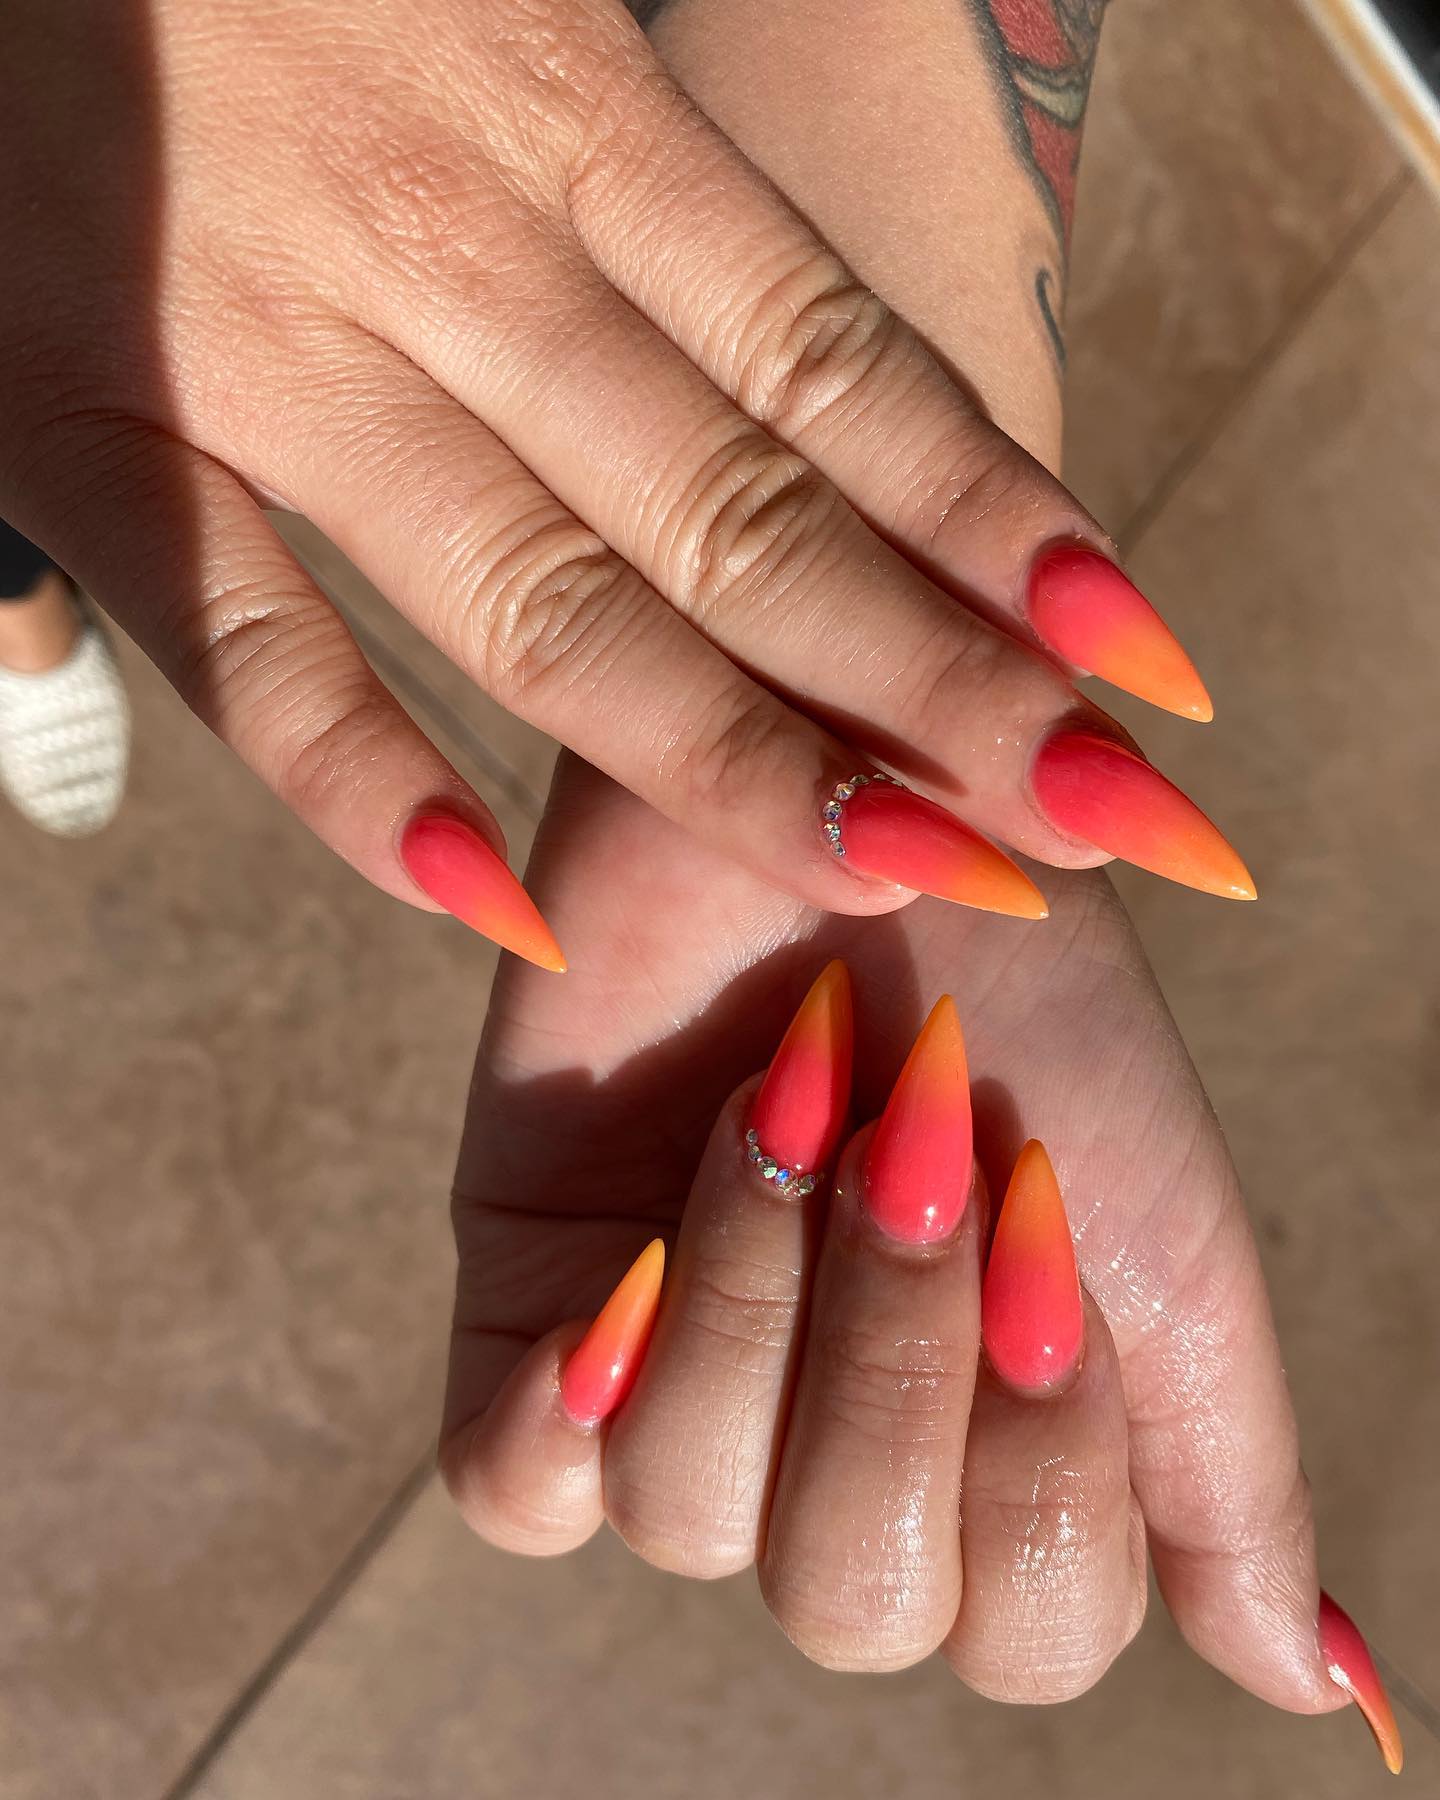
27. Sunset Coffin Ombre Nails
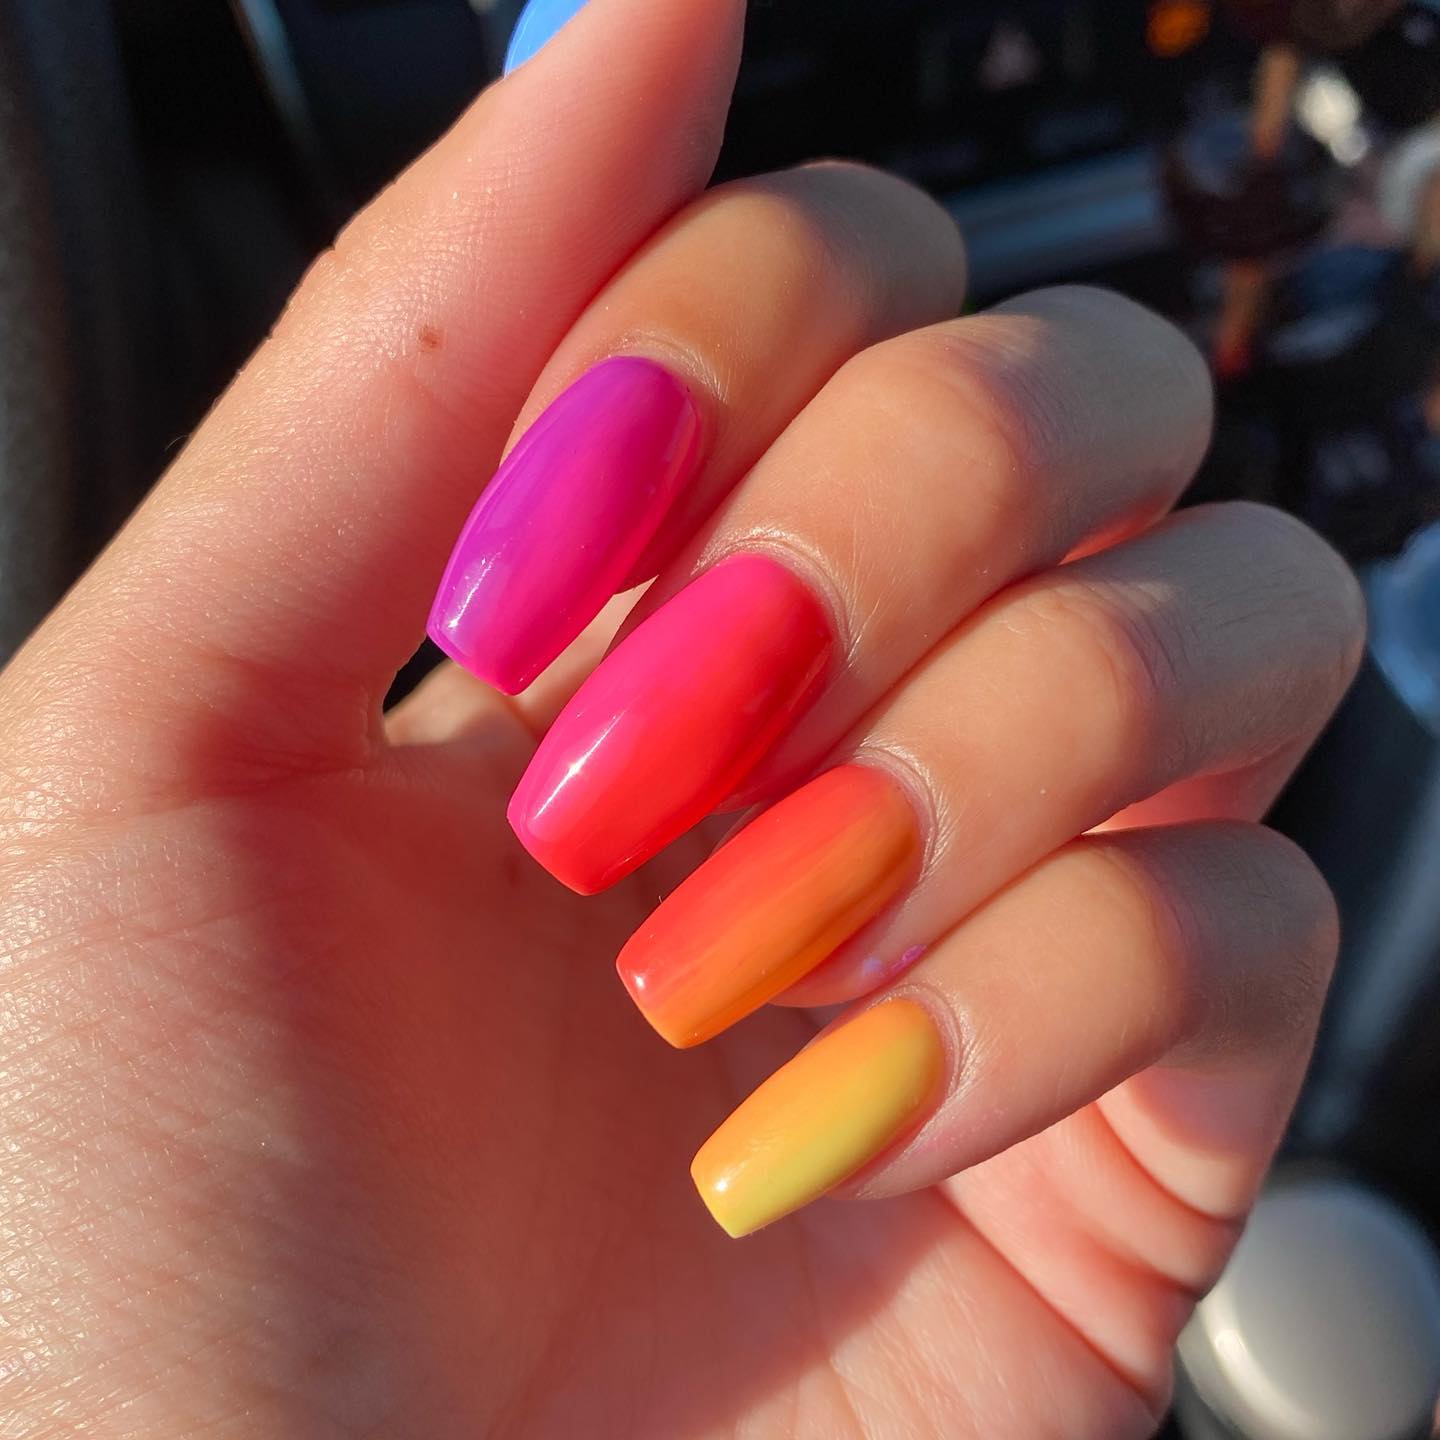
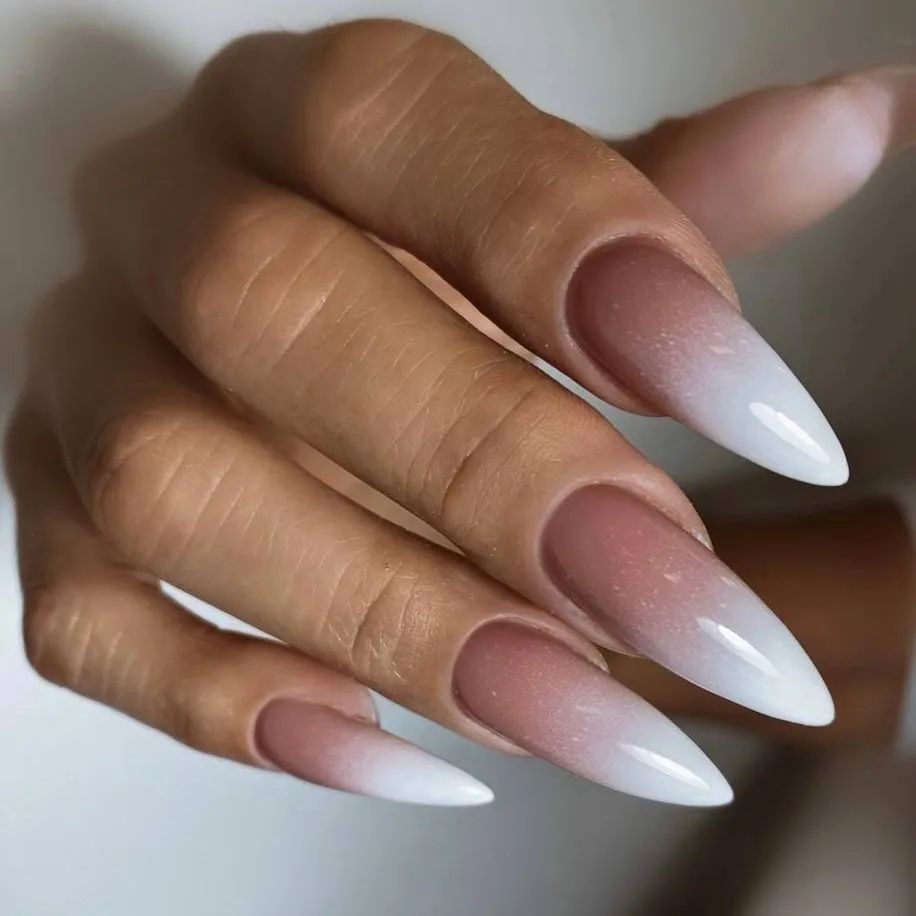
28. Stiletto Sunset Nails
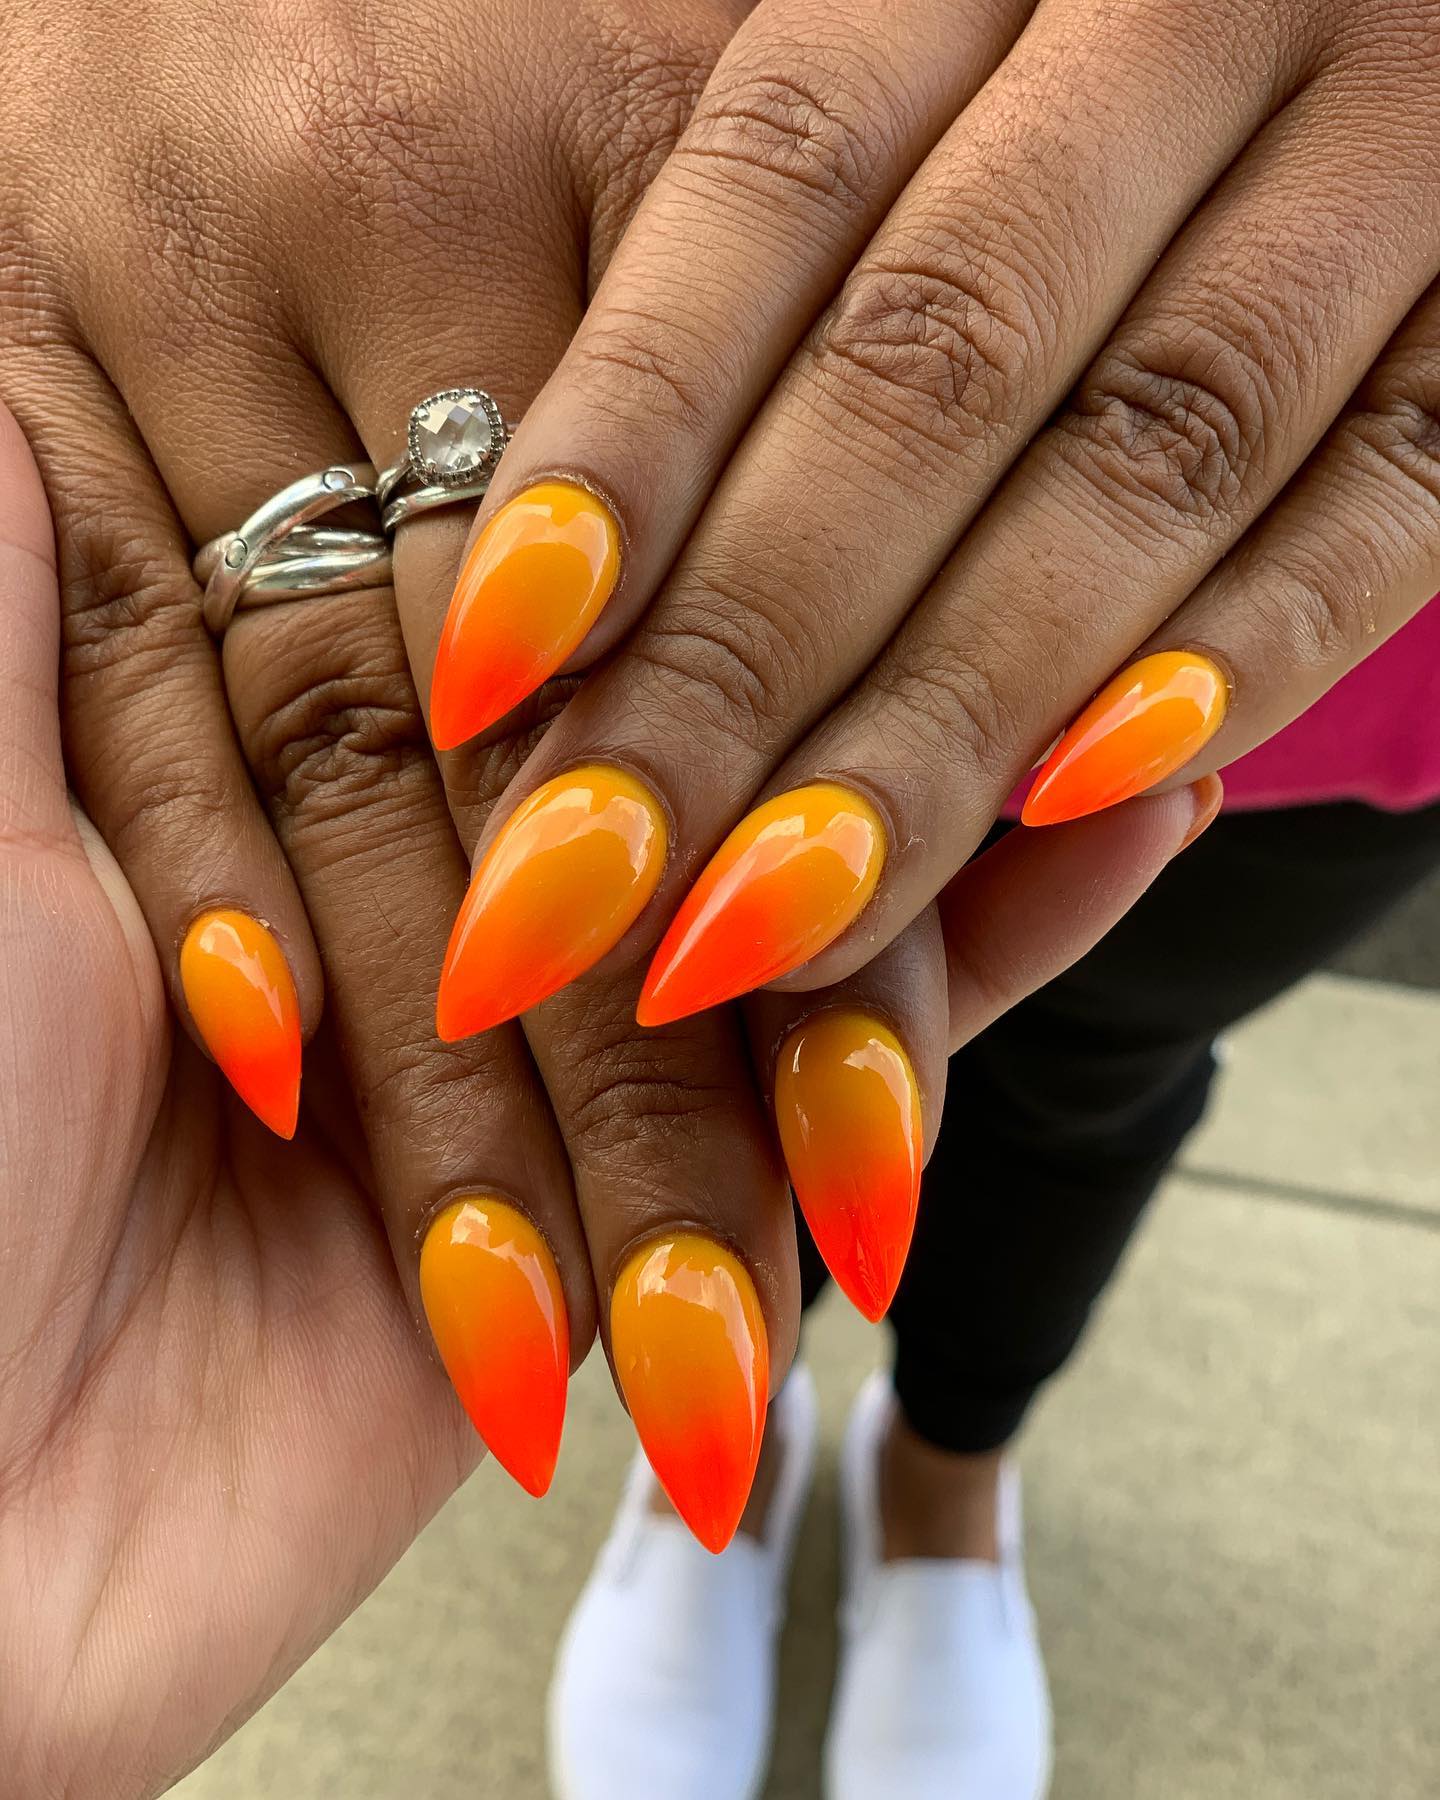
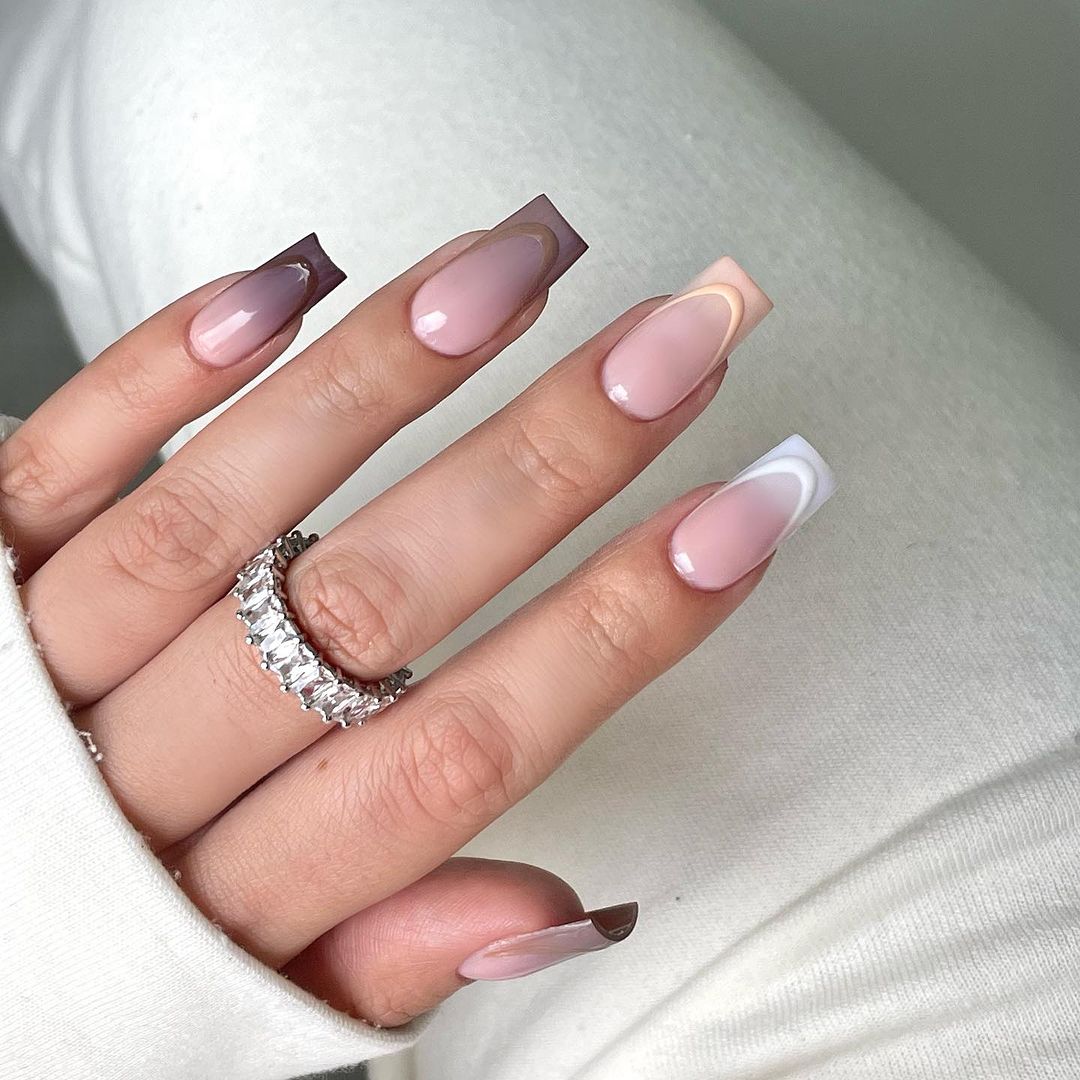
29. Sunset Ombre with Nude Base
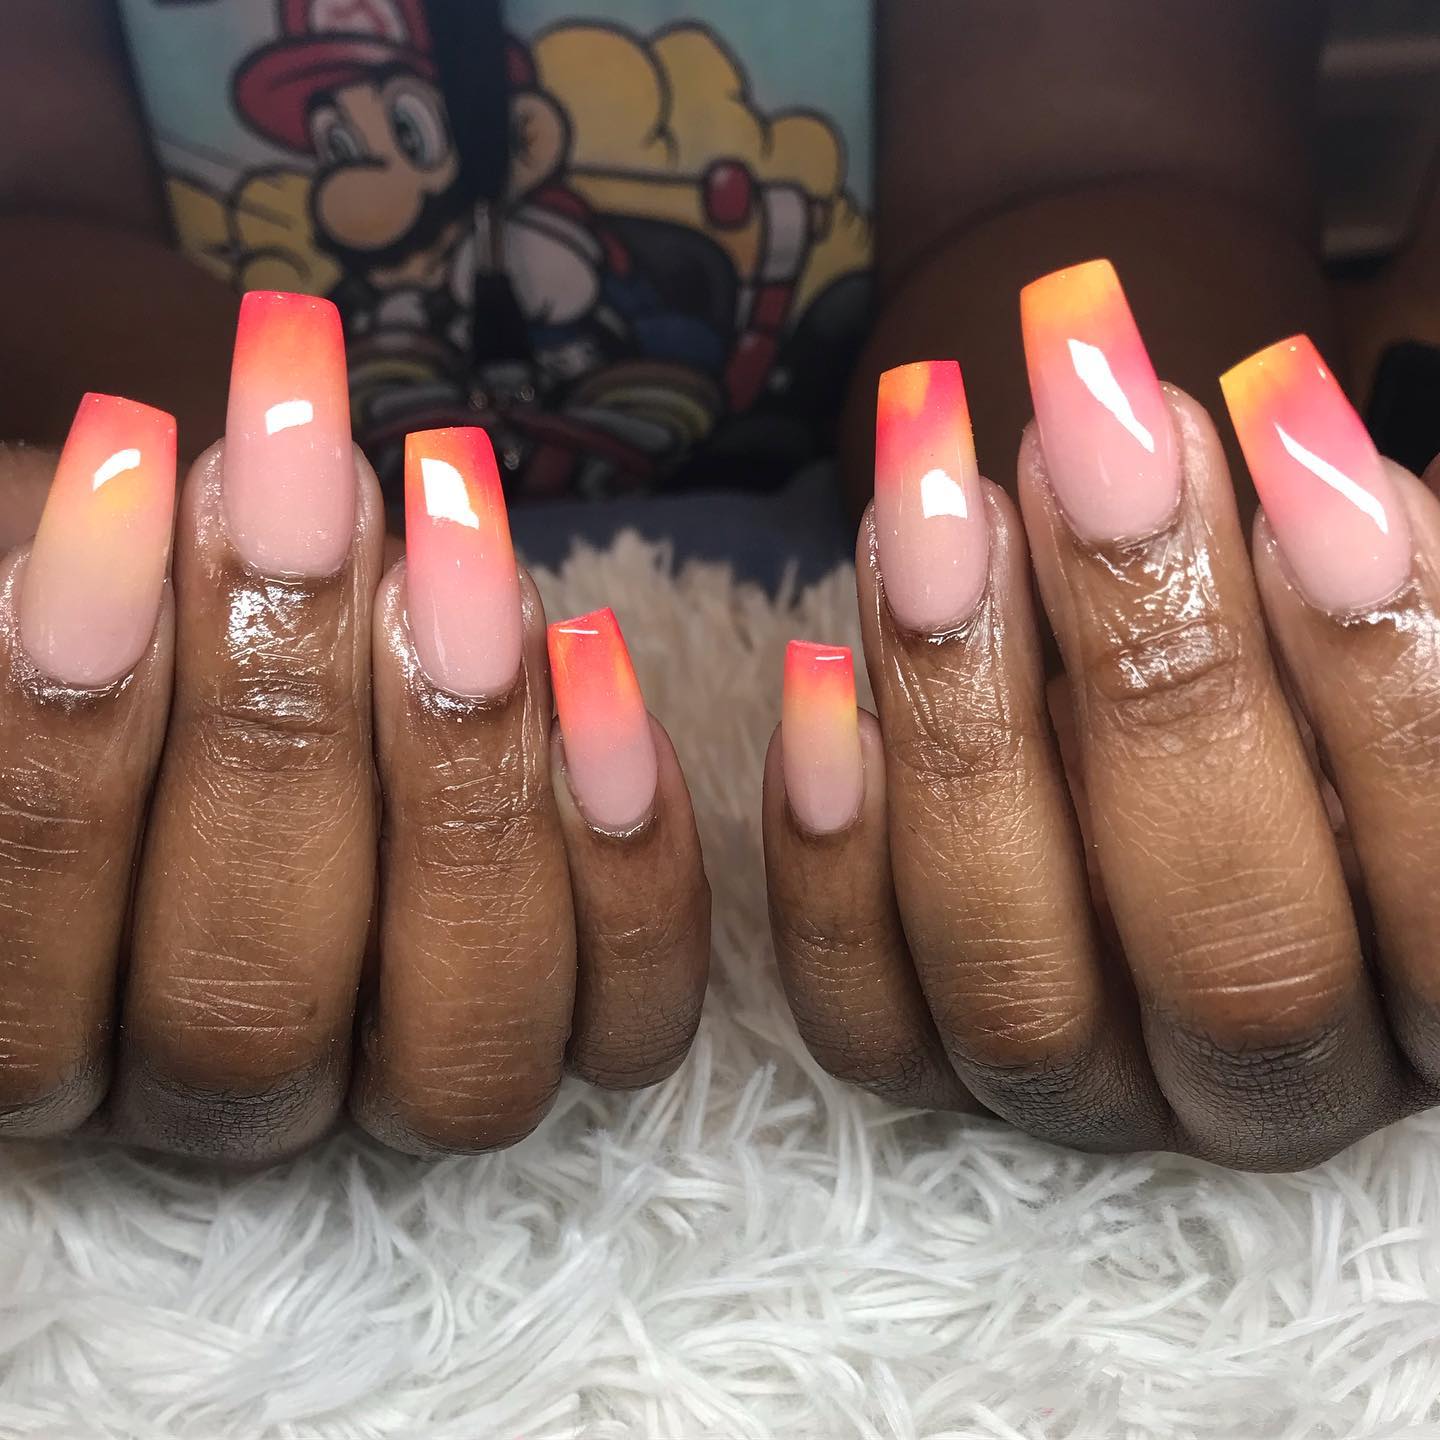
30. Acrylic Sunset Ombre Nails
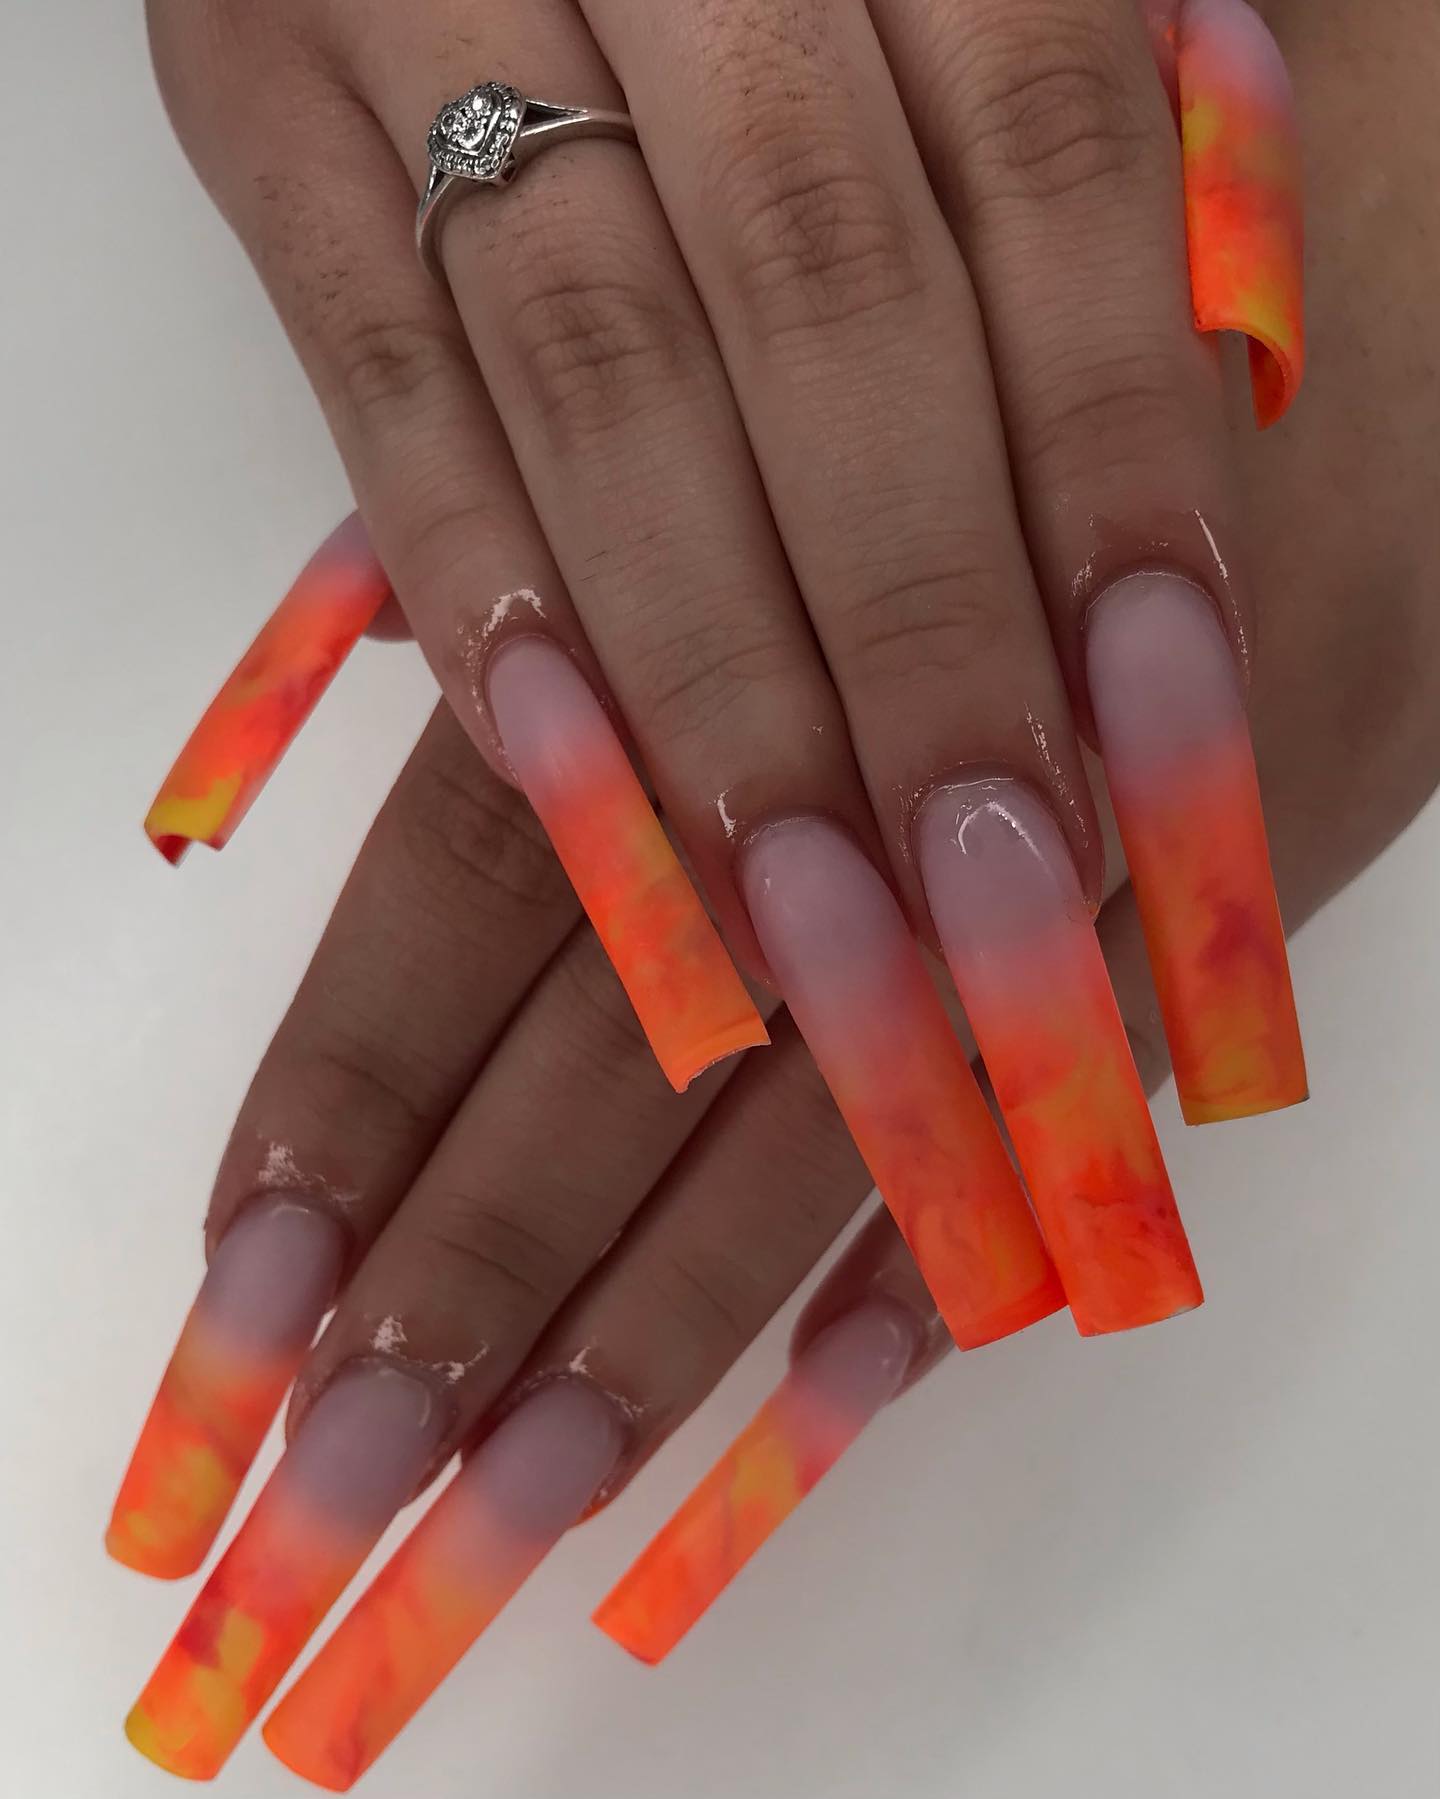
31. Almond Sunset Nails
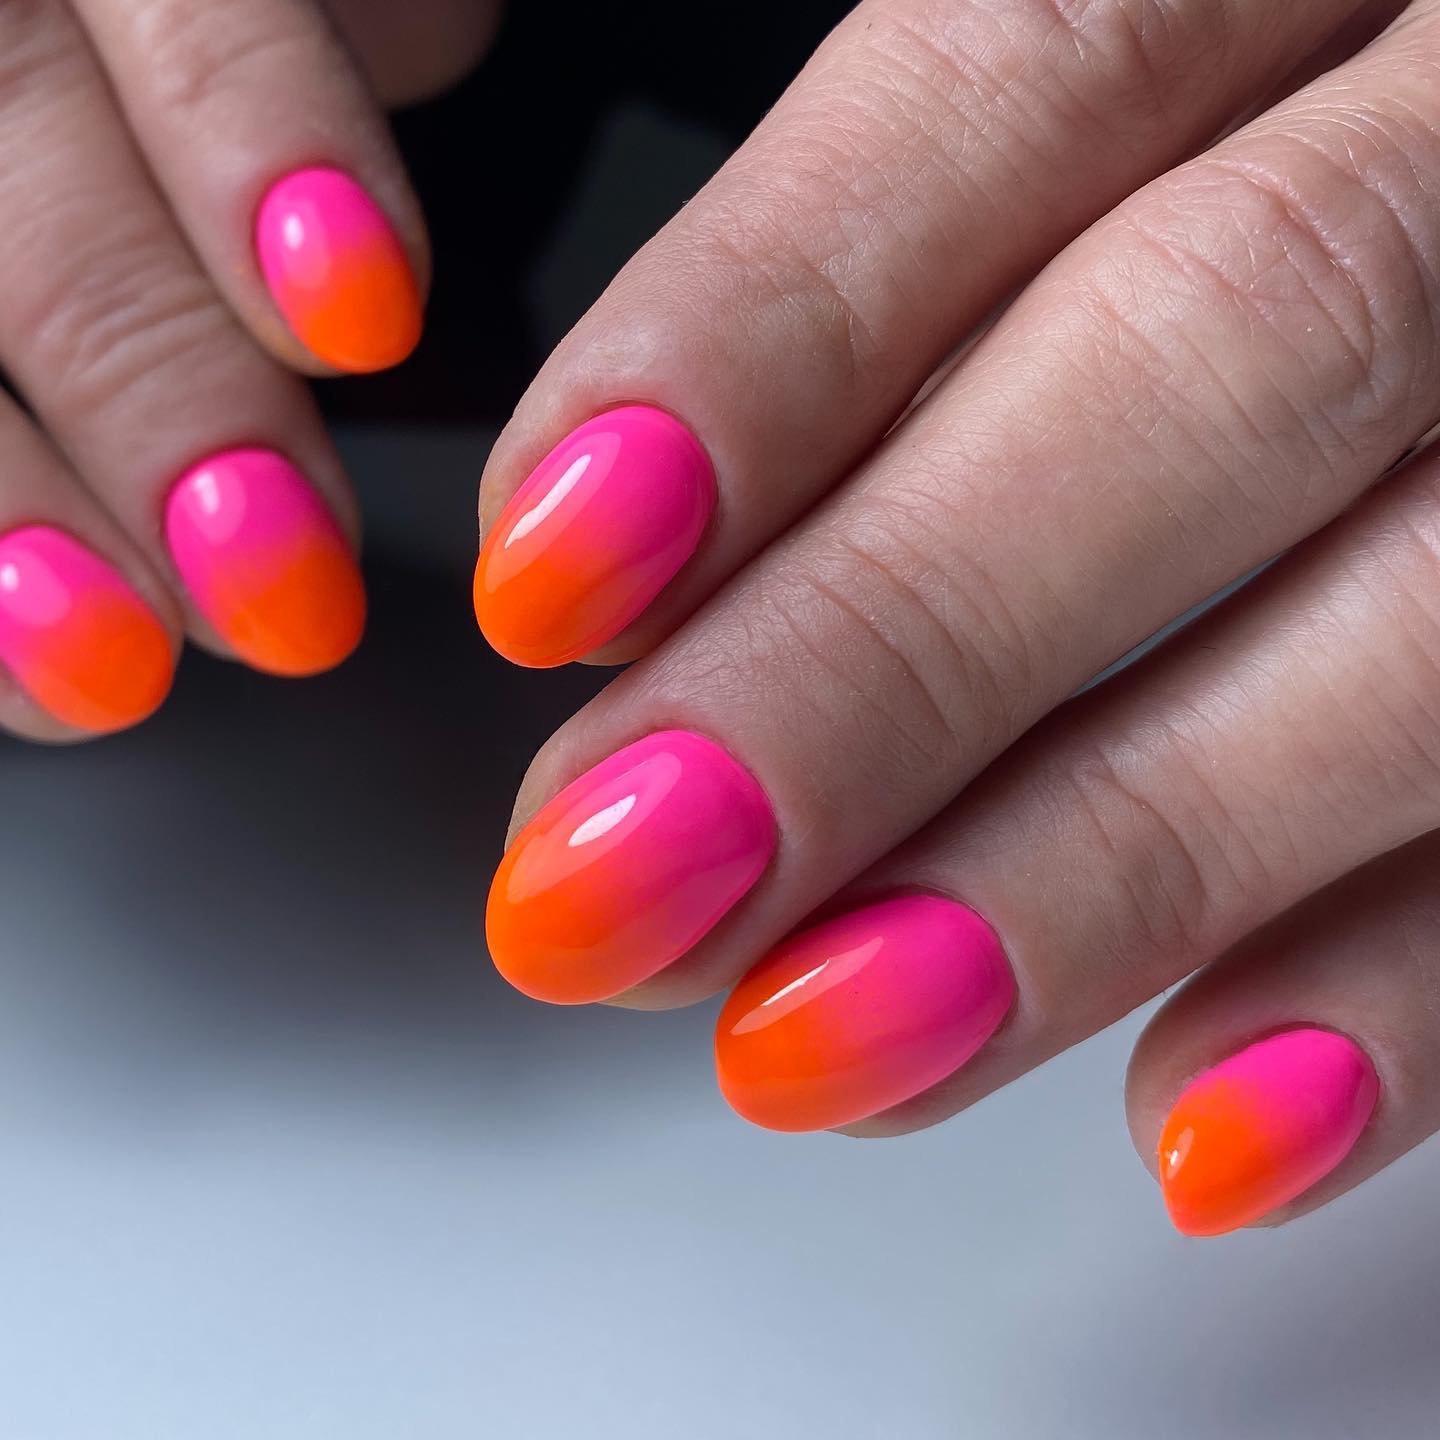
32. Orange and Purple Ombre Nails
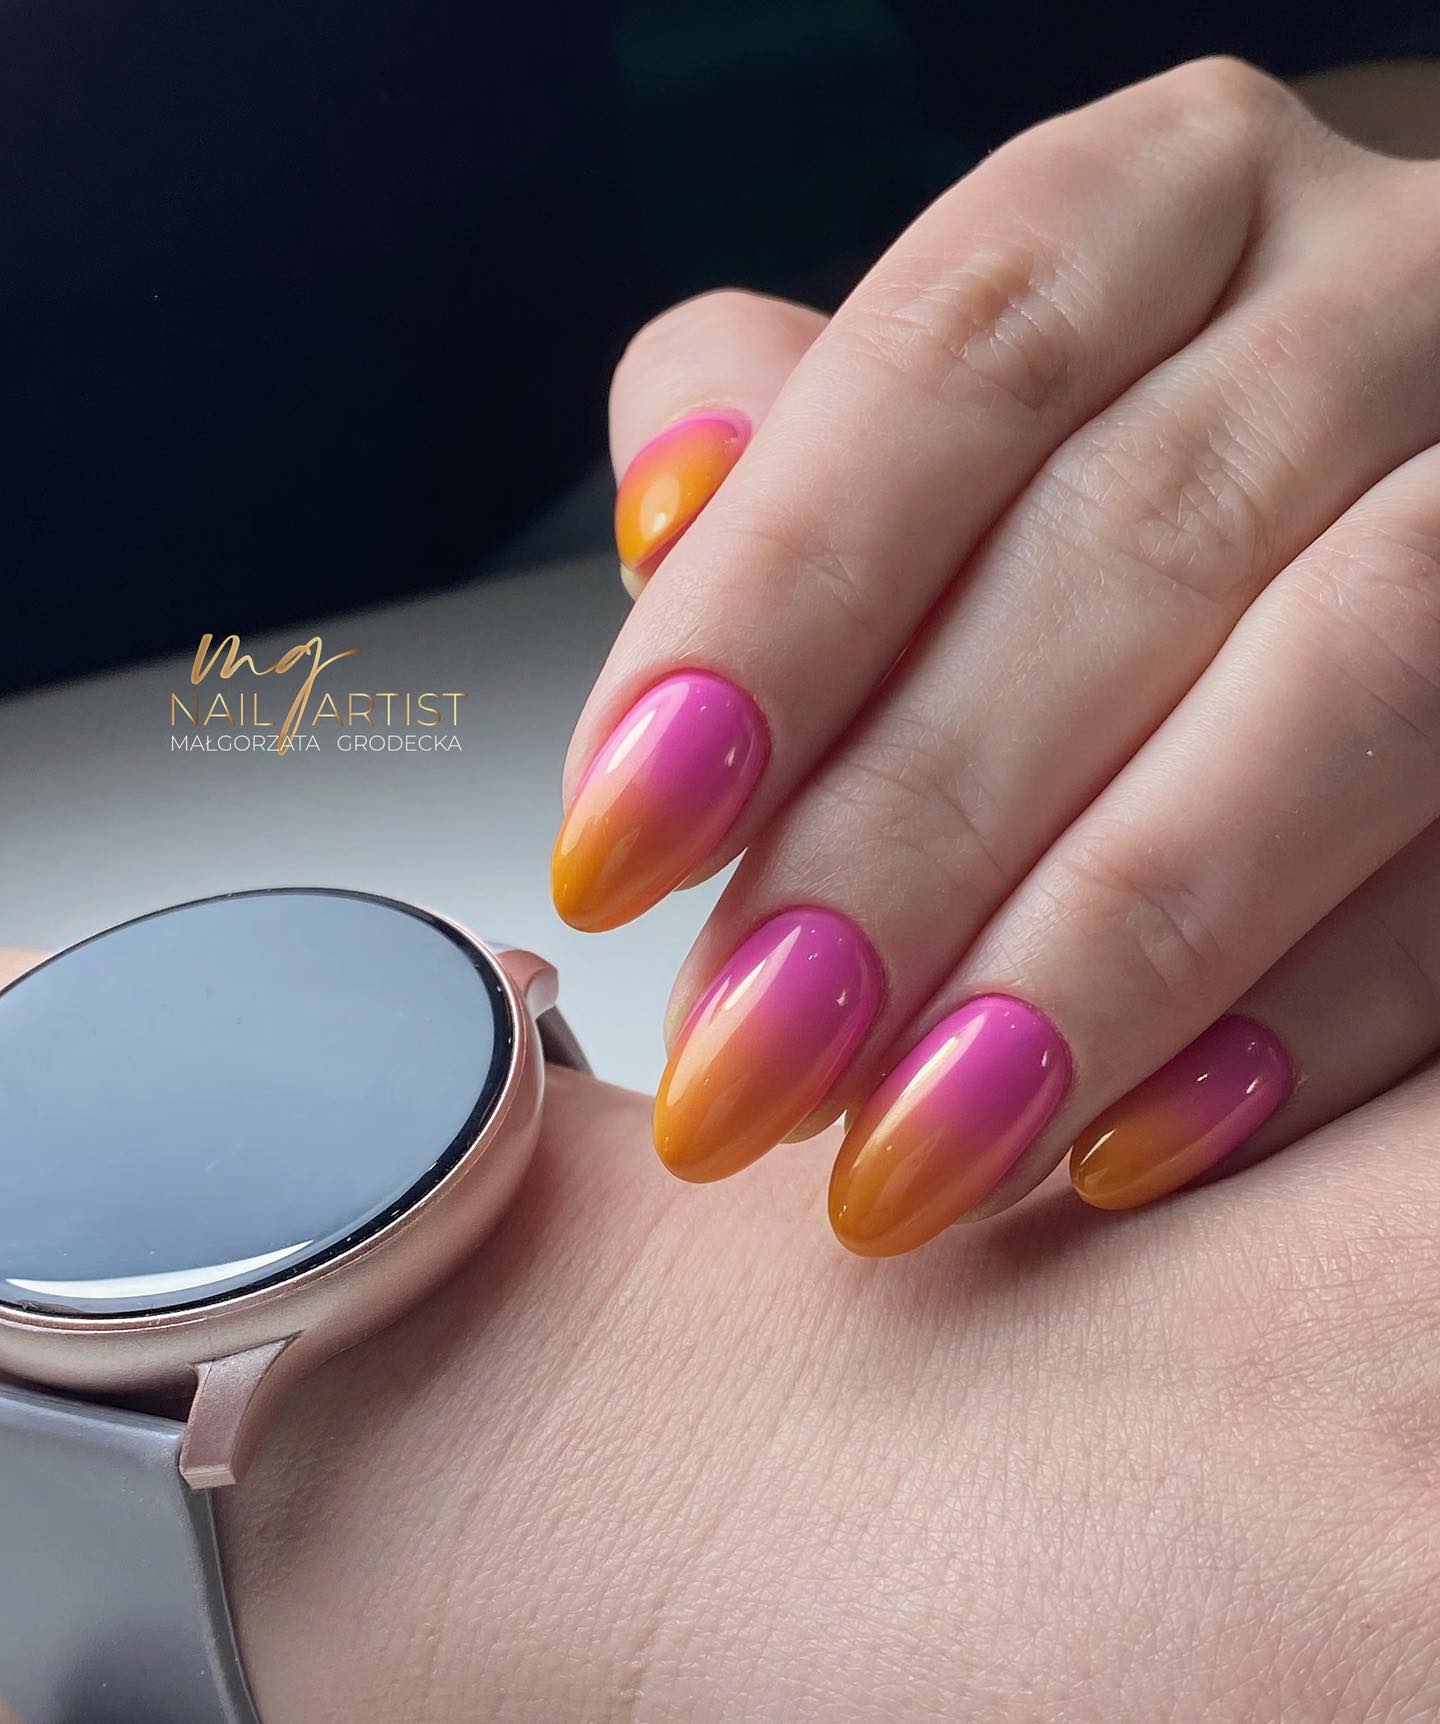
33. Diamond Sunset Ombre Nails
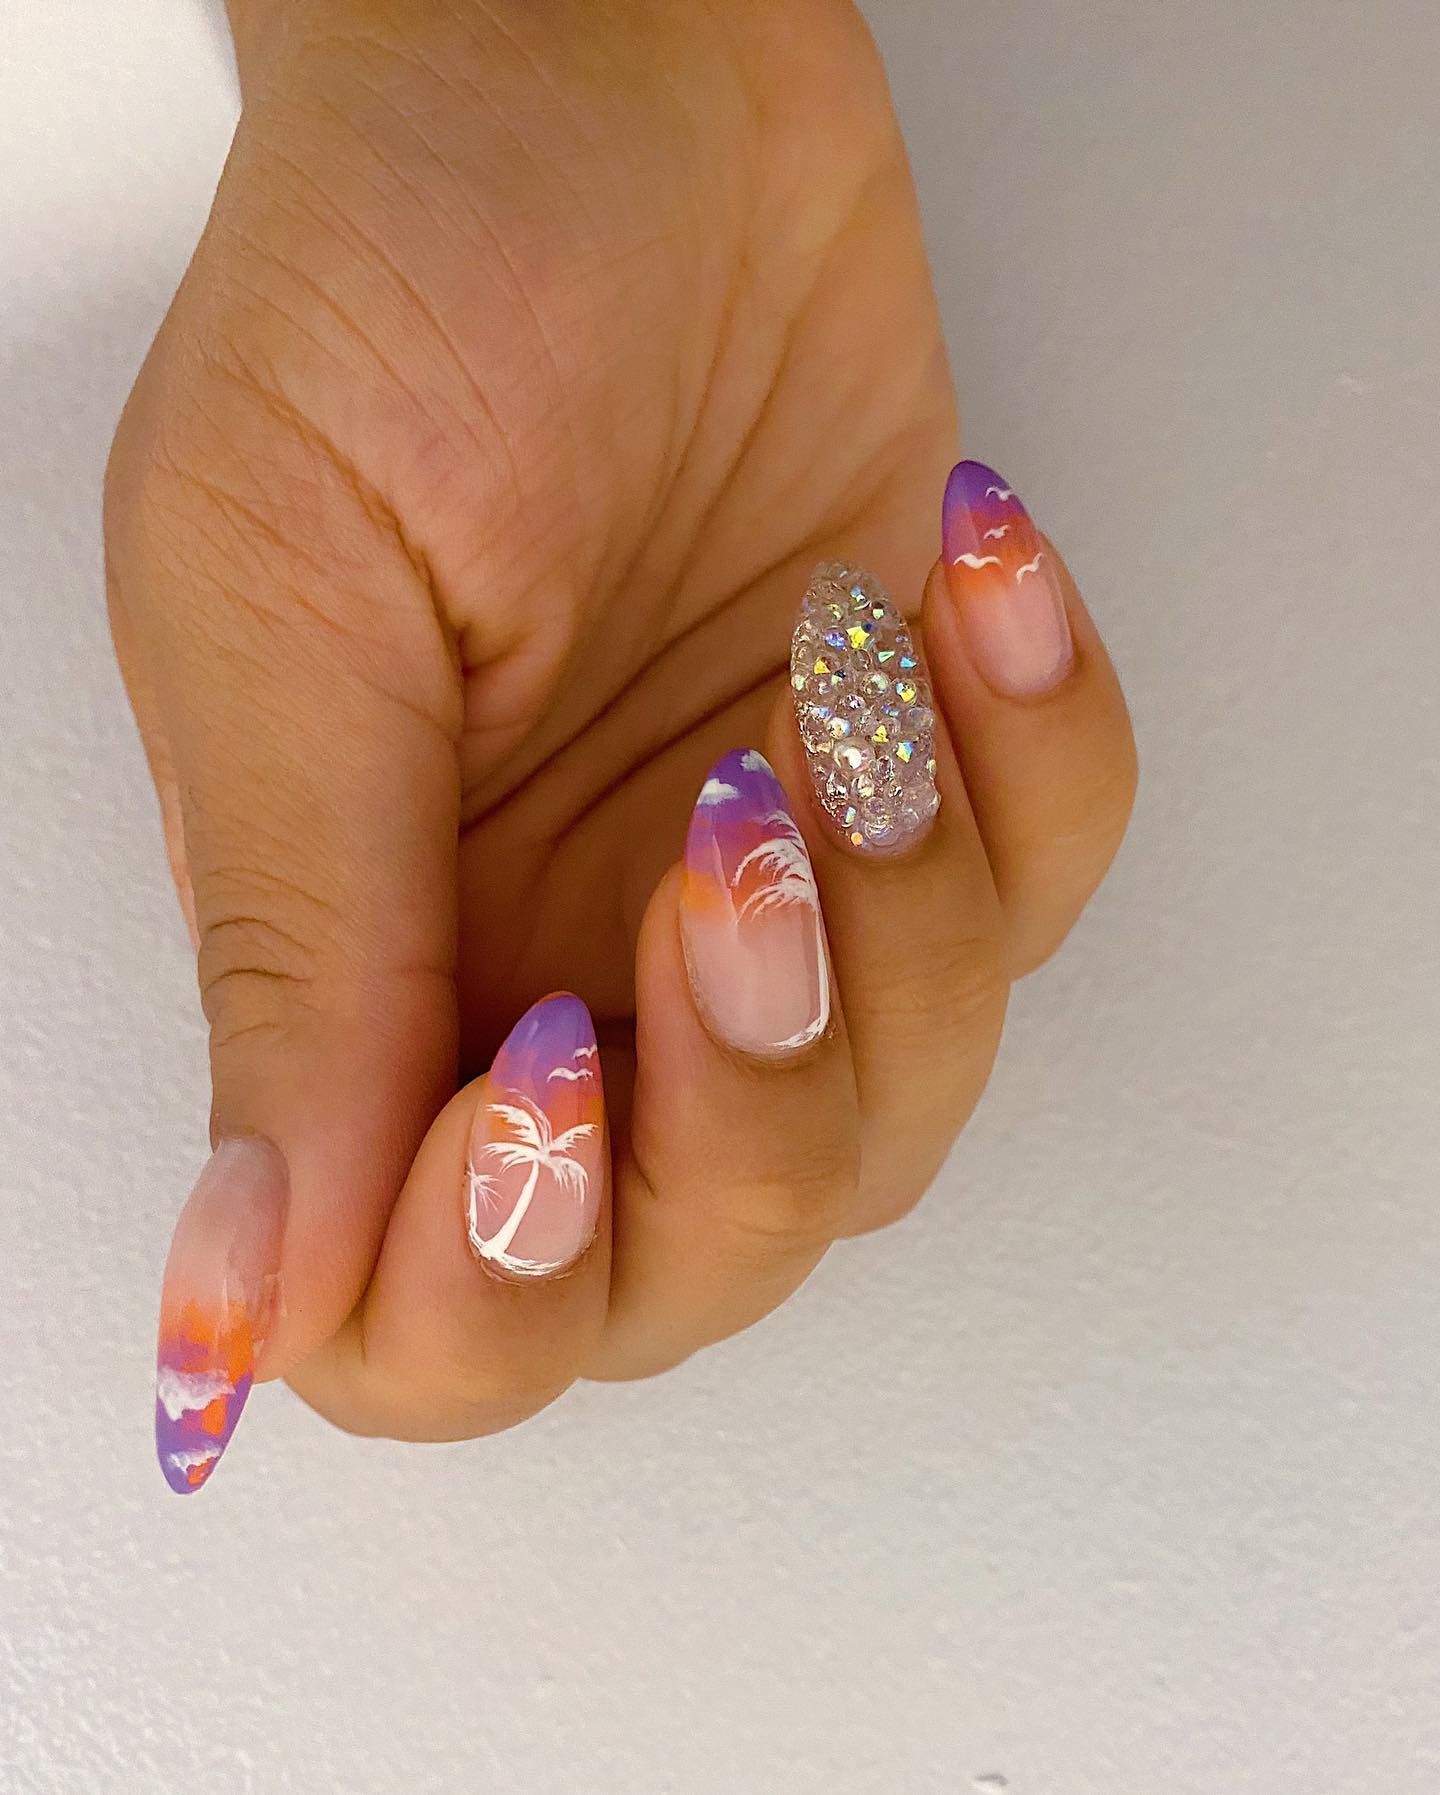
34. Sunset Butterflies Nails
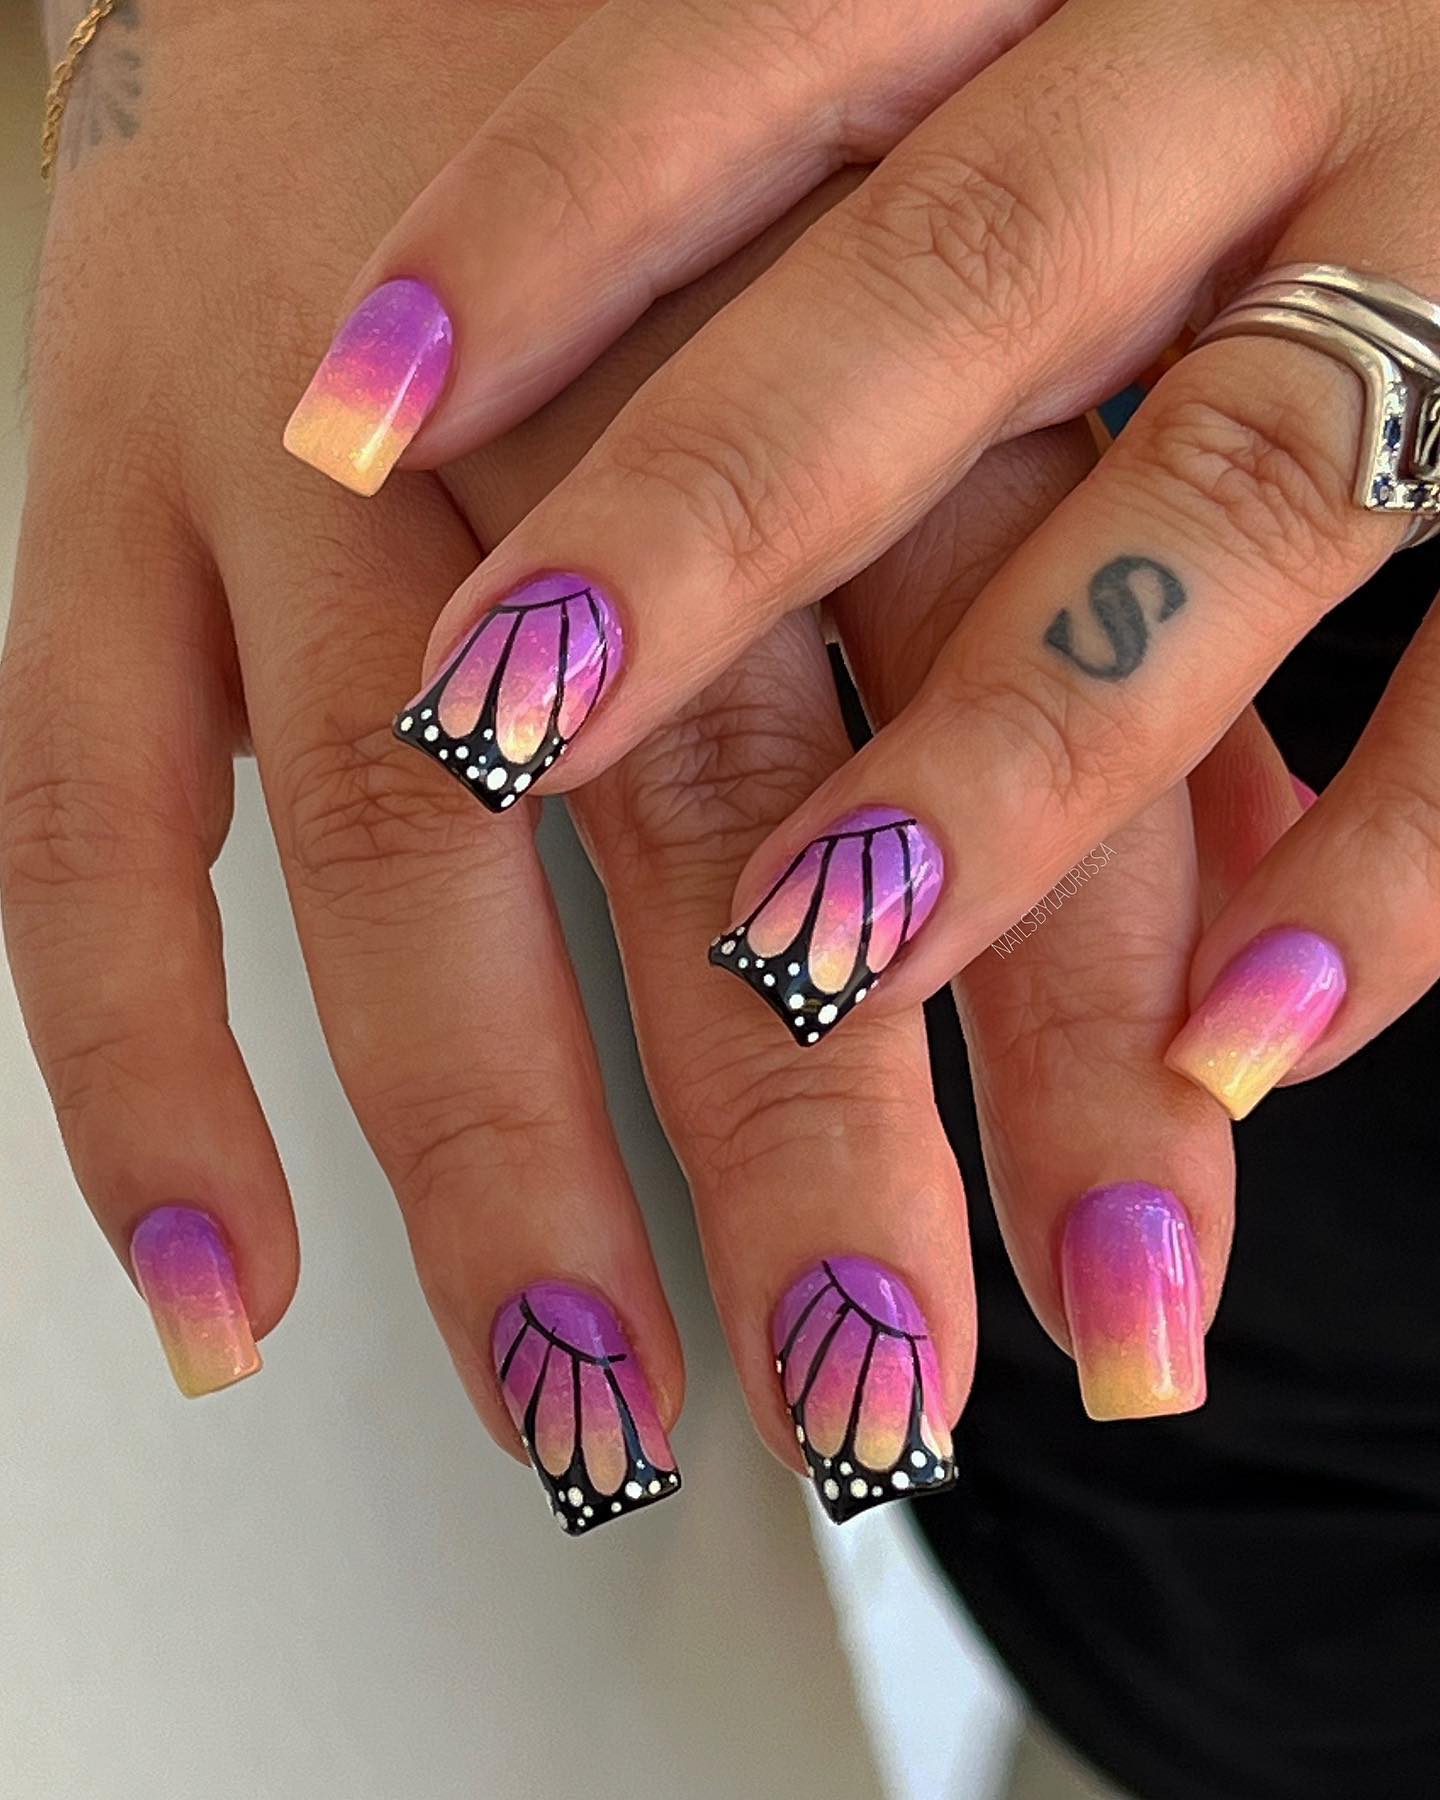
35. Purple and Pink Sunset Nails
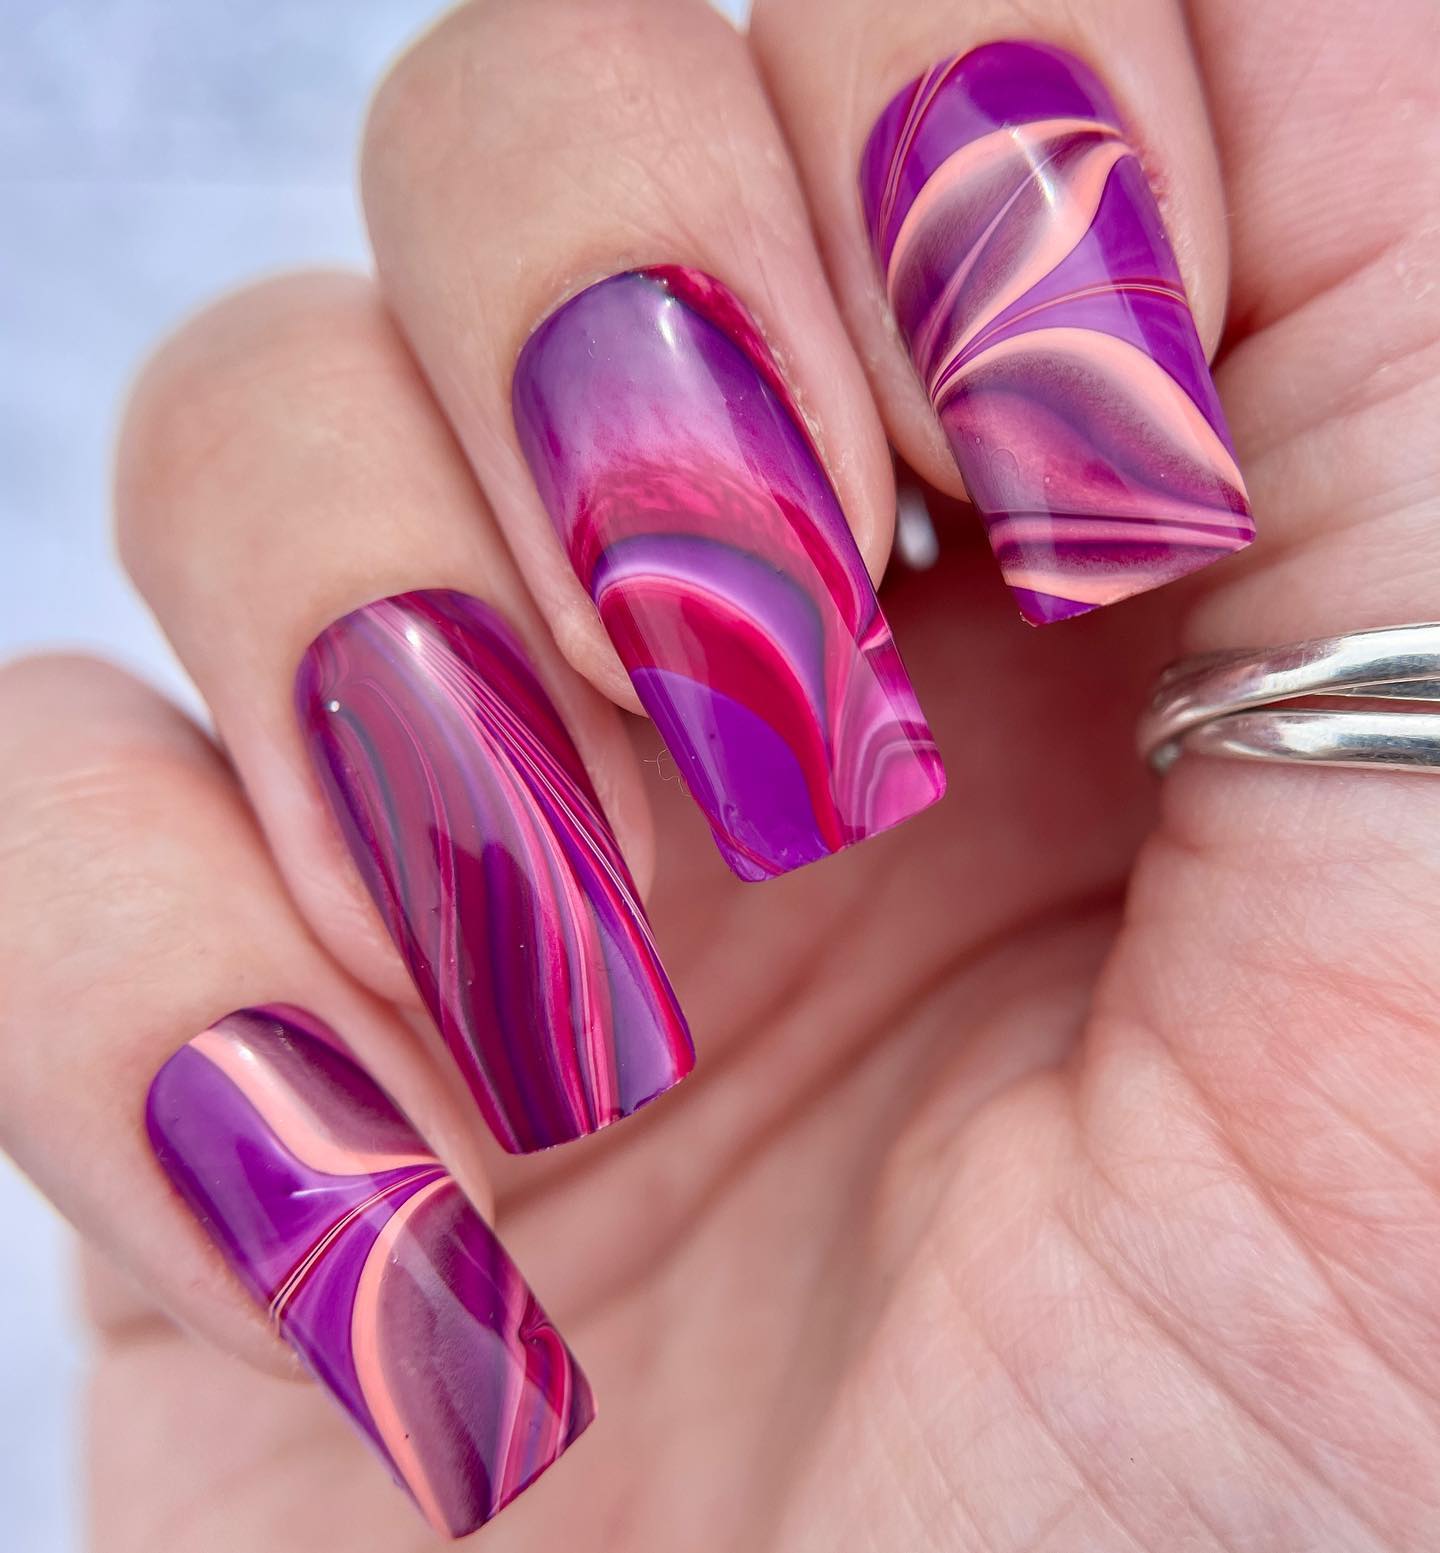
36. Golden Sunset
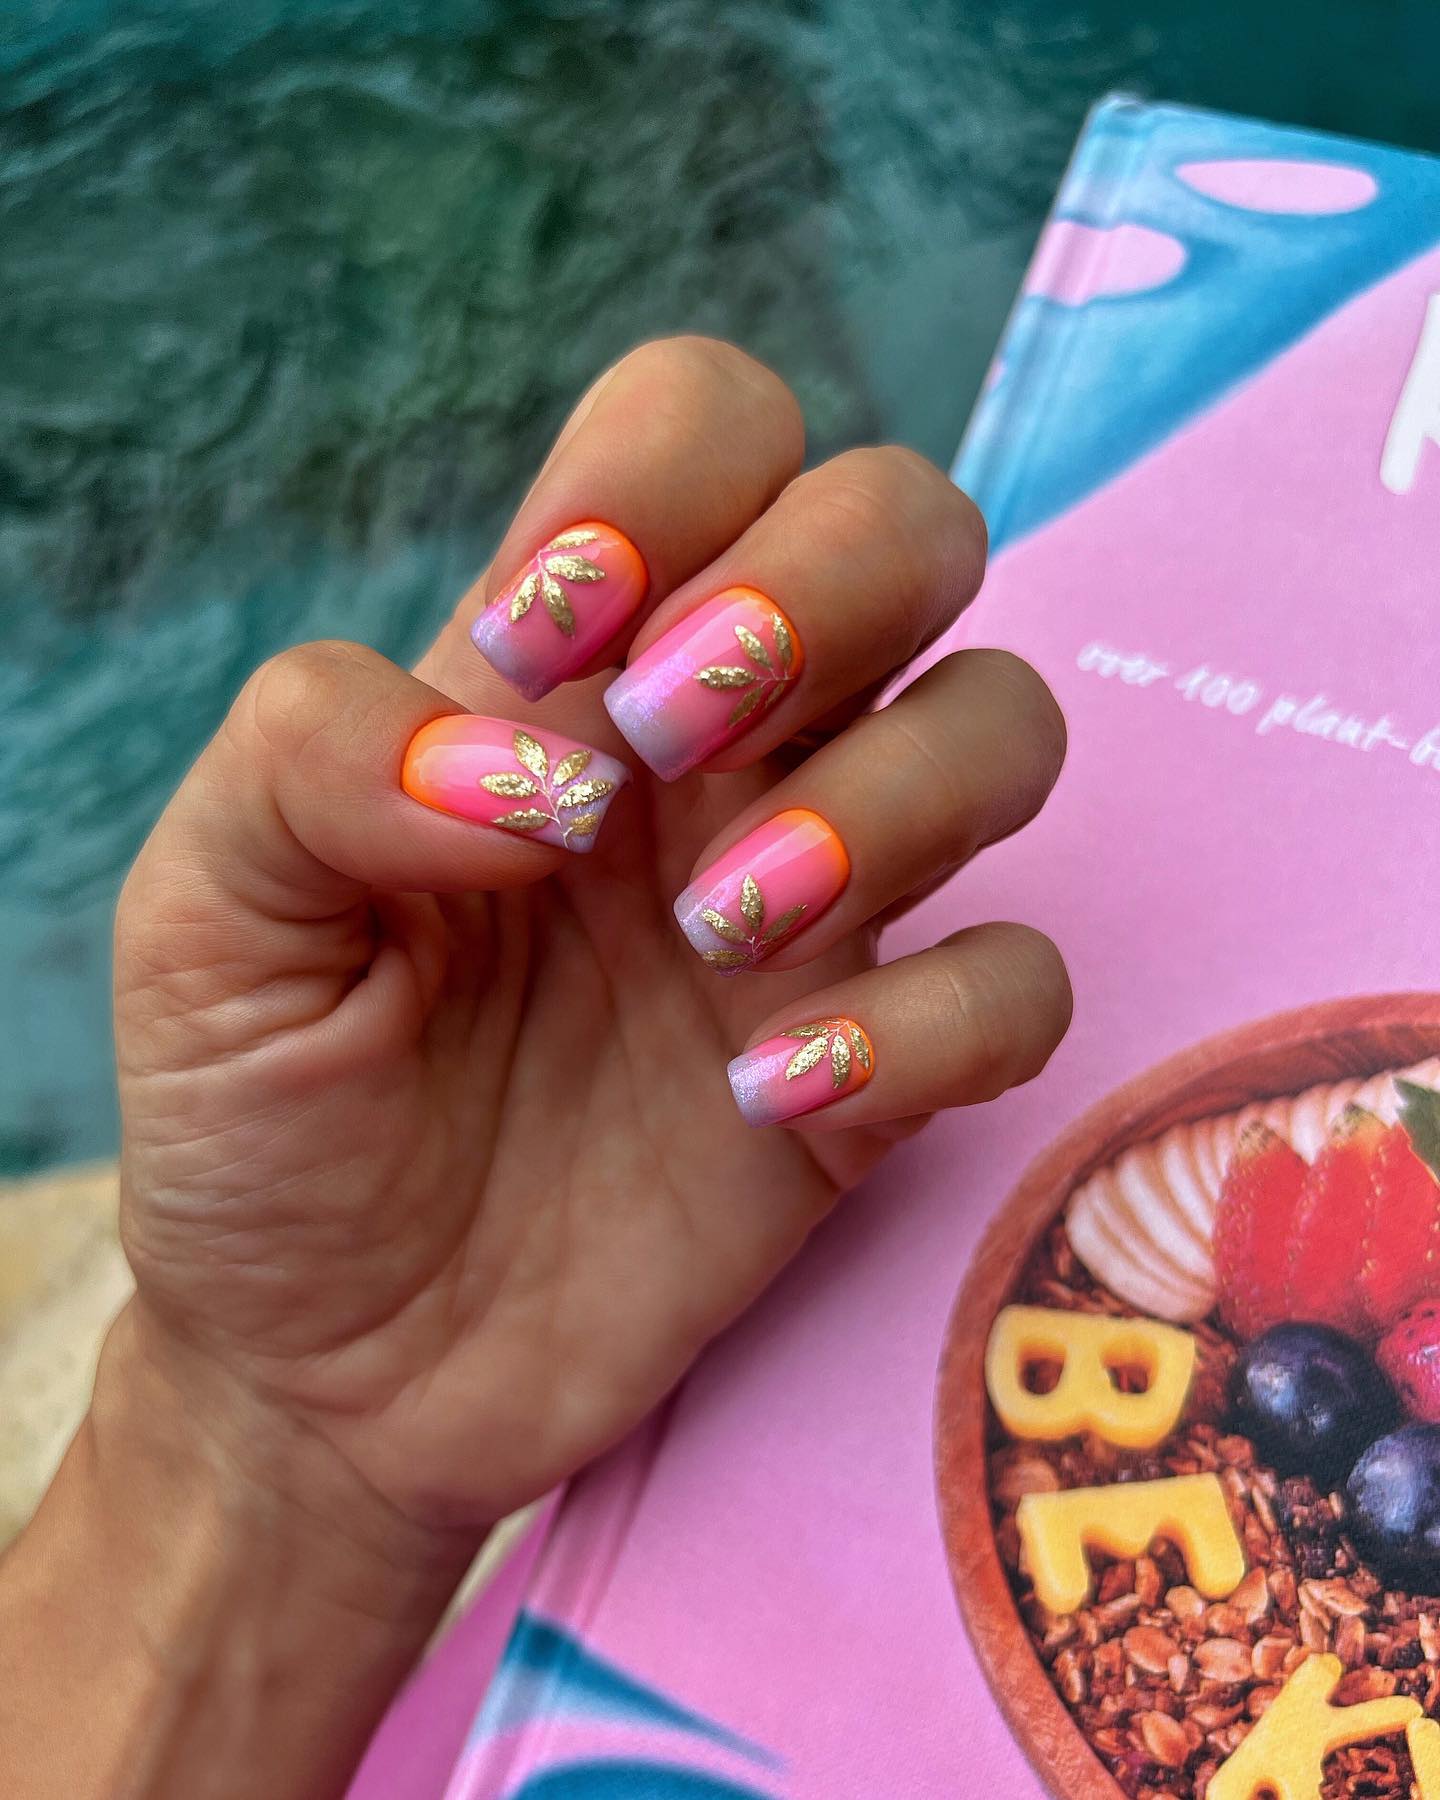
37. Savanah Sunset Nails
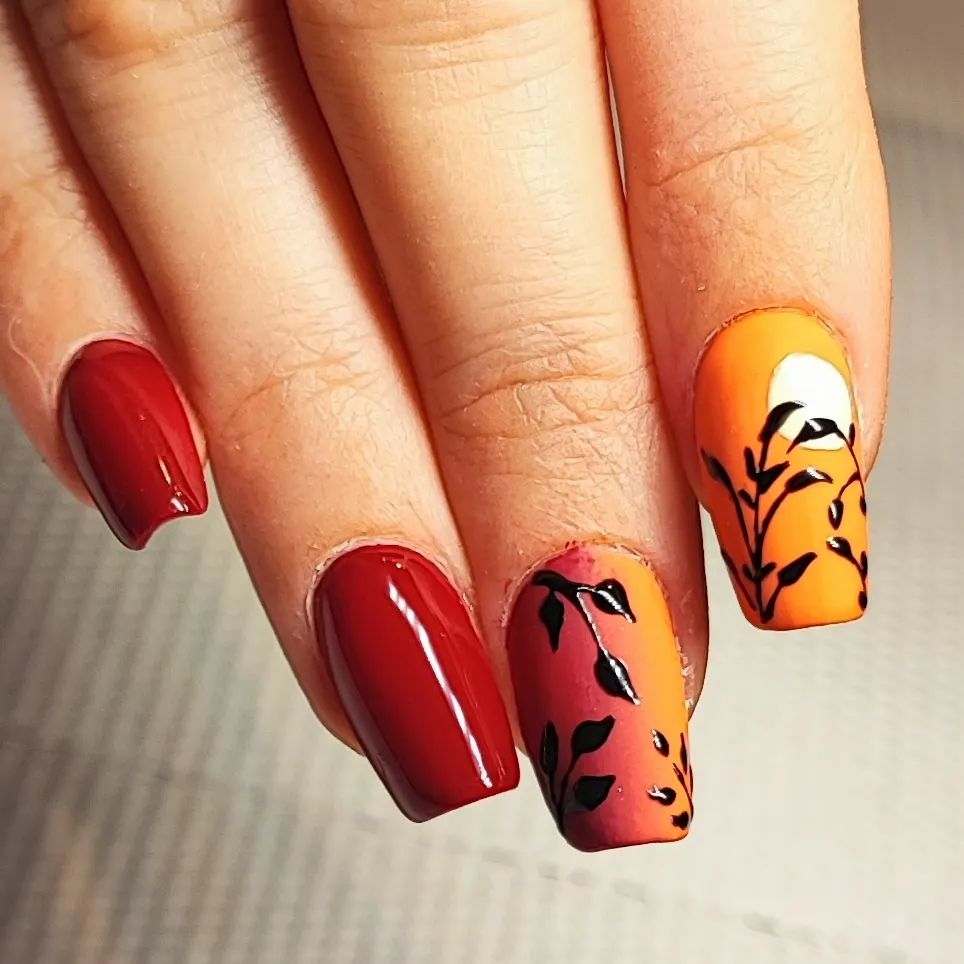
38. Island Sunset Nails
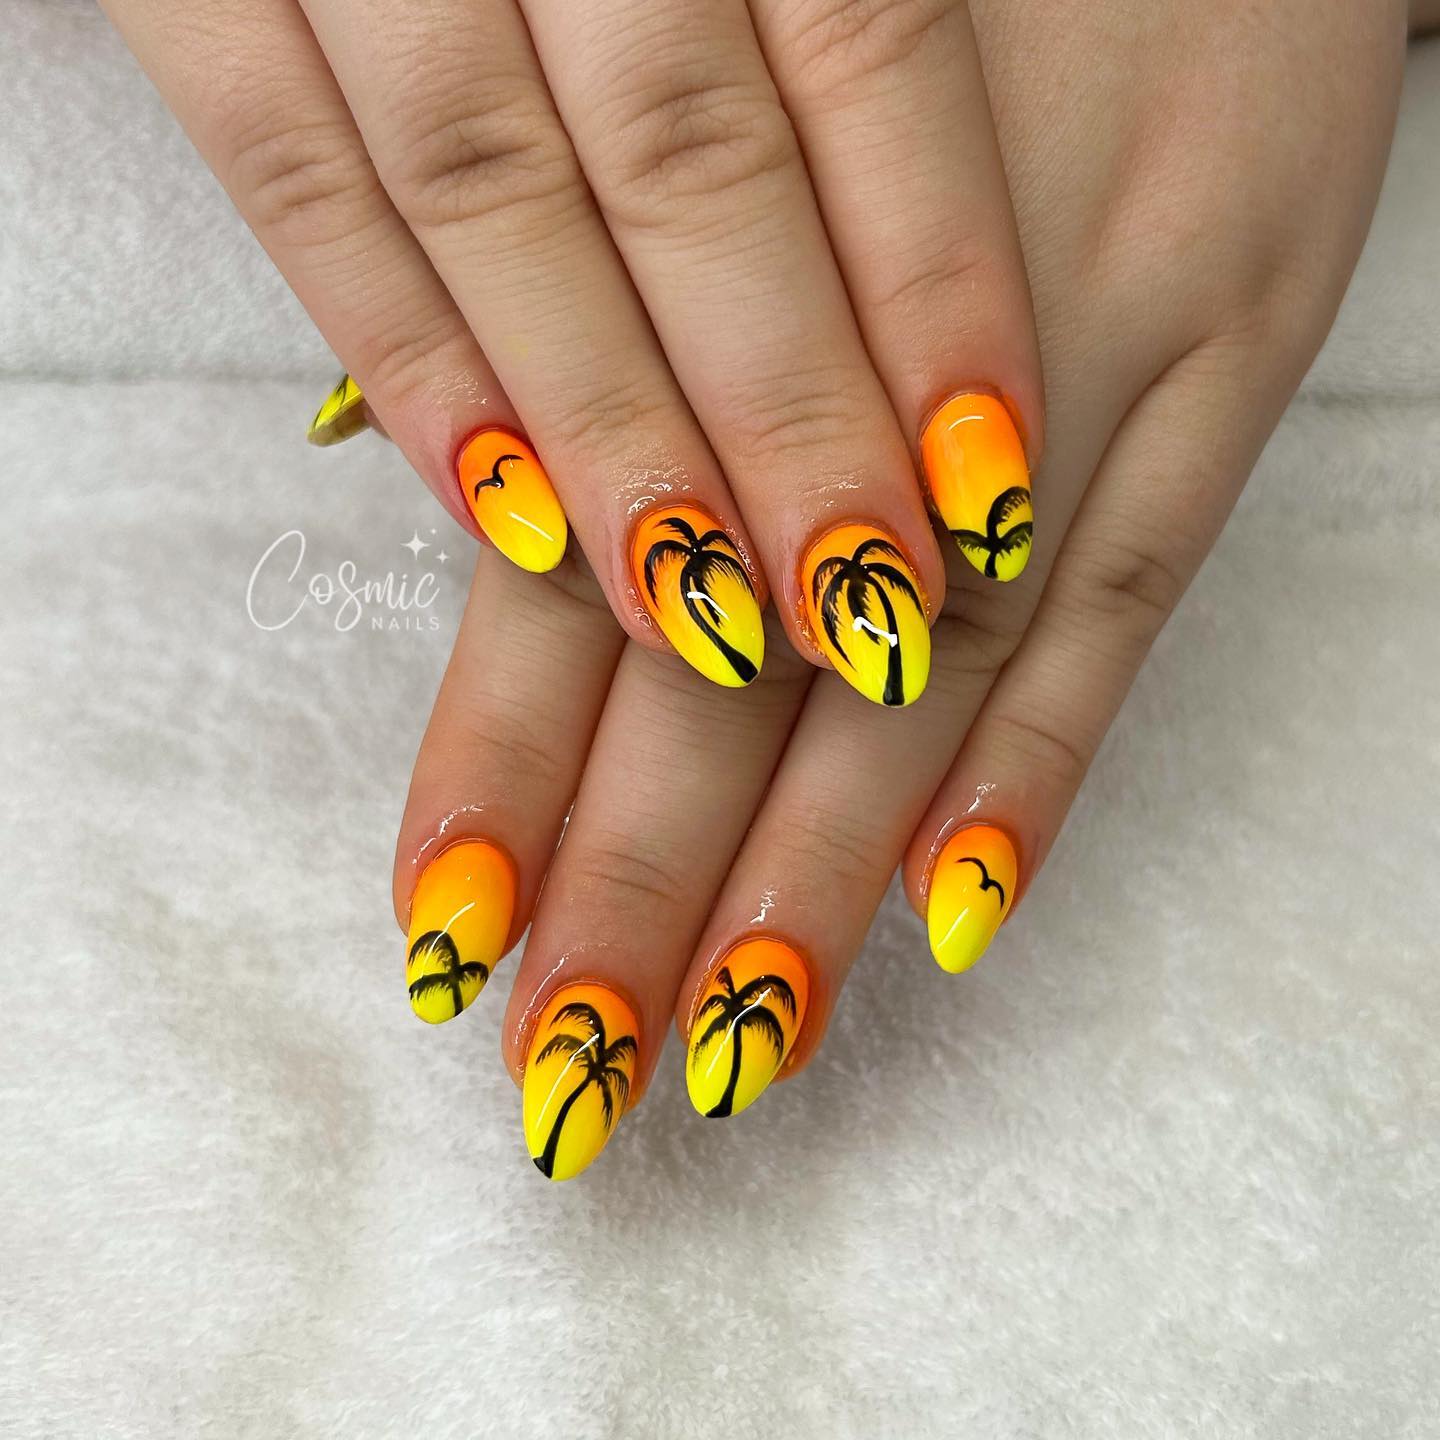
39. Metallic Ombre Nails
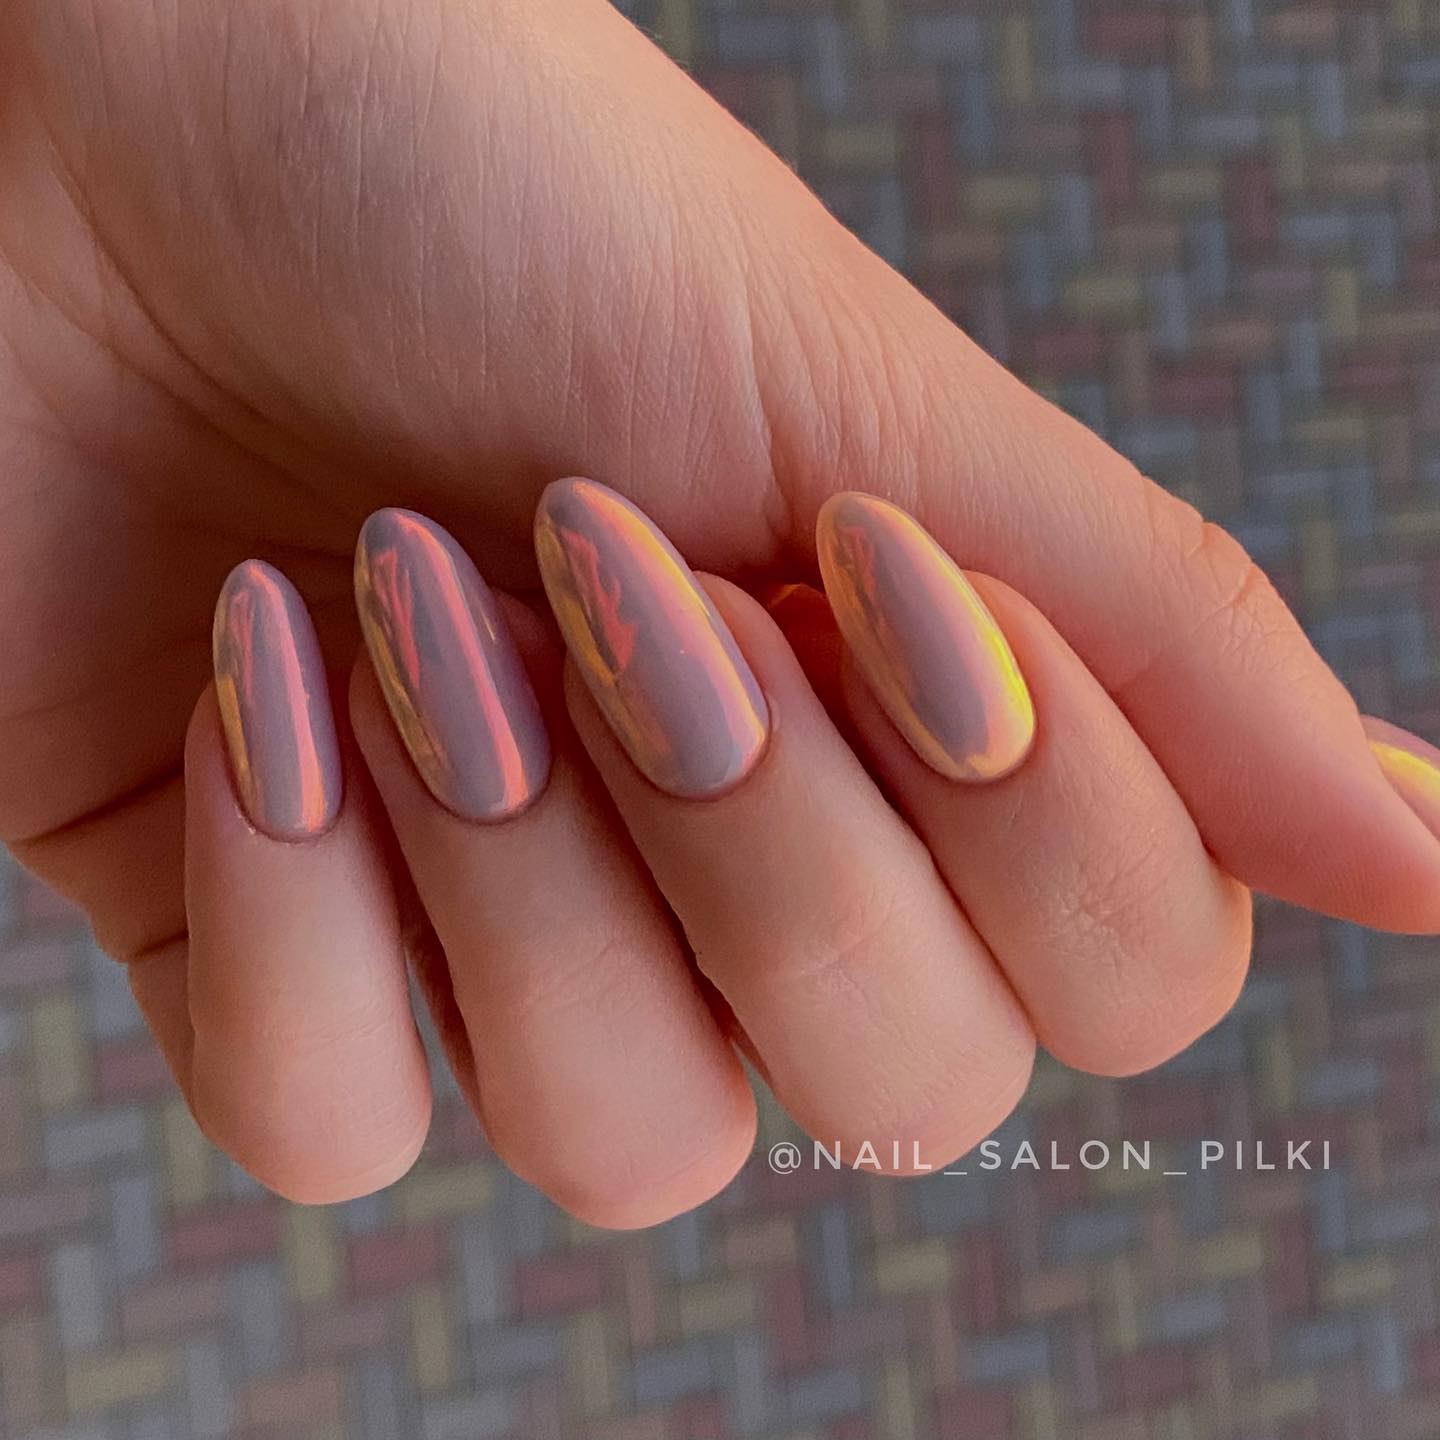
40. Purple Sunset Nails
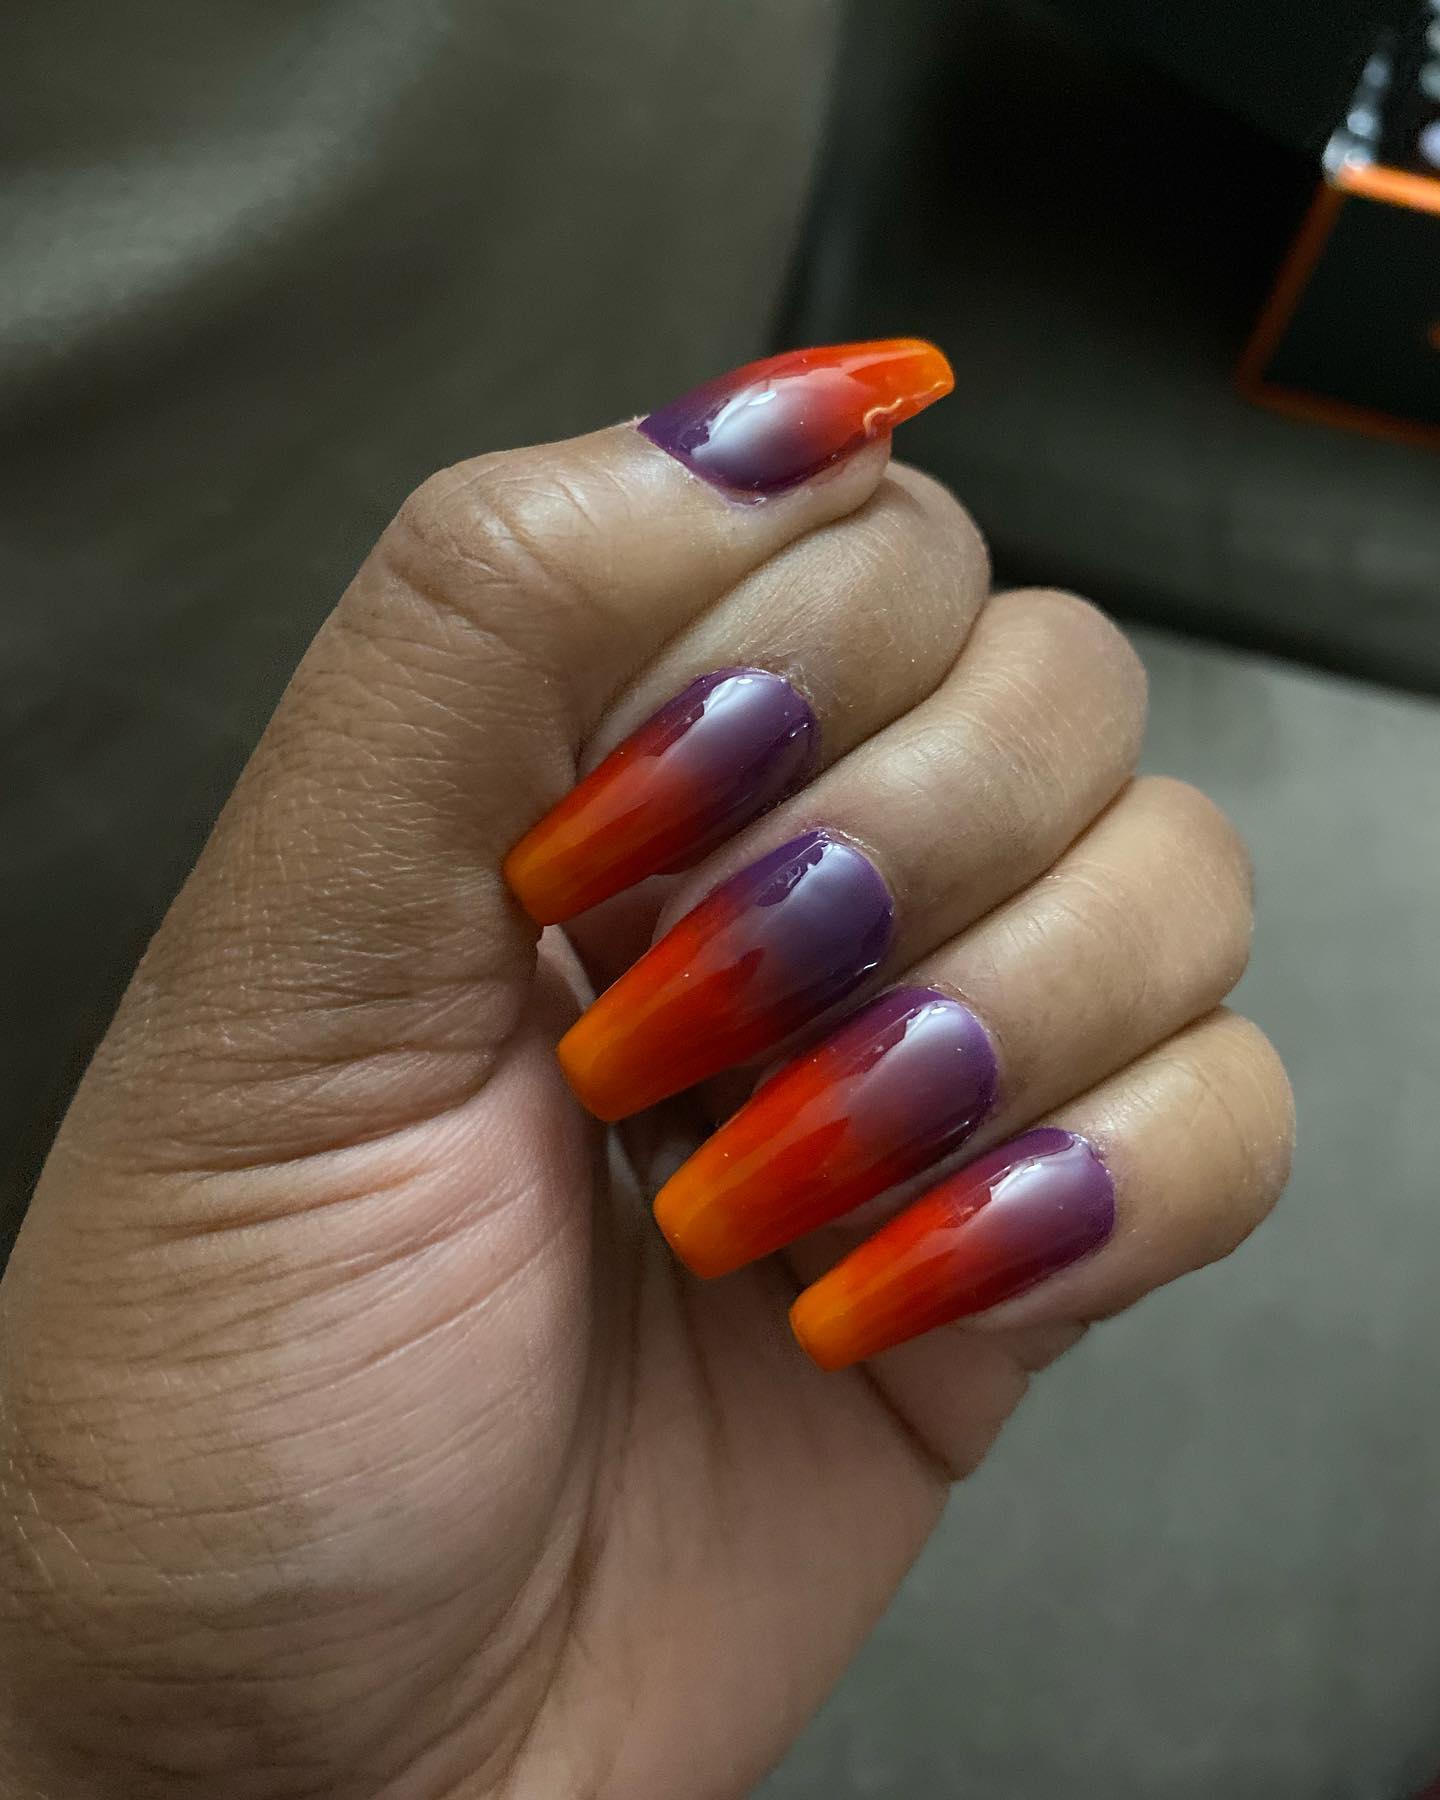
41. Honey Sweetness
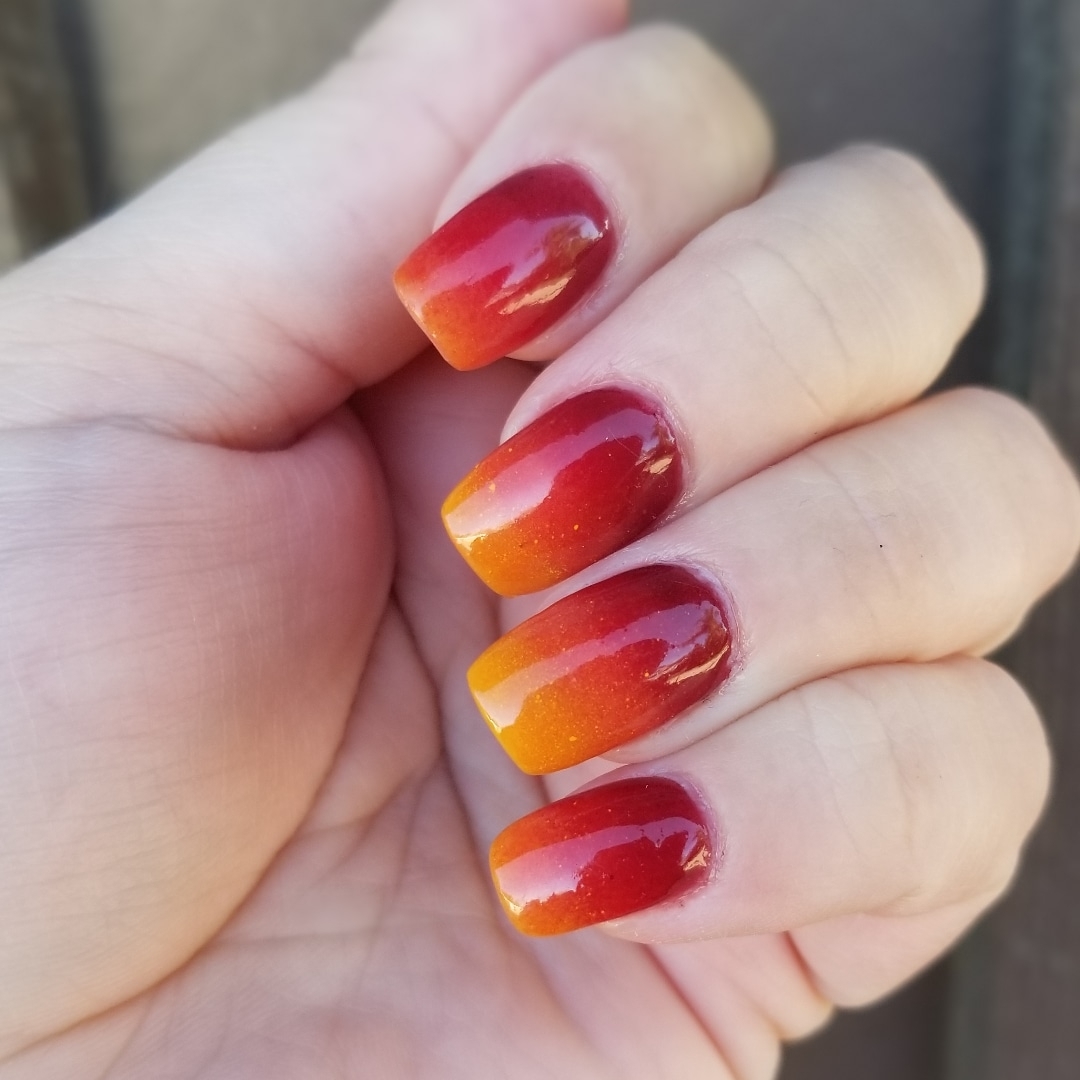
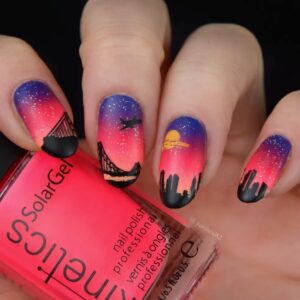
42. City Sunset Nails
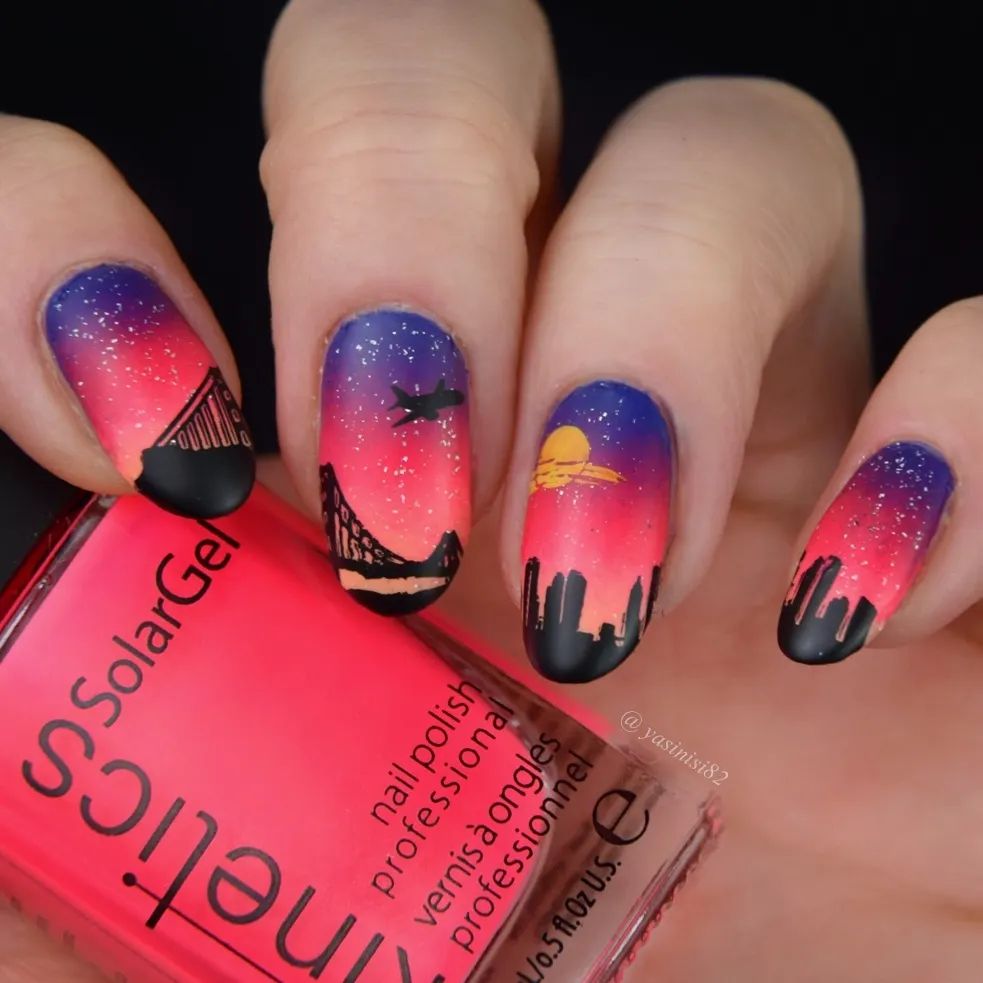
How to do Sunset Ombre Nails at Home
Sunset ombre nails are pretty easy, and anyone can DIY the technique. The things you need for it are also basic. You will defo have those!
There are two ways to do it with a makeup brush or a sponge. You can use either upon availability.
What you need are three different nail colors. A base coat and a top layer. Lastly, a makeup sponge or a brush.
Should we first go with the makeup sponge technique? Alright. Here you go:
- Cut the makeup sponge according to the size of your nail. Make sure to create a smooth and flat surface.
- Apply a base coat. Do it whether your nail color claims to have a base coat. It will keep your mani last longer.
- Choose three different colors. For sunset ombre, you should choose pink, orange, and yellow. You can also alternate pink with red.
- Apply these colors to the makeup sponge in three layers. The bottom being the darkest and the top being the lightest.
- First, apply yellow on the top. Then orange. Finally, apply pink or red.
- Now apply these colors to your nail before it gets dried. Press the sponge on your nail for 3-5 seconds so the color fully transfers.
- If you haven’t got the desired result on the first go, you can do it again. You may need to do it multiple times to get your desired outcome.
- Finalize your ombre with a top coat. We promise it will help you to fade those sharp unsmudged lines.
How to make your manicure last longer
You were assuming your manicure would last for a week. But not even a day. Oh, that feeling of chipping off the very next day. Gosh. It’s so heartbreaking. Don’t worry. Here’s a secret recipe for you to make your manicure last longer.
- Choose a high-quality top coat that is chip resistant and provides adequate protection.
- The same goes for the base coat. Try choosing a solid base coat, as it is the pillar to protect the other layers.
- Apply clear nail paint after applying the top coat. This trick really helps. Try it!
- Wipe your nails with vinegar before doing a mani. It will remove the excess oil on nails that results in chipping later.
- You must reapply the top coat 2-3 days after a manicure.

